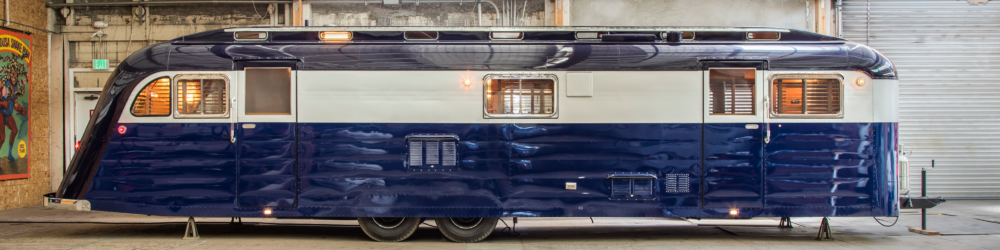

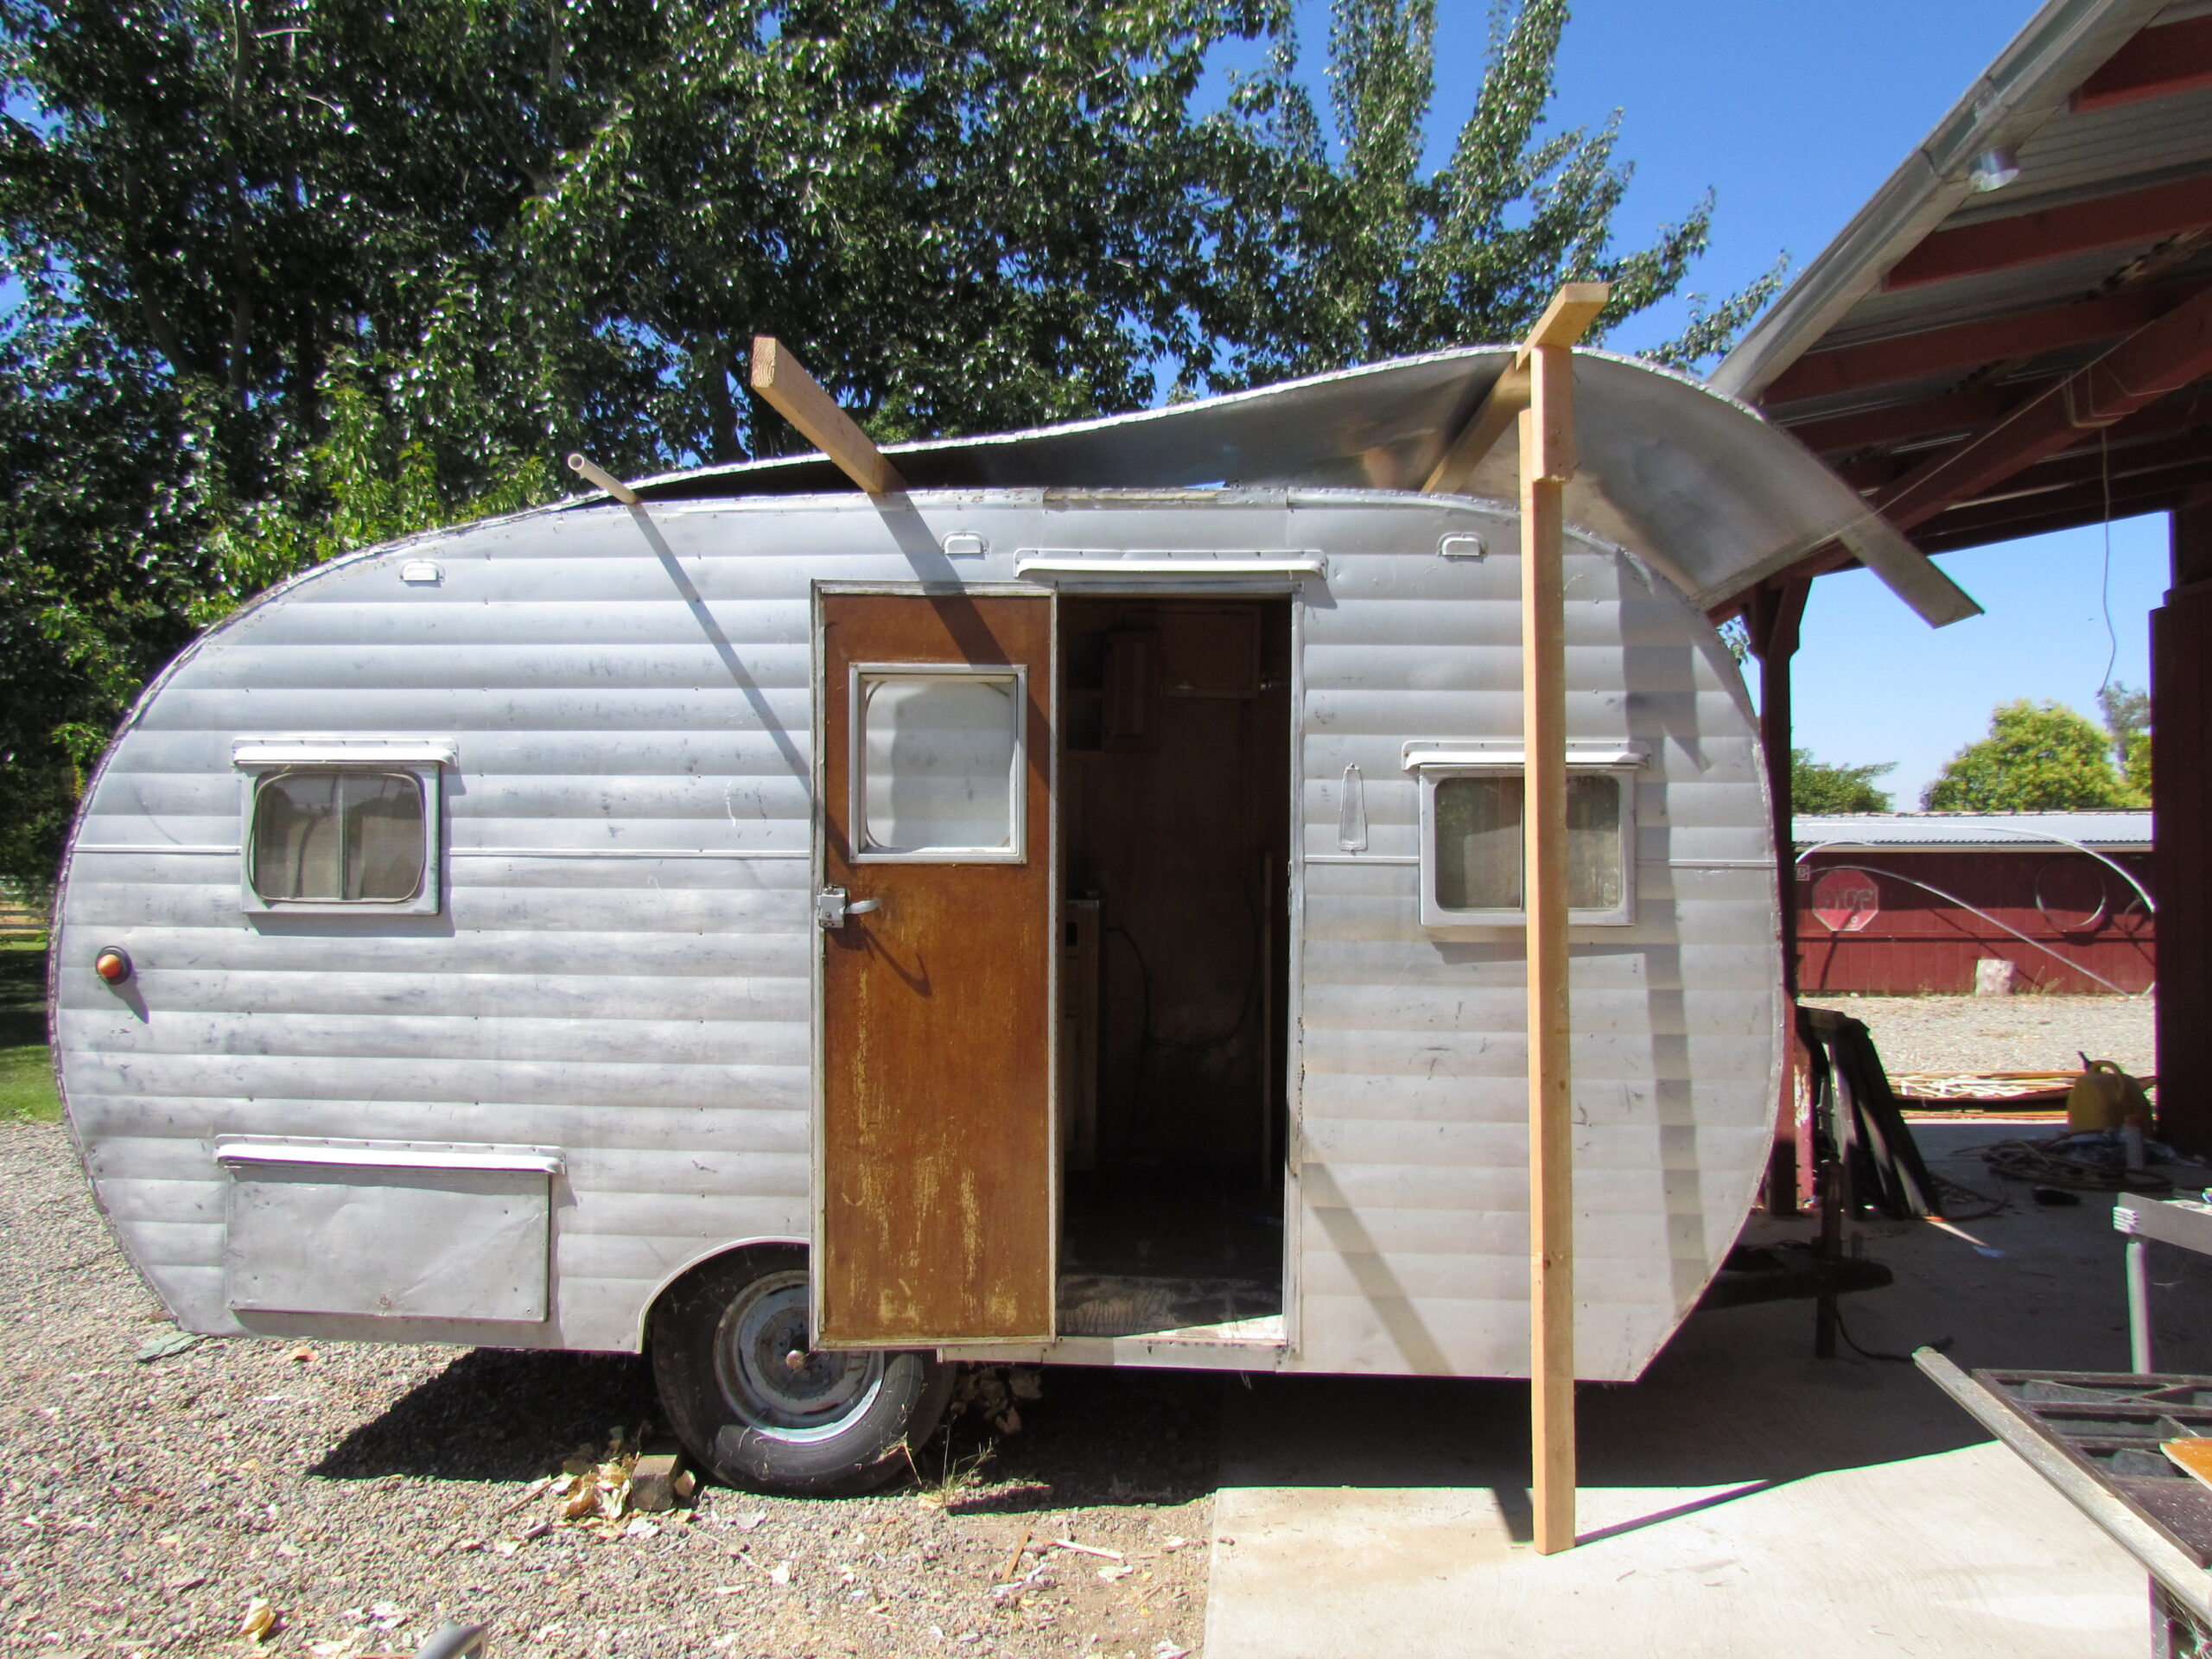
Most canned-ham trailers lasted no more than 60 or 70 years. One of the greatest threats to these trailers is moisture. Water can seep through the smallest cracks in failed seals, especially around windows, roof vents and exterior trim.
By the time you notice a leak, it may have damaged the interior paneling, insulation, and wood framing. Replacing these materials can seem overwhelming to an amateur restorer. If the damage is extensive or your skills are limited, a professional should handle the work.
Working From the Outside In
I have replaced interior paneling by wrestling out the damaged piece, reinforcing the rotted framing and then twisting and bending a new sheet of plywood to force it into place. At first, this can seem like the easiest—or perhaps the only—way to repair damage caused by a leaking roof vent or window.
There is a better approach for many common repairs: work from the outside of the trailer.
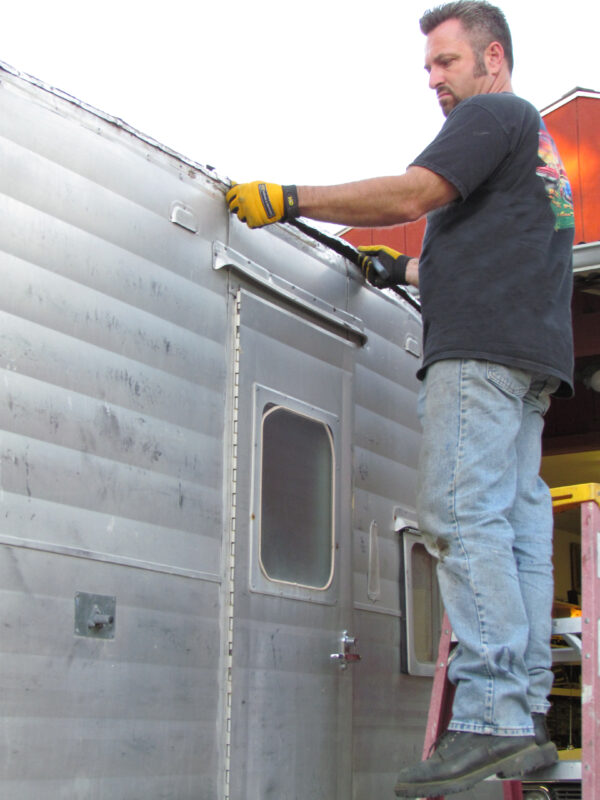
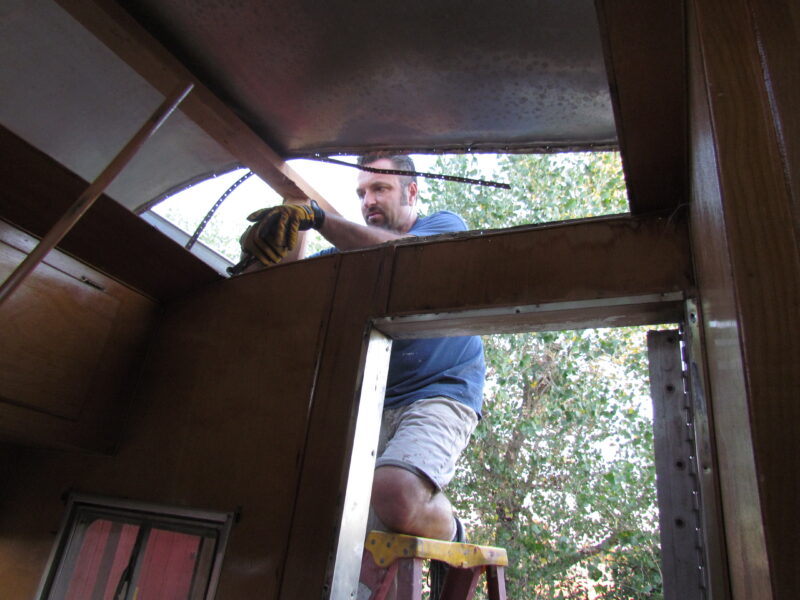
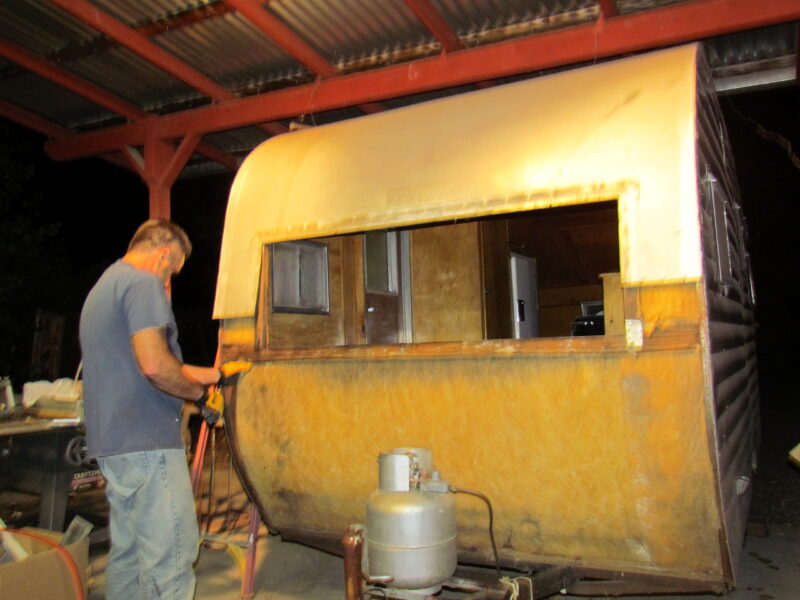
Removing and peeling back the exterior aluminum provides direct access to the interior panels, insulation and framing. Although this method may initially seem like more work, it allows you to properly repair all the damaged areas.
People generally build vintage trailers from the inside out, so taking one apart in the reverse order makes sense.
Before You Begin
Park the trailer in a secure location and keep it from moving until the repair is complete. If you loosen the skin and framing, moving the trailer can cause the body to shift out of square.
Most vintage trailers were not perfectly square when they left the factory, and decades of use have rarely improved them. You may need temporary cross braces to prevent the sidewalls from moving while the trailer is open.
This work should also be done in a dry, protected area. Opening the exterior skin will expose the trailer to additional weather damage.
Removing the Exterior Skin
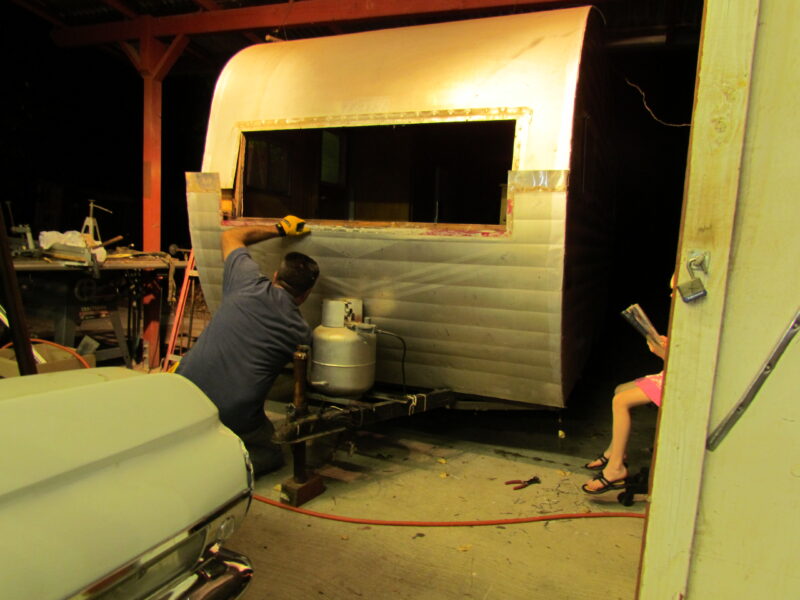
To reach the damaged area, begin by removing the J-rail or J-molding, along with any windows and vents in the repair area.
On a typical canned-ham trailer, the center aluminum roof section bends approximately half an inch over the top of the side skin. The center aluminum roof section may attach to the wood framing with staples, tacks, or small nails.
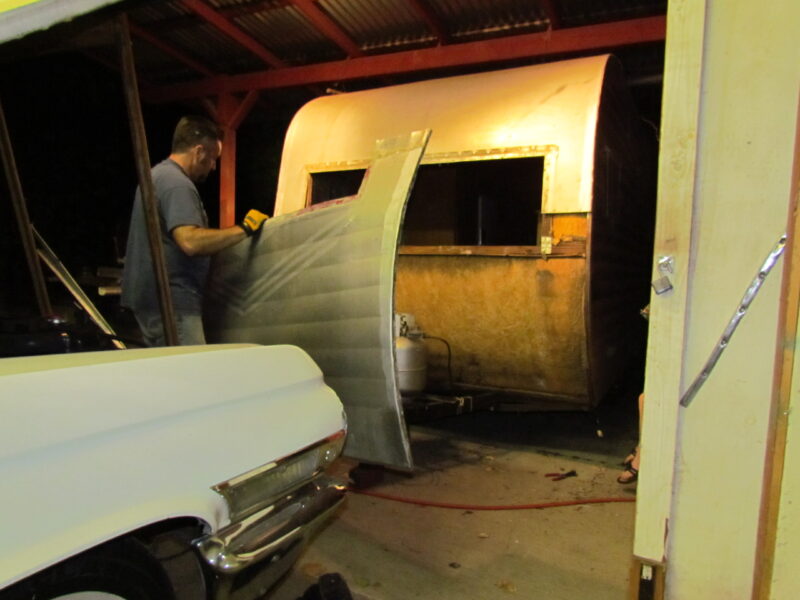
Remove the fasteners only as far as necessary to lift the roof skin and reach the damaged area. A small pry tool works well, but take your time. Old aluminum can tear or become distorted easily.
There will often be a separate piece of aluminum siding below the front or rear window. This panel may fit into an S-lock or similar folded seam in the roof panel.
The front panel may have damage from rocks, road debris or contact with the fins of a 1950s tow vehicle during a tight turn. Replace the aluminum if it becomes badly dented, torn, or punctured. Suppliers specializing in vintage trailers may be able to match the original aluminum pattern.
After removing the lower panel, install temporary cross braces if needed to keep the trailer’s sidewalls from shifting.
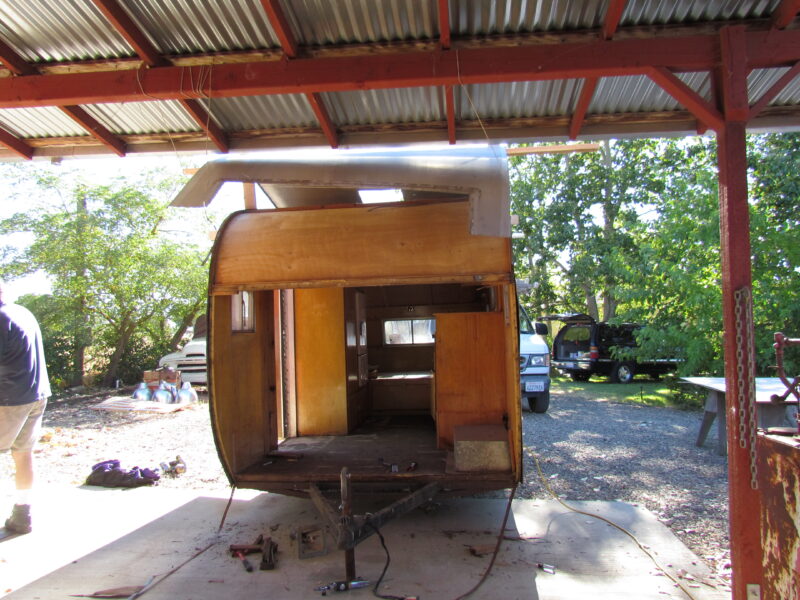
Protect the Original Roof Panel
Do not completely remove the roof panel unless you plan to replace it.
Carefully peel the aluminum back only as far as necessary to reach the damaged vent, window or framing. Support the lifted skin with a simple frame made from 2×4 lumber or with a rope system suspended from the shop ceiling.
If repairs are needed beneath both the front and rear windows, complete one end at a time. Repair the first area and reattach the center aluminum section before opening the other end.
Avoid removing the entire original roof if you intend to reuse it. Once the framing and interior panels have been repaired, it can be extremely difficult to make an old roof panel fit properly again. If the panel is completely removed, you may need to order and install a new one.
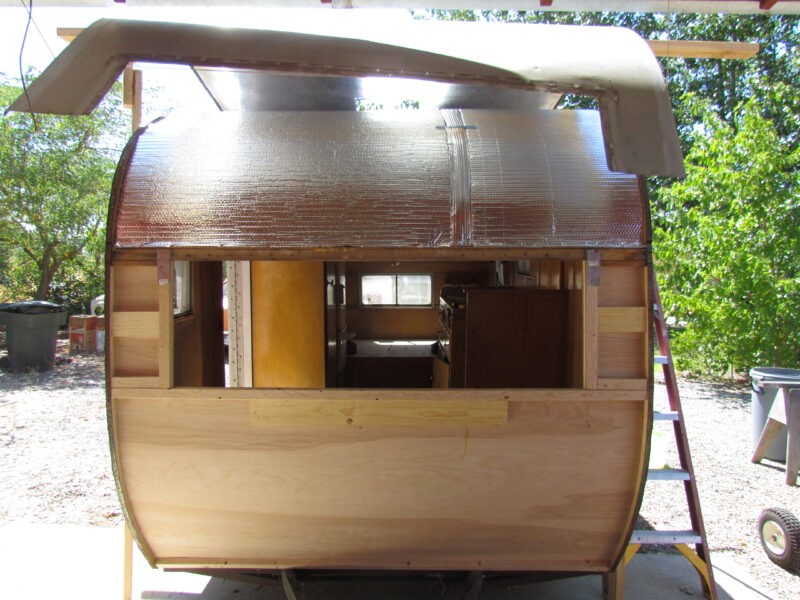
Replacing the Damaged Wood
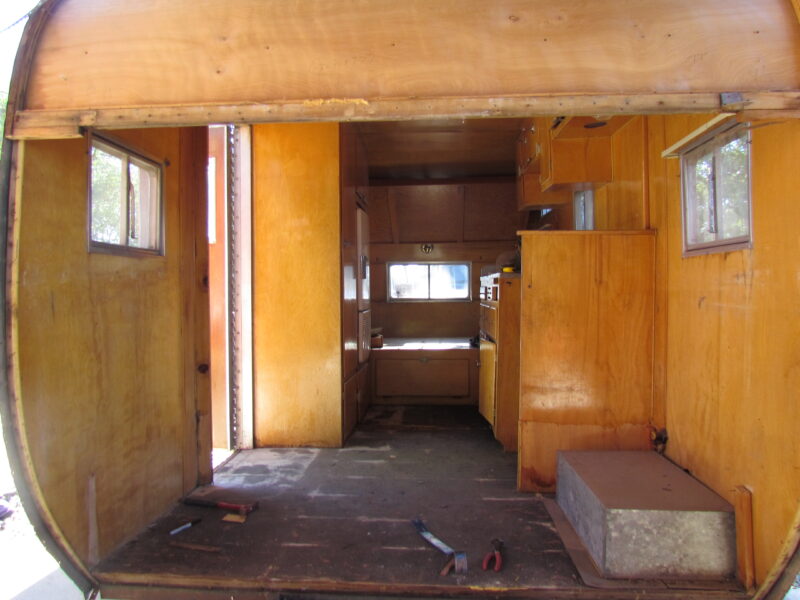
With the roof skin peeled back, the trailer’s simple construction becomes easy to see.
Remove the damaged framing, insulation and interior paneling. Once the rotted materials are gone, you will have a clean area to rebuild.
We finish the replacement interior panels before installing them. This makes staining, varnishing or painting easier and helps create a cleaner finished appearance.
Install the replacement panel first, then repair or replace the framing and insulation as needed. Make sure the repaired area is solid and properly aligned before closing the exterior.
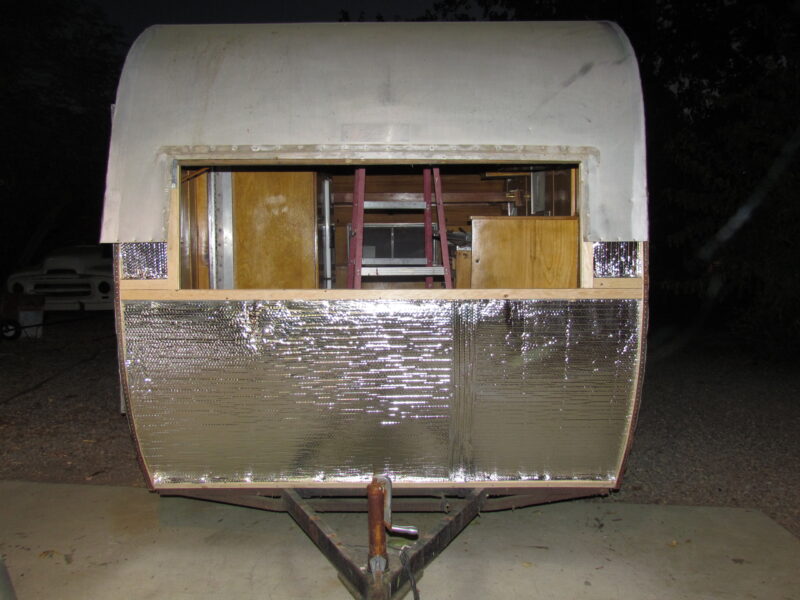
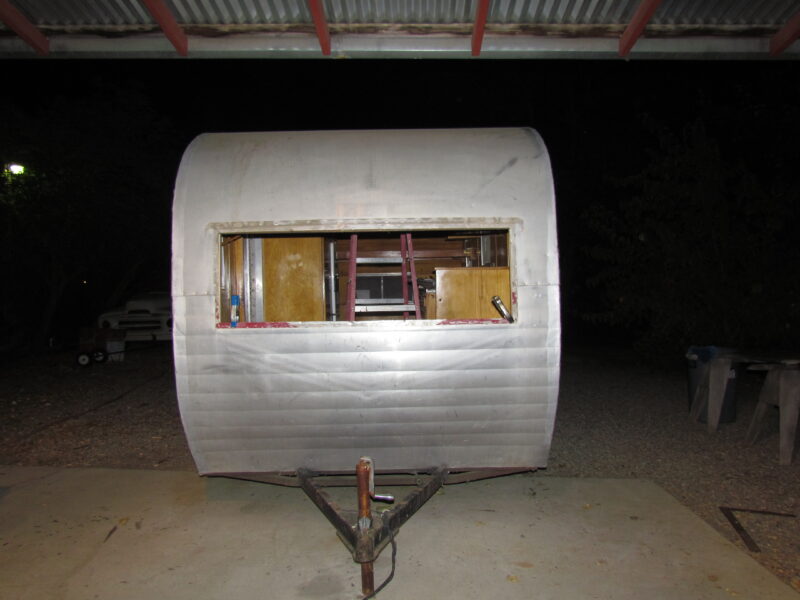
Putting the Trailer Back Together
Carefully lower the original roof panel into position. The existing nail or staple holes can help you align it with the framing.
Reattach the aluminum in the reverse order in which it was removed. Reinstall the lower skin, windows, vents and J-molding. Use fresh butyl tape around windows, vents and exterior trim to create a watertight seal.
Take your time during reassembly. A successful rot repair will not last if water can find its way back into the trailer.
Know When to Call a Professional
This method provides better access and can produce a much stronger repair, but opening the exterior of a vintage trailer is still a major project. If the damage is extensive, the trailer has shifted or you are uncomfortable working with the aluminum skin and structural framing, consult an experienced vintage trailer restorer.
Done correctly, the repair will address more than the visible damage. It will restore the framing, replace the rotted paneling and help protect the trailer from future leaks—getting your vintage camper solid, dry and ready for the next rally.

The resources we have are advertised in the magazine and on our online classifieds. https://classifieds.vintagecampertrailers.com/classified/business-services-browse-94.aspx
Could you please point me in the direction of a good vintage trailer repair person. I live 30 miles west of Nashville Tennessee. Anywhere within 100 miles would work. I need to replace the original copper water lines with Pex and have the wiring checked out.