Vinyl wraps are becoming increasingly common. While they’re most often seen on commercial trucks and passenger cars, they’re also a viable option for vintage campers.
An option to painting or polishing the exterior of your trailer. Vinyl wraps can completely change the look of a trailer by using solid colors, patterns, text or brand logos. The possibilities are endless.
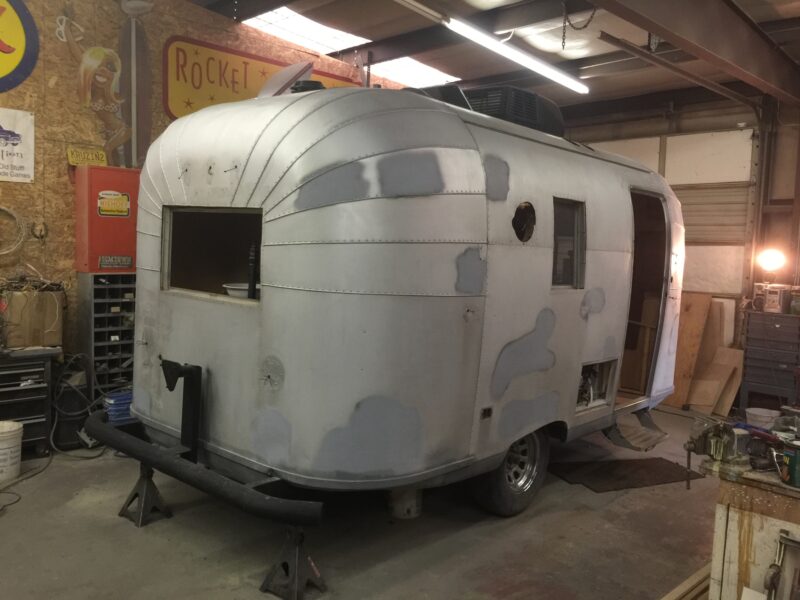
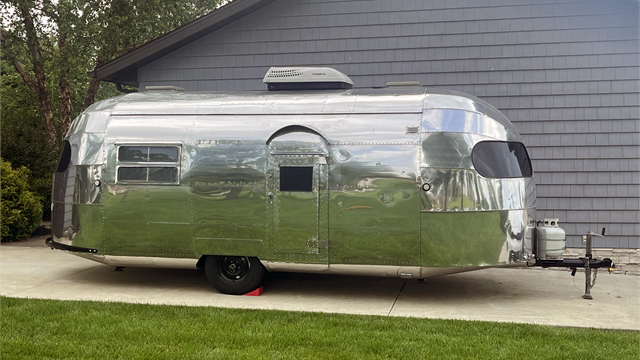
In our case, a 1965 Avion had the typical dull gray anodized finish — difficult to polish and nearly impossible to match after dent repairs and a panel replacement. Since a new aluminum panel would never blend with the aged anodizing, the choice came down to paint or wrap. Wrapping proved to be the more flexible and reversible solution.
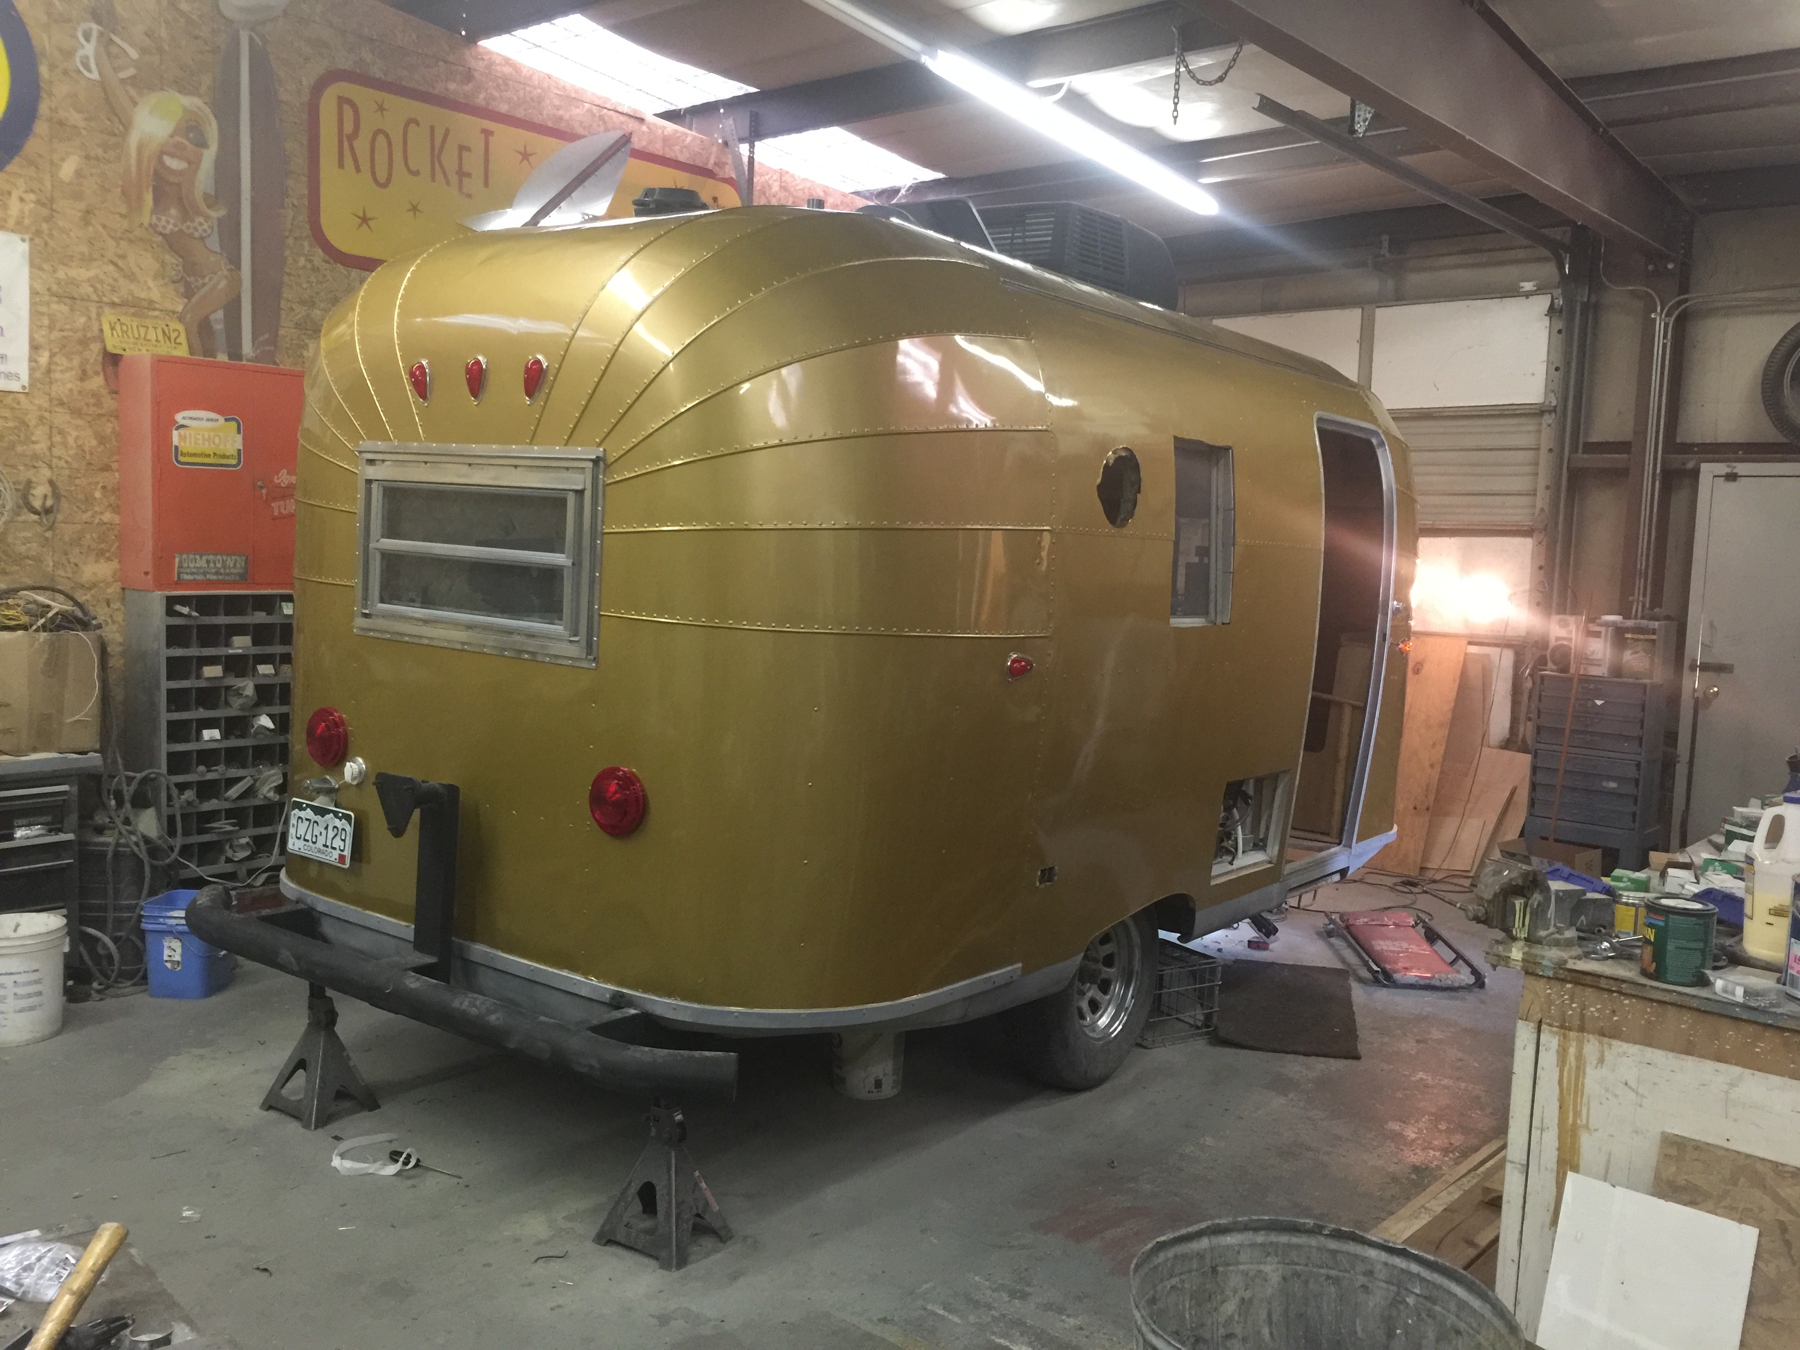
Modern wrap vinyl is engineered to conform to curves and release trapped air, resulting in a smooth finish when properly installed. There are multiple brands and hundreds of color options available, including custom prints. After reviewing samples, we selected a gold metallic designed to mimic gold anodizing. We chose a 3M product for its color tone and strong warranty coverage.
Installation, however, is not simple. While a skilled DIYer can tackle it, professional installation is highly recommended. Surface prep is critical: remove as much exterior hardware as possible, thoroughly clean the body, and wipe it down with wax and grease remover. The cleaner the surface, the better the adhesion. A dust-free workspace is equally important, as the vinyl’s static charge will attract debris.

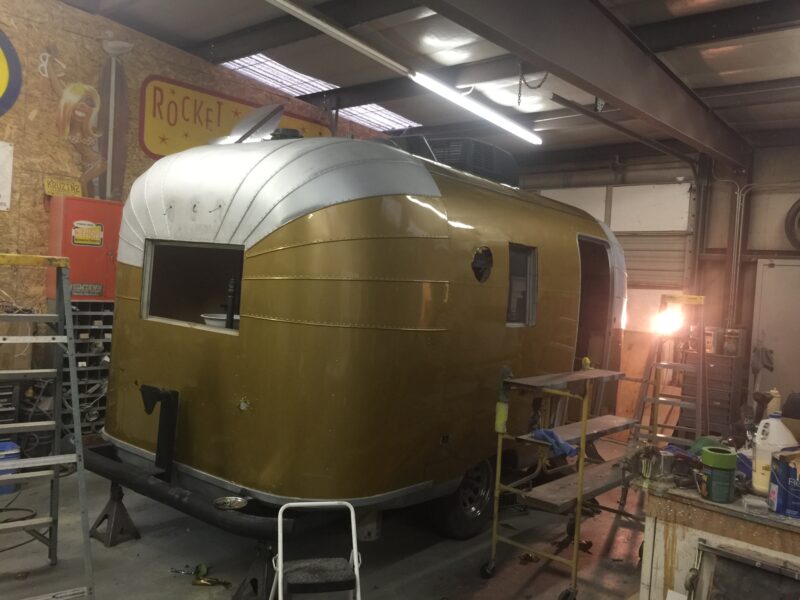
Each panel was wrapped individually, working from the lower rear forward and upward, overlapping seams slightly for added protection. The vinyl is applied loosely, then worked from the center outward using a felt squeegee. Gentle heat helps it conform to compound curves. Rivets require patience — each one must be carefully heated and pressed down by hand. Once applied, edges are trimmed with a sharp blade, and seams can be sealed with a clear seam sealer for added insurance.
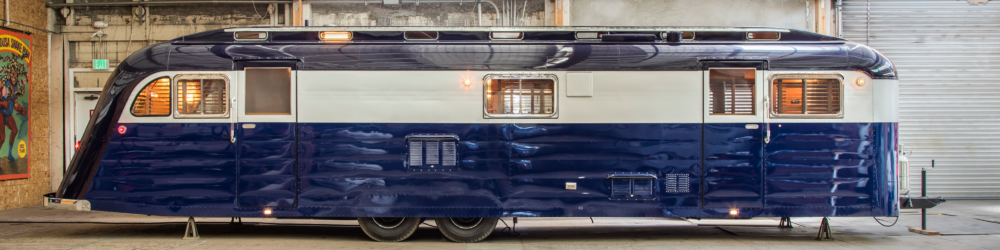
When finished and reassembled, the transformation is dramatic. A once-tired anodized shell takes on a fresh, uniform finish — proof that wrapping can be a smart alternative when polishing or painting simply isn’t practical.