Understanding the Problem: Why Panels Fail
1950s canned ham trailers weren’t built to last over 60 years, and one of the biggest threats to these vintage beauties is moisture damage. Water sneaks in through the tiniest cracks—especially around windows and vents—leading to rotted wood and compromised structural integrity. If you’re restoring a trailer, chances are you’ll need to replace some interior paneling.
It can be intimidating for a DIYer, and depending on your skill level, it might be best left to a professional. But with the right method, even an amateur can tackle the job. Tim Brown, a painting contractor and trailer restorer from Colfax, CA, shared a process we used on my 1954 Terry—and it’s a game changer.
The Wrong Way: Wrestling With Panels
When I first started doing panel repairs, I did what most people try: I pulled out the old panel from the inside and struggled to force a new one in its place. I bent, twisted, and cursed my way through it. This method works, but it’s a huge headache and limits your access to framing and other repairs you might need to make.
The Better Way: Work From the Outside In
Since trailers were built from the inside out, it makes sense to disassemble them in reverse. Start from the exterior so you can easily reach the damaged panels and surrounding framing.
⚠️ Before you begin, make sure the trailer won’t need to be moved until you’re finished. Moving it during repairs can throw it out of square.
Step-by-Step Repair Process
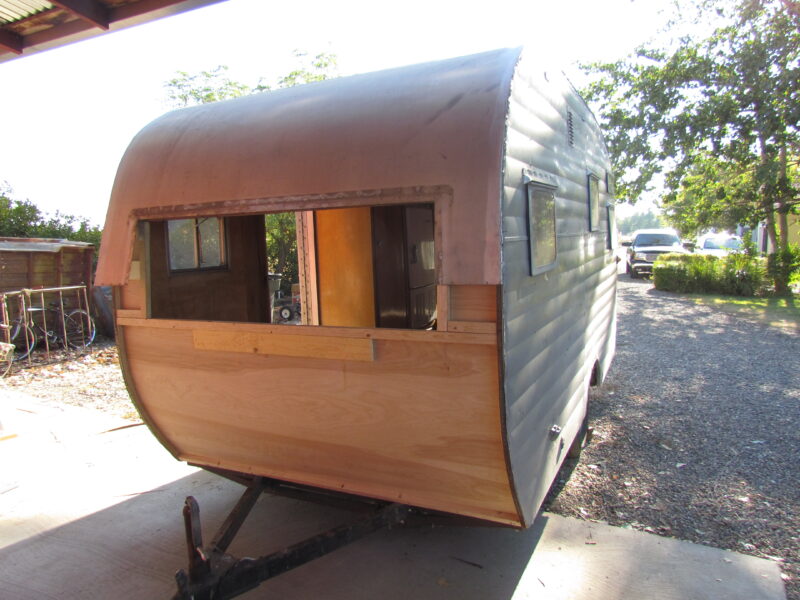
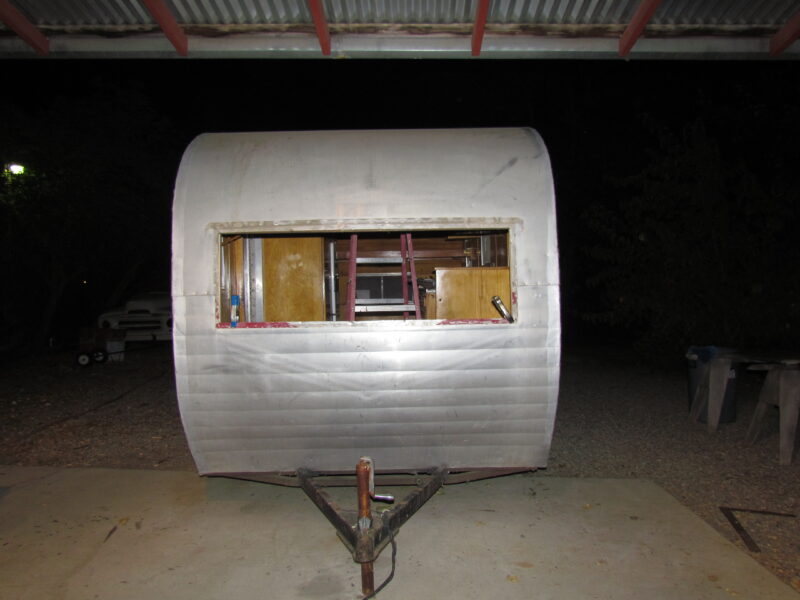
1. Remove Exterior Skin
Start by removing the J-molding, windows, and vents. The center section of the trailer’s aluminum skin overlaps the side panels and is fastened with staples, nails, or tacks. Use a pry tool to carefully remove these fasteners.
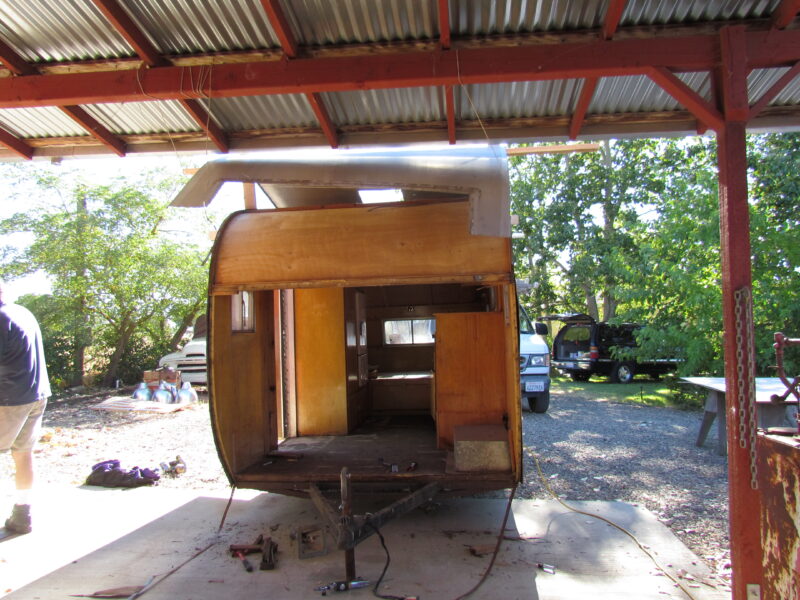
2. Detach Lower Siding Panel
Under the window, there’s usually a separate panel that connects to the roof skin with a lock seam like an S-lock or Pittsburgh lock. If it’s damaged (common on front panels due to tight turns or road debris), consider replacing it. Hemet Valley RV can match your aluminum pattern and ship you a replacement at a reasonable price.
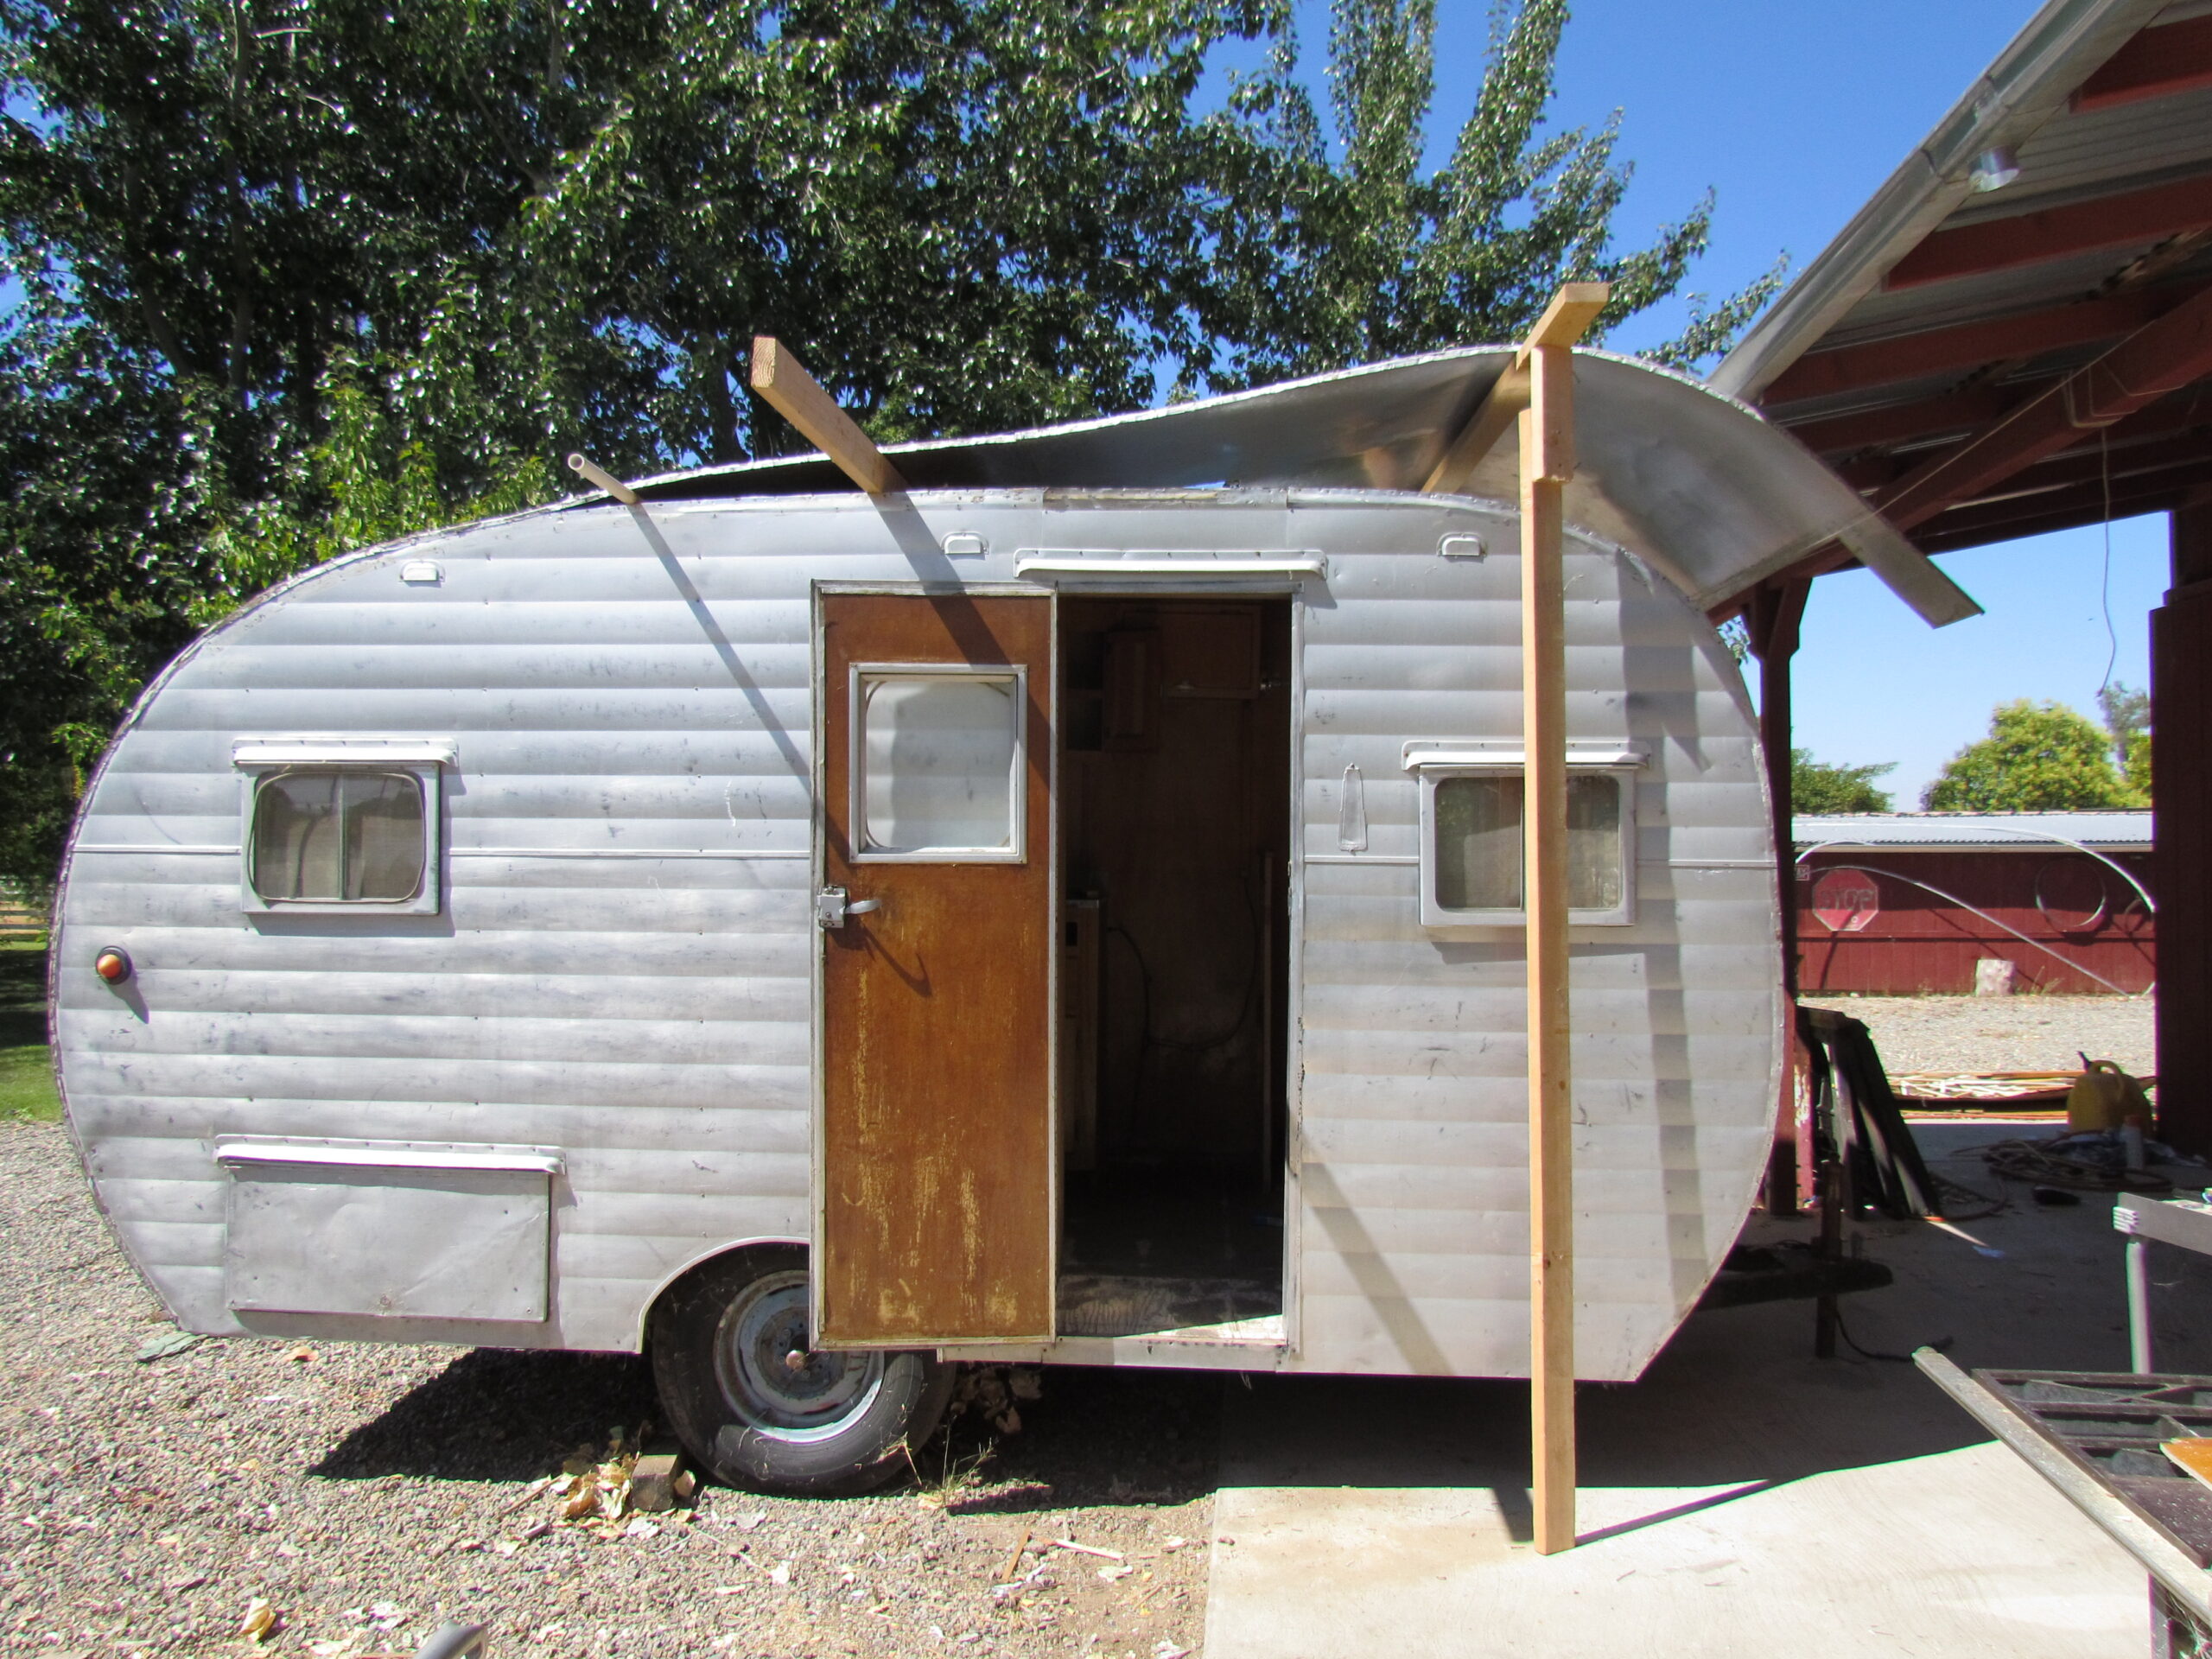
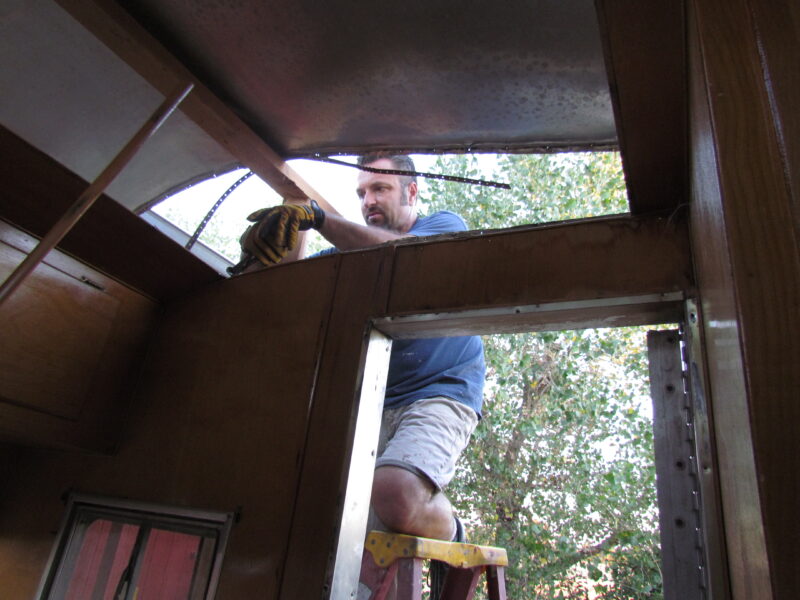
3. Support the Roof Skin
Don’t completely remove the center roof section unless it needs replacing. Instead, peel it back carefully just far enough to reach your repair area. Use a simple 2×4 frame or rope from the ceiling to hold it up. (See above photo.)
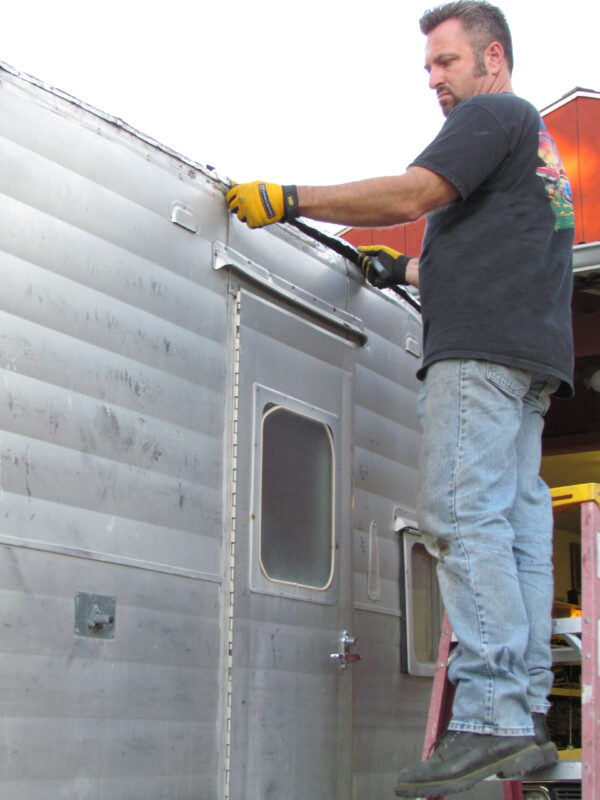
🔧 Only peel back what’s necessary—front window, rear window, or vent area. Repair one section at a time and reattach the roof before starting the next.
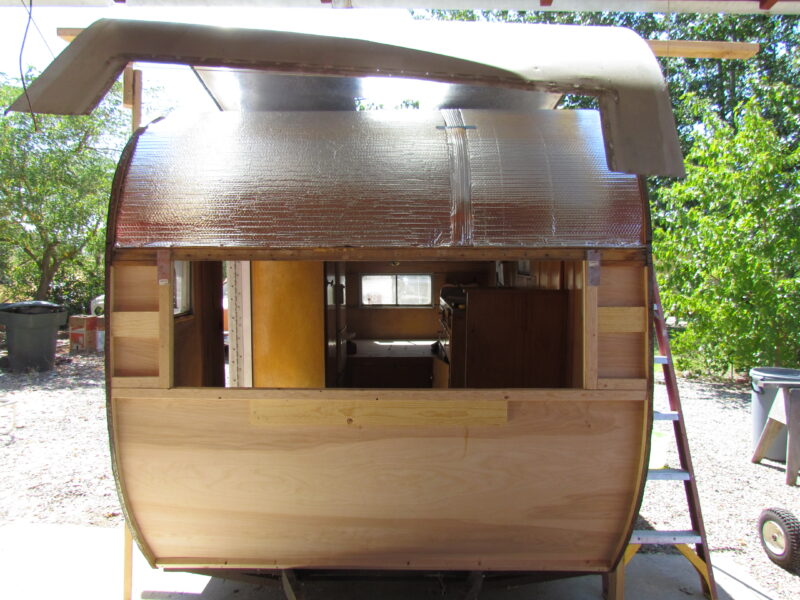
4. Install Bracing (Optional but Helpful)
If you’ve removed a lower wall panel, it’s a good idea to install temporary cross-bracing to keep the walls from shifting. (Let’s be honest—these trailers were never perfectly square to begin with!)
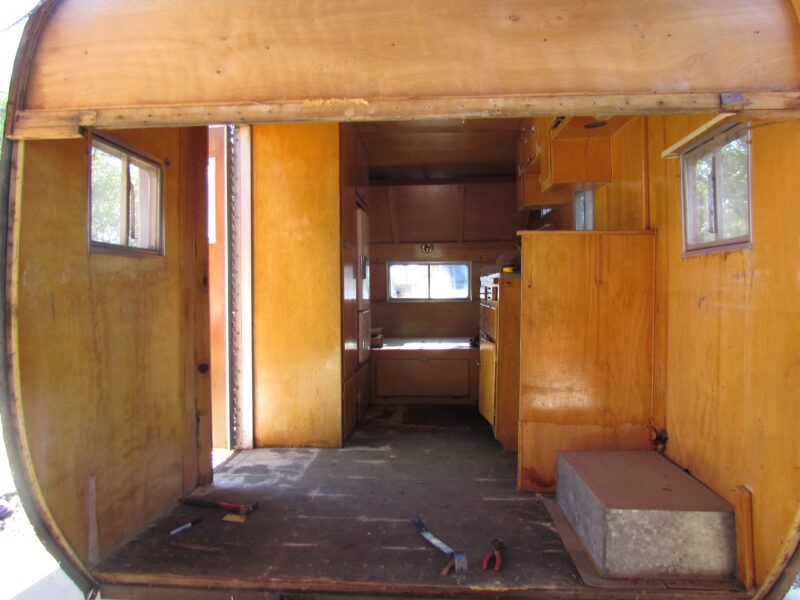
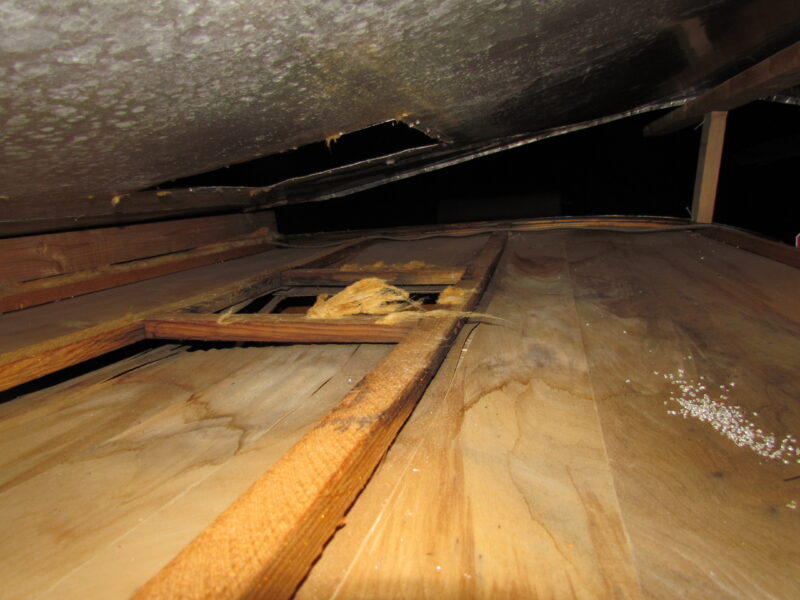
Rebuilding the Interior
With everything opened up, you can see the basic frame structure. Remove any rotted wood and damaged paneling. This gives you a clean slate to rebuild:
- Pre-finish your replacement interior panels before installing.
- Replace or reinforce framing and insulation as needed.
- Reattach the original roof skin by aligning it with the existing nail holes.
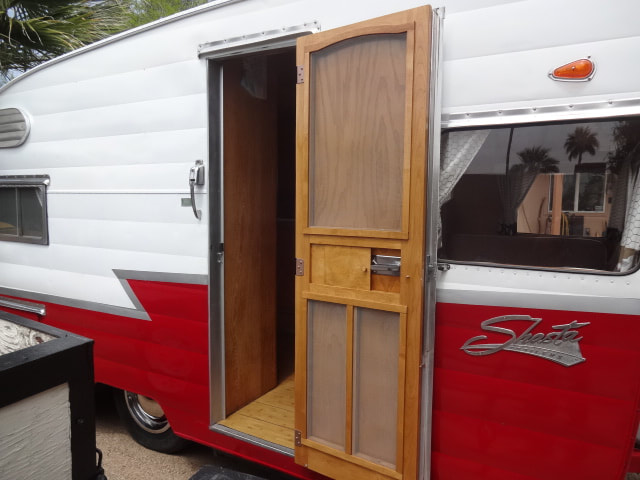
- Finish by reinstalling the J-molding, windows, and vents using butyl tape.

Final Thoughts
At first, this method might seem like overkill. But most people who try it end up thanking me—it gives you full access and makes the job much easier and more effective in the long run.
If this process still feels overwhelming, no worries! The restorers featured in Vintage Camper Trailers Magazine can help or point you to a reliable hobbyist to get your trailer rally ready.