To replace your siding, follow these steps:
Remove the Old Siding
- Use scrap lumber to brace the trailer diagonally, preventing it from shifting out of square.
- Avoid moving the trailer once the siding is off—it provides shear support, and without it, the frame is more vulnerable to shifting.
- Pay attention to how the siding was originally installed; you’ll reverse this process when applying the new panels.

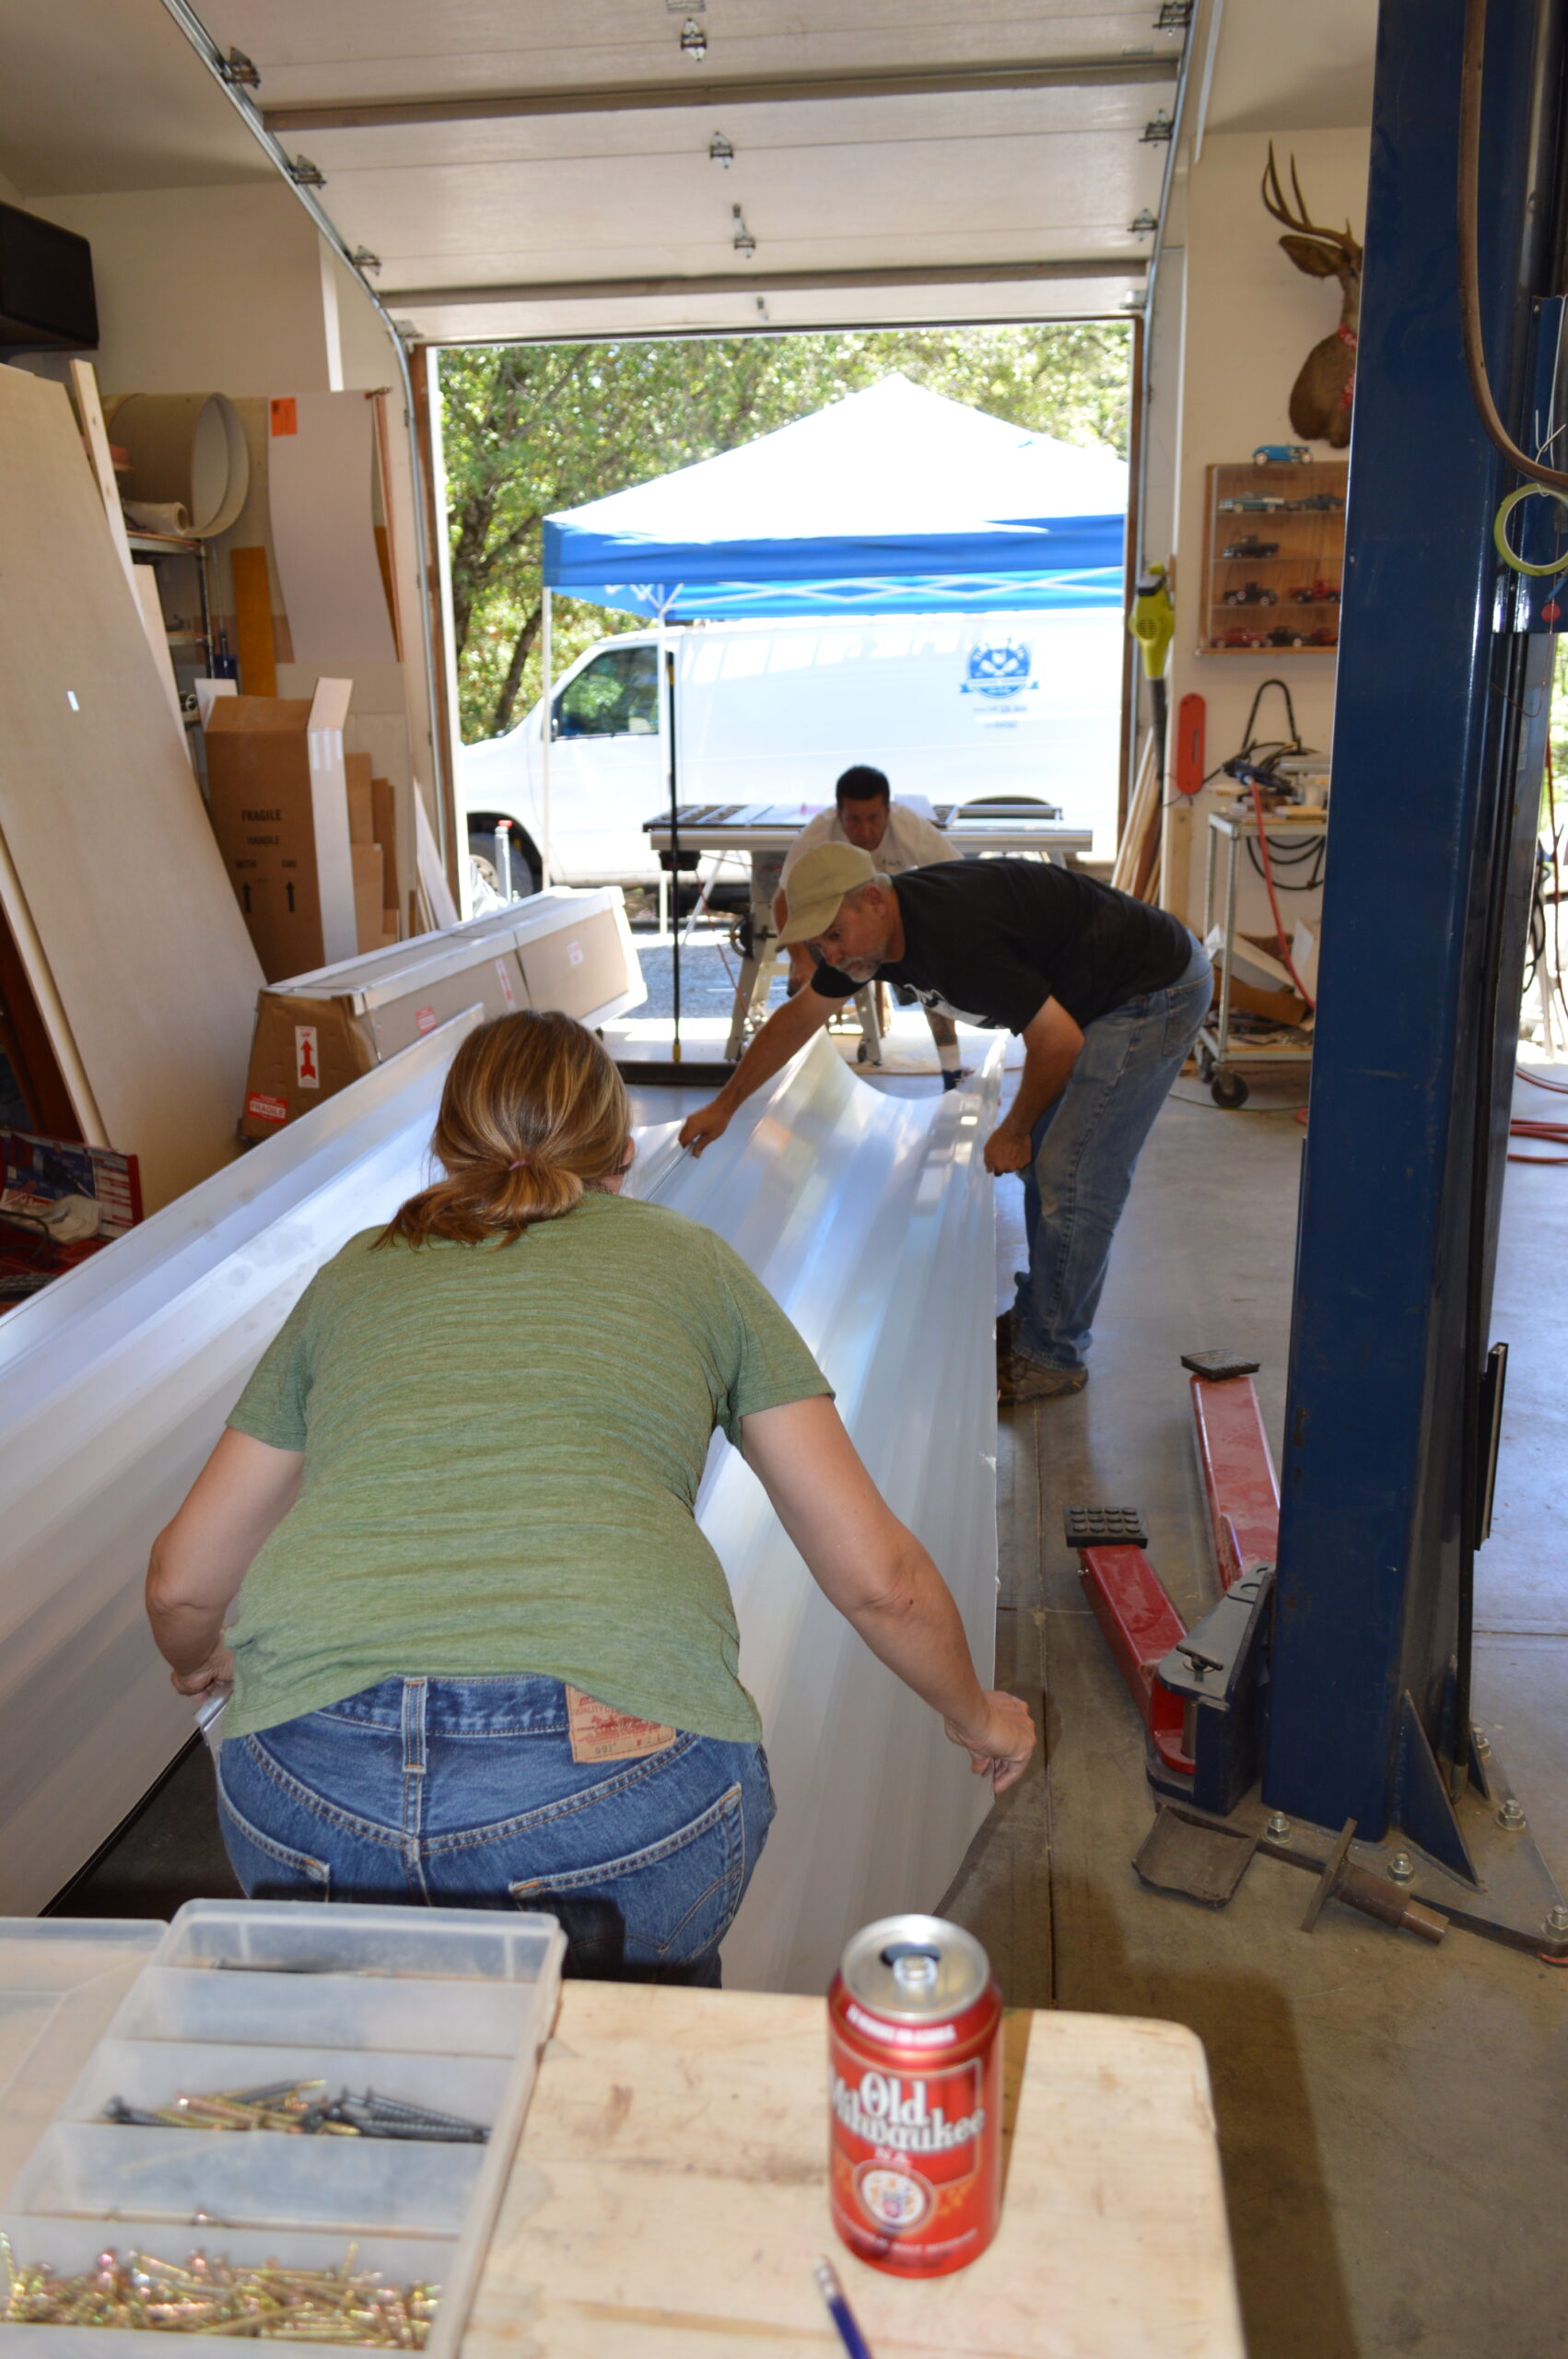
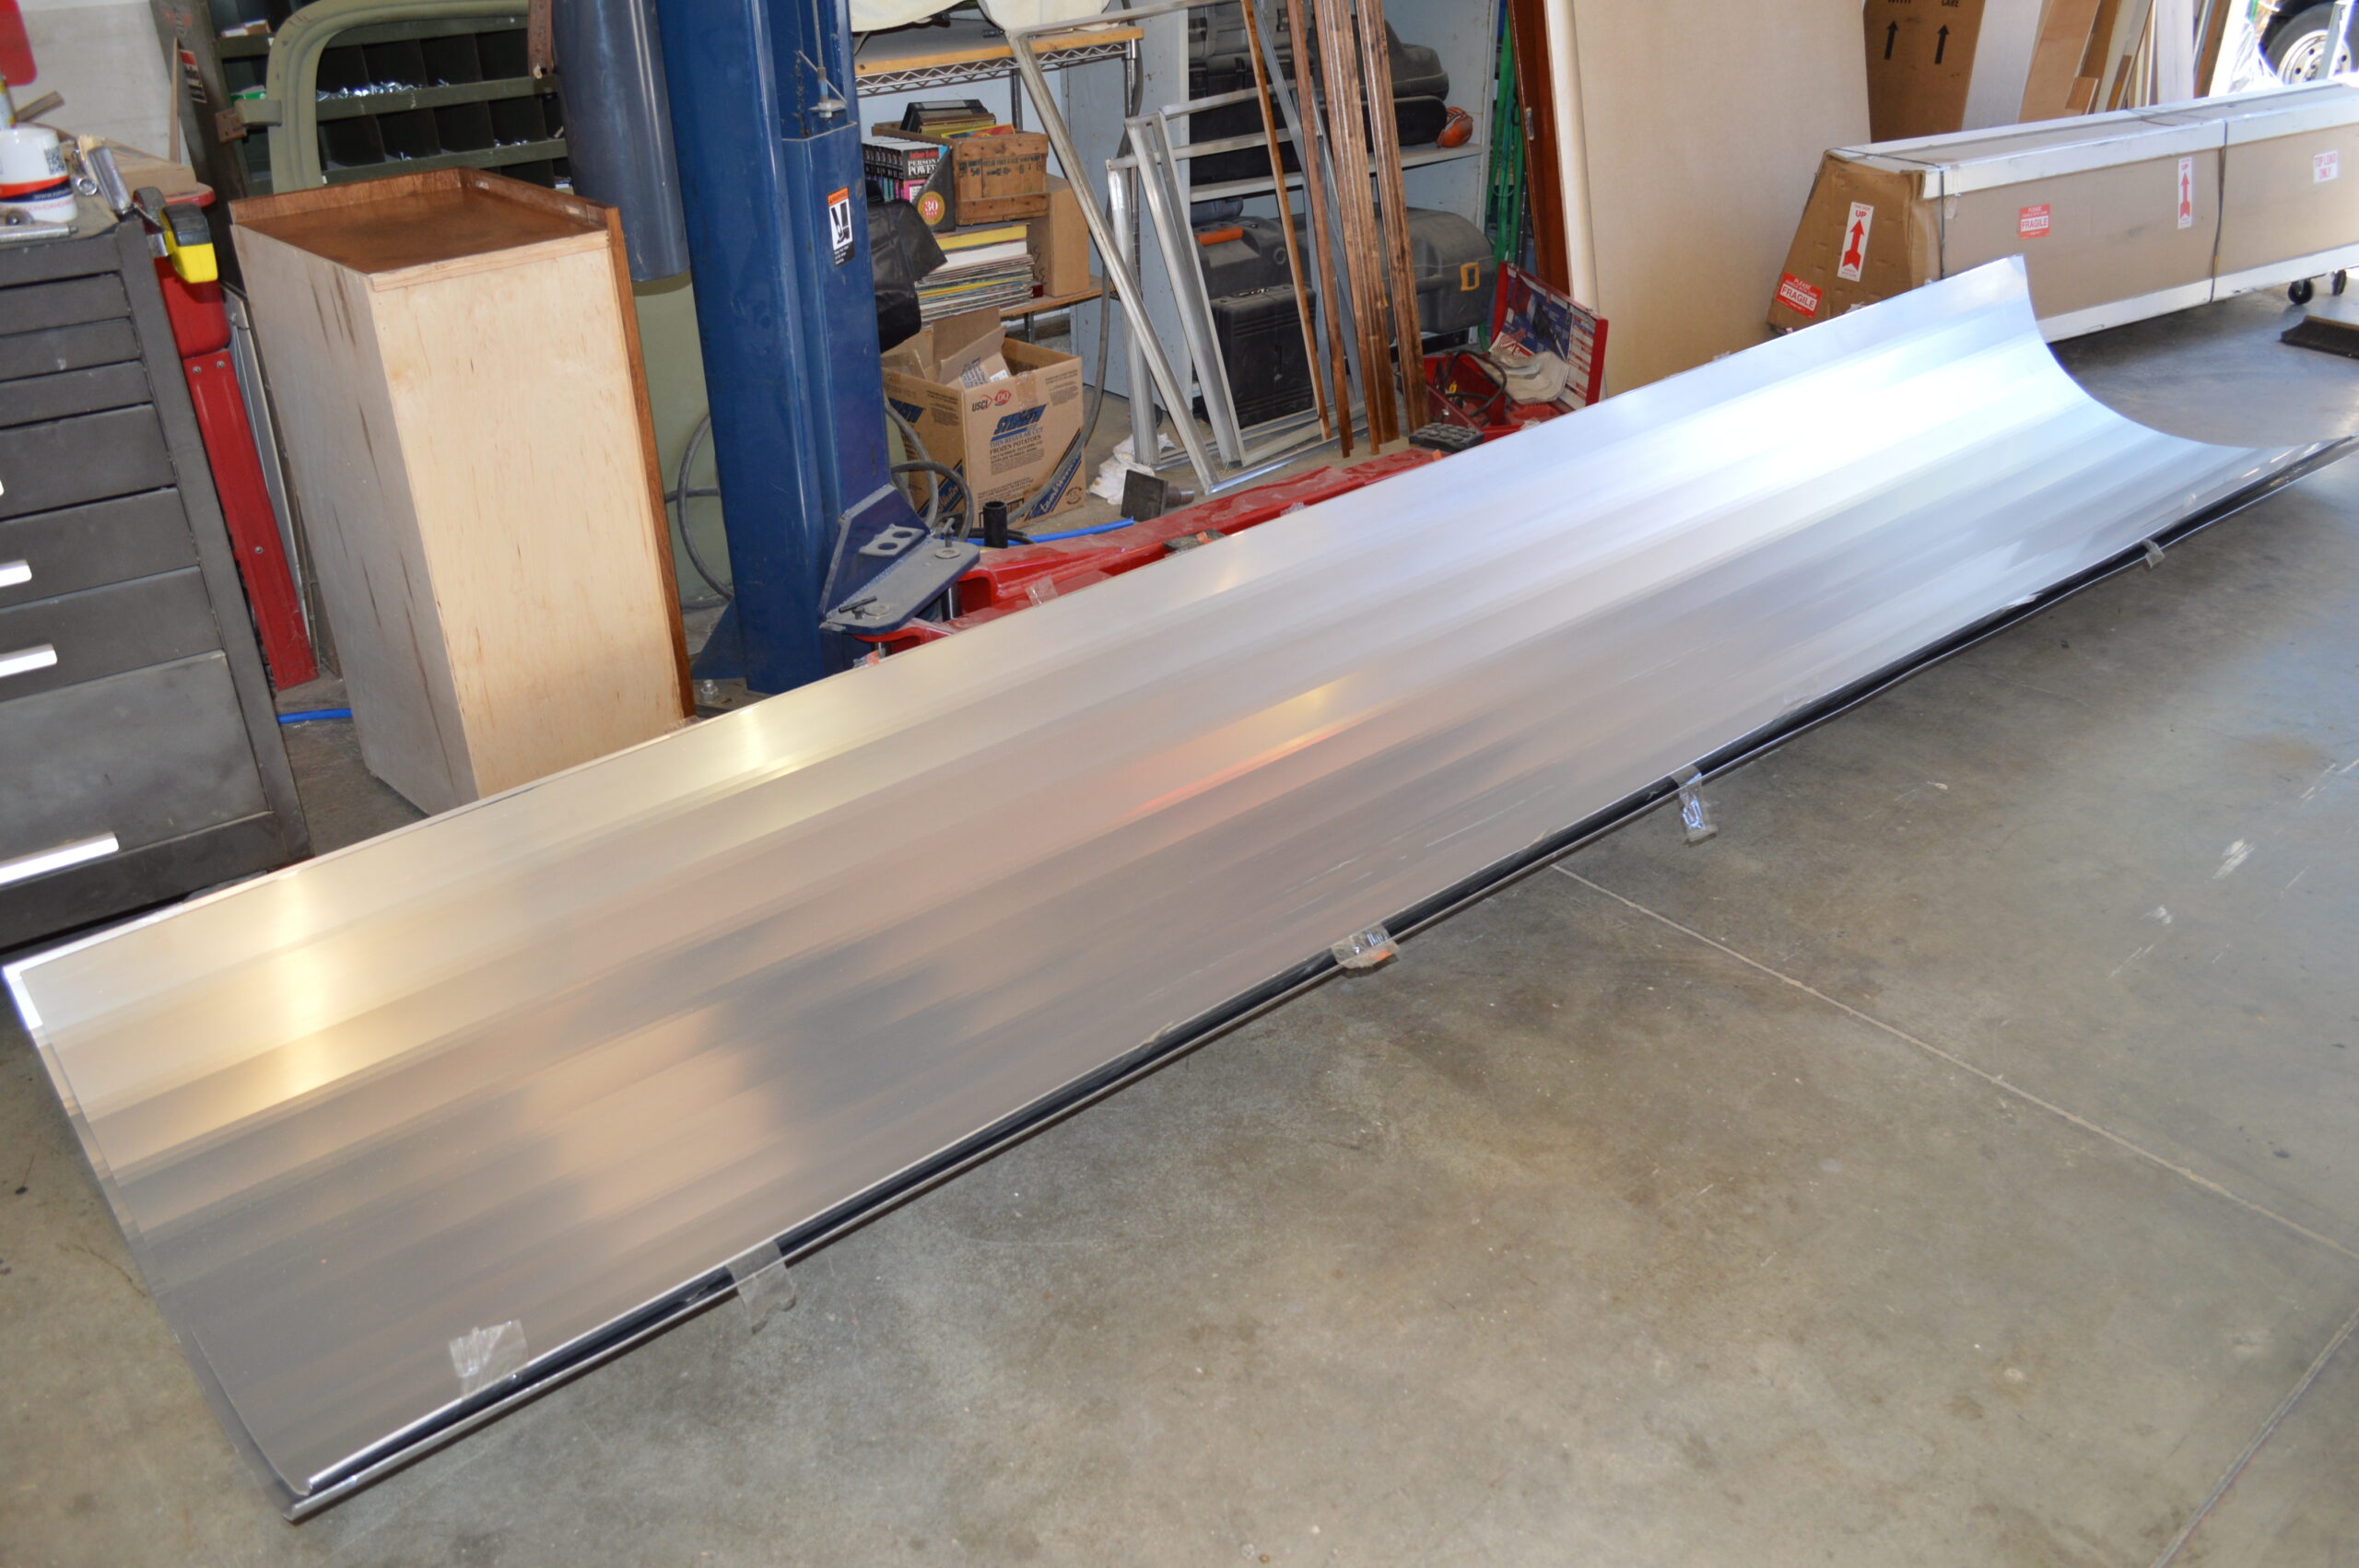
Installing the New Siding
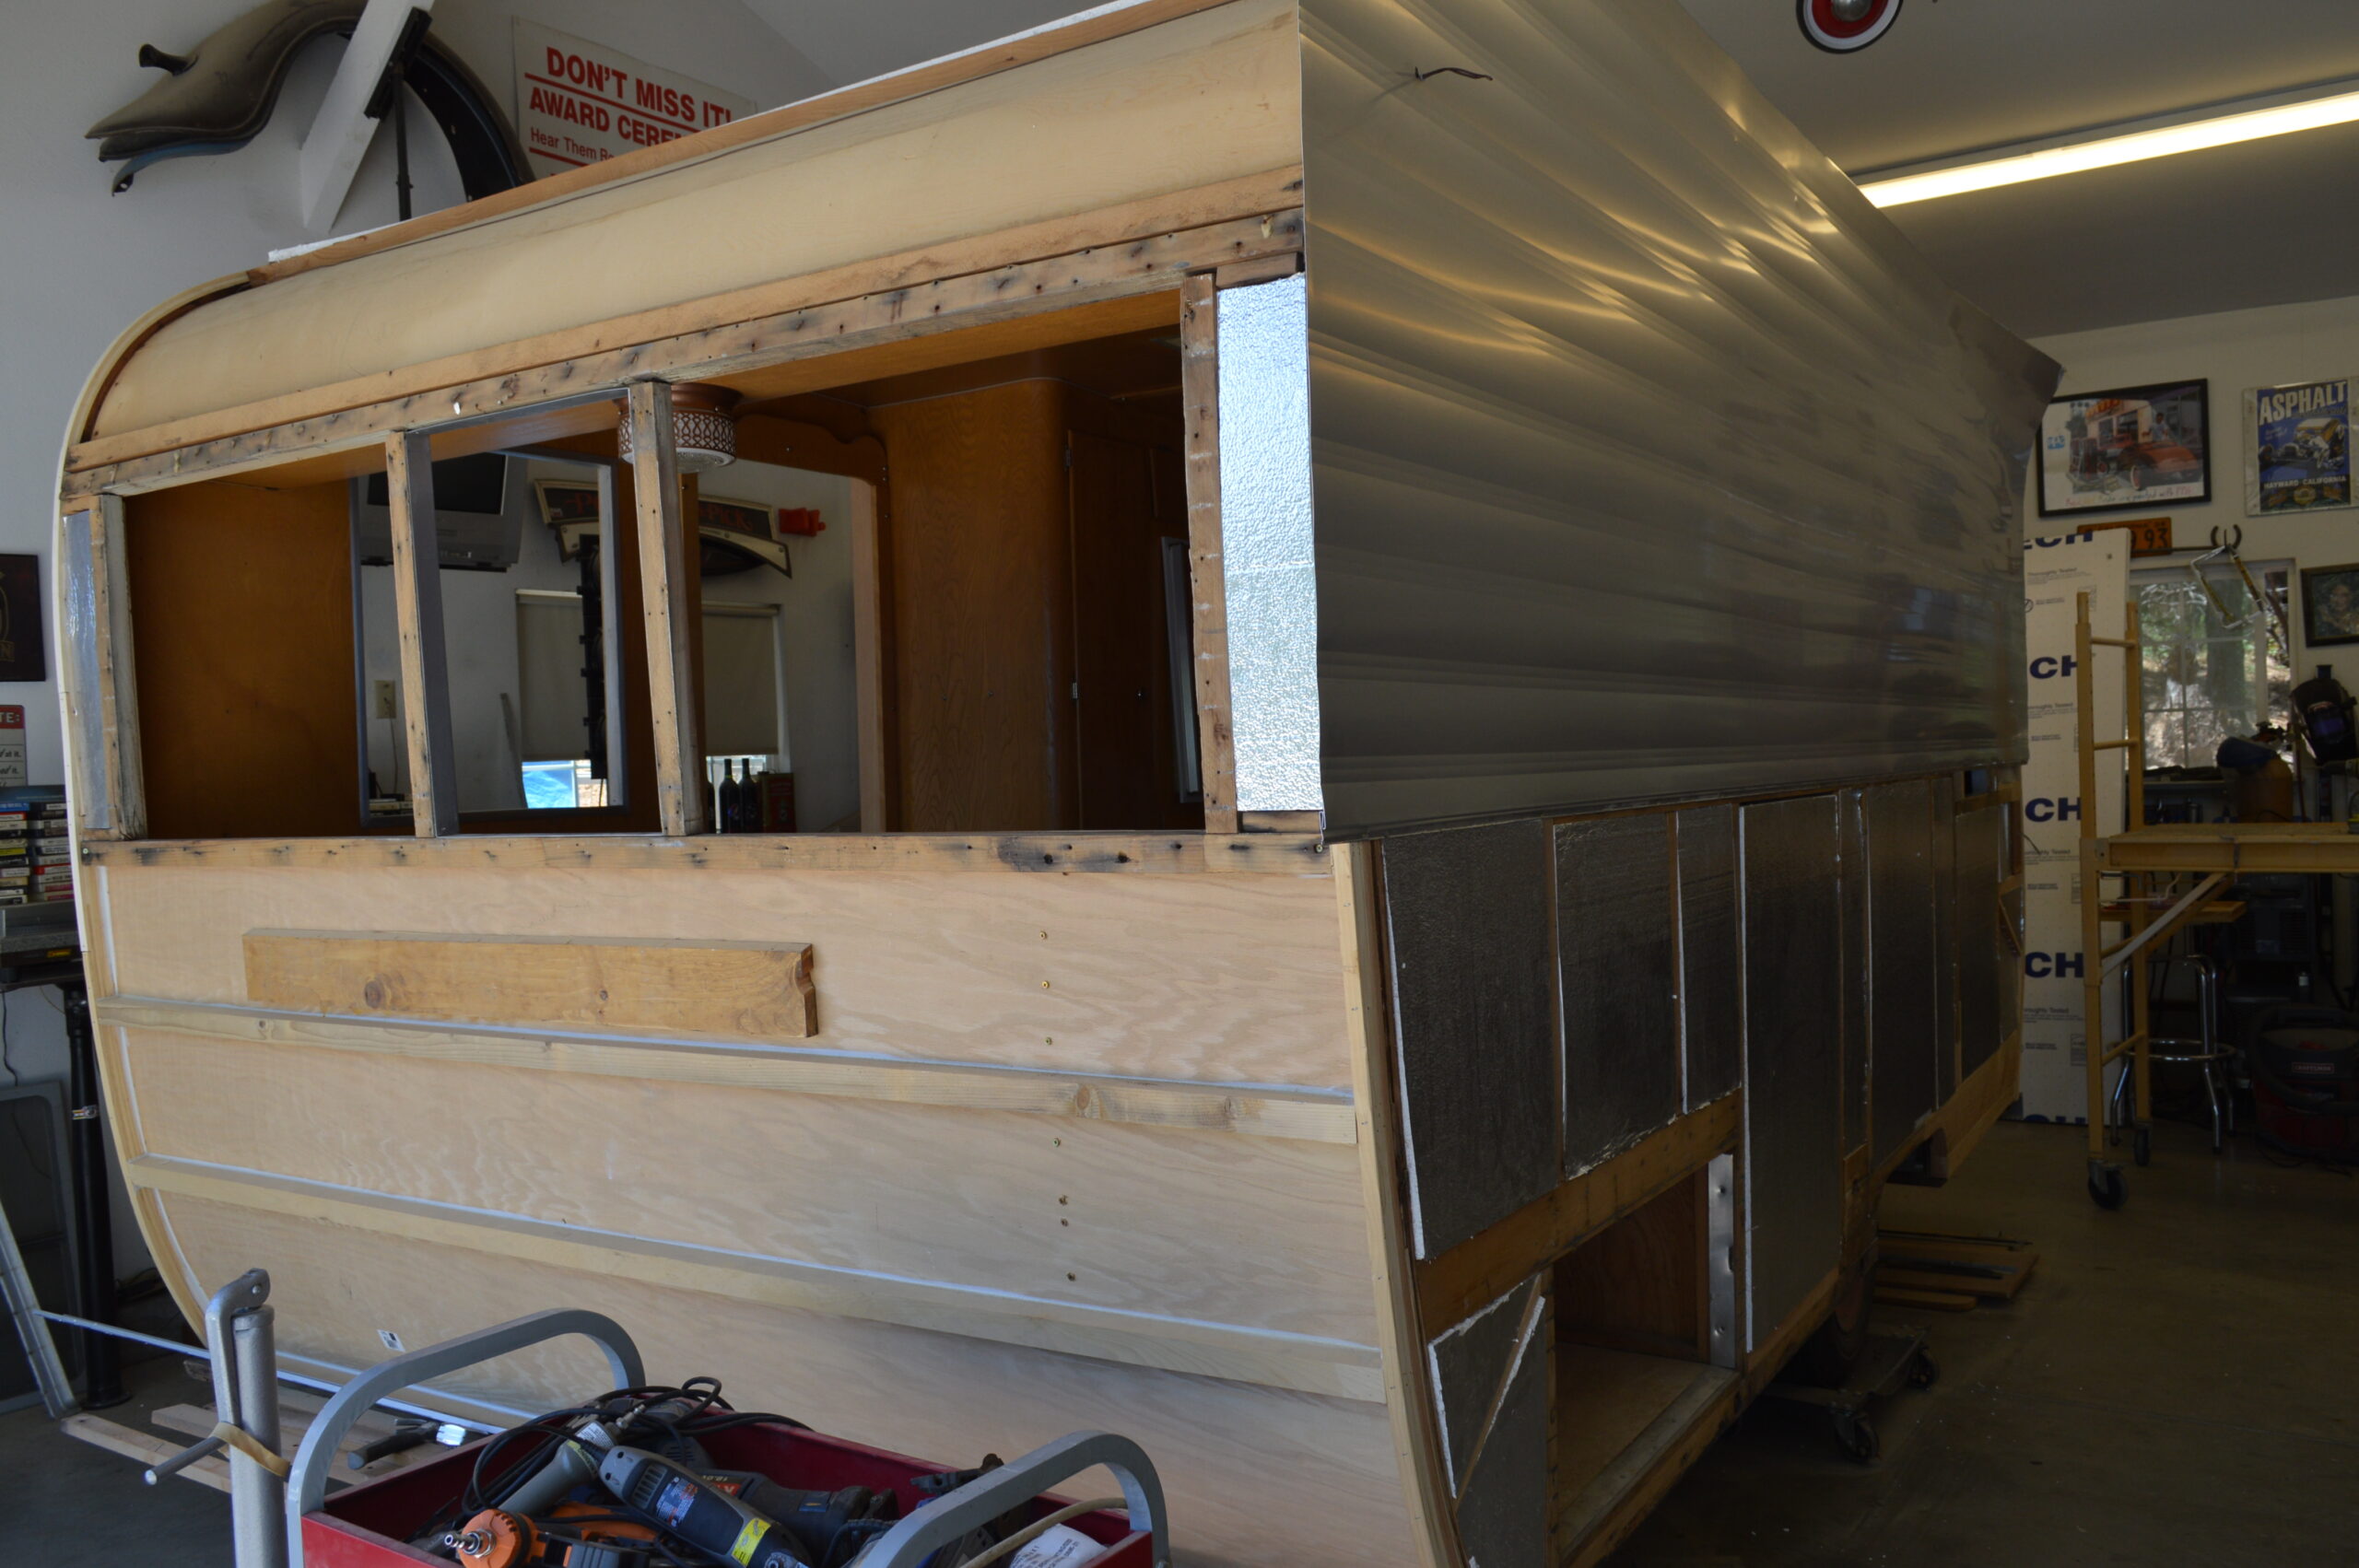
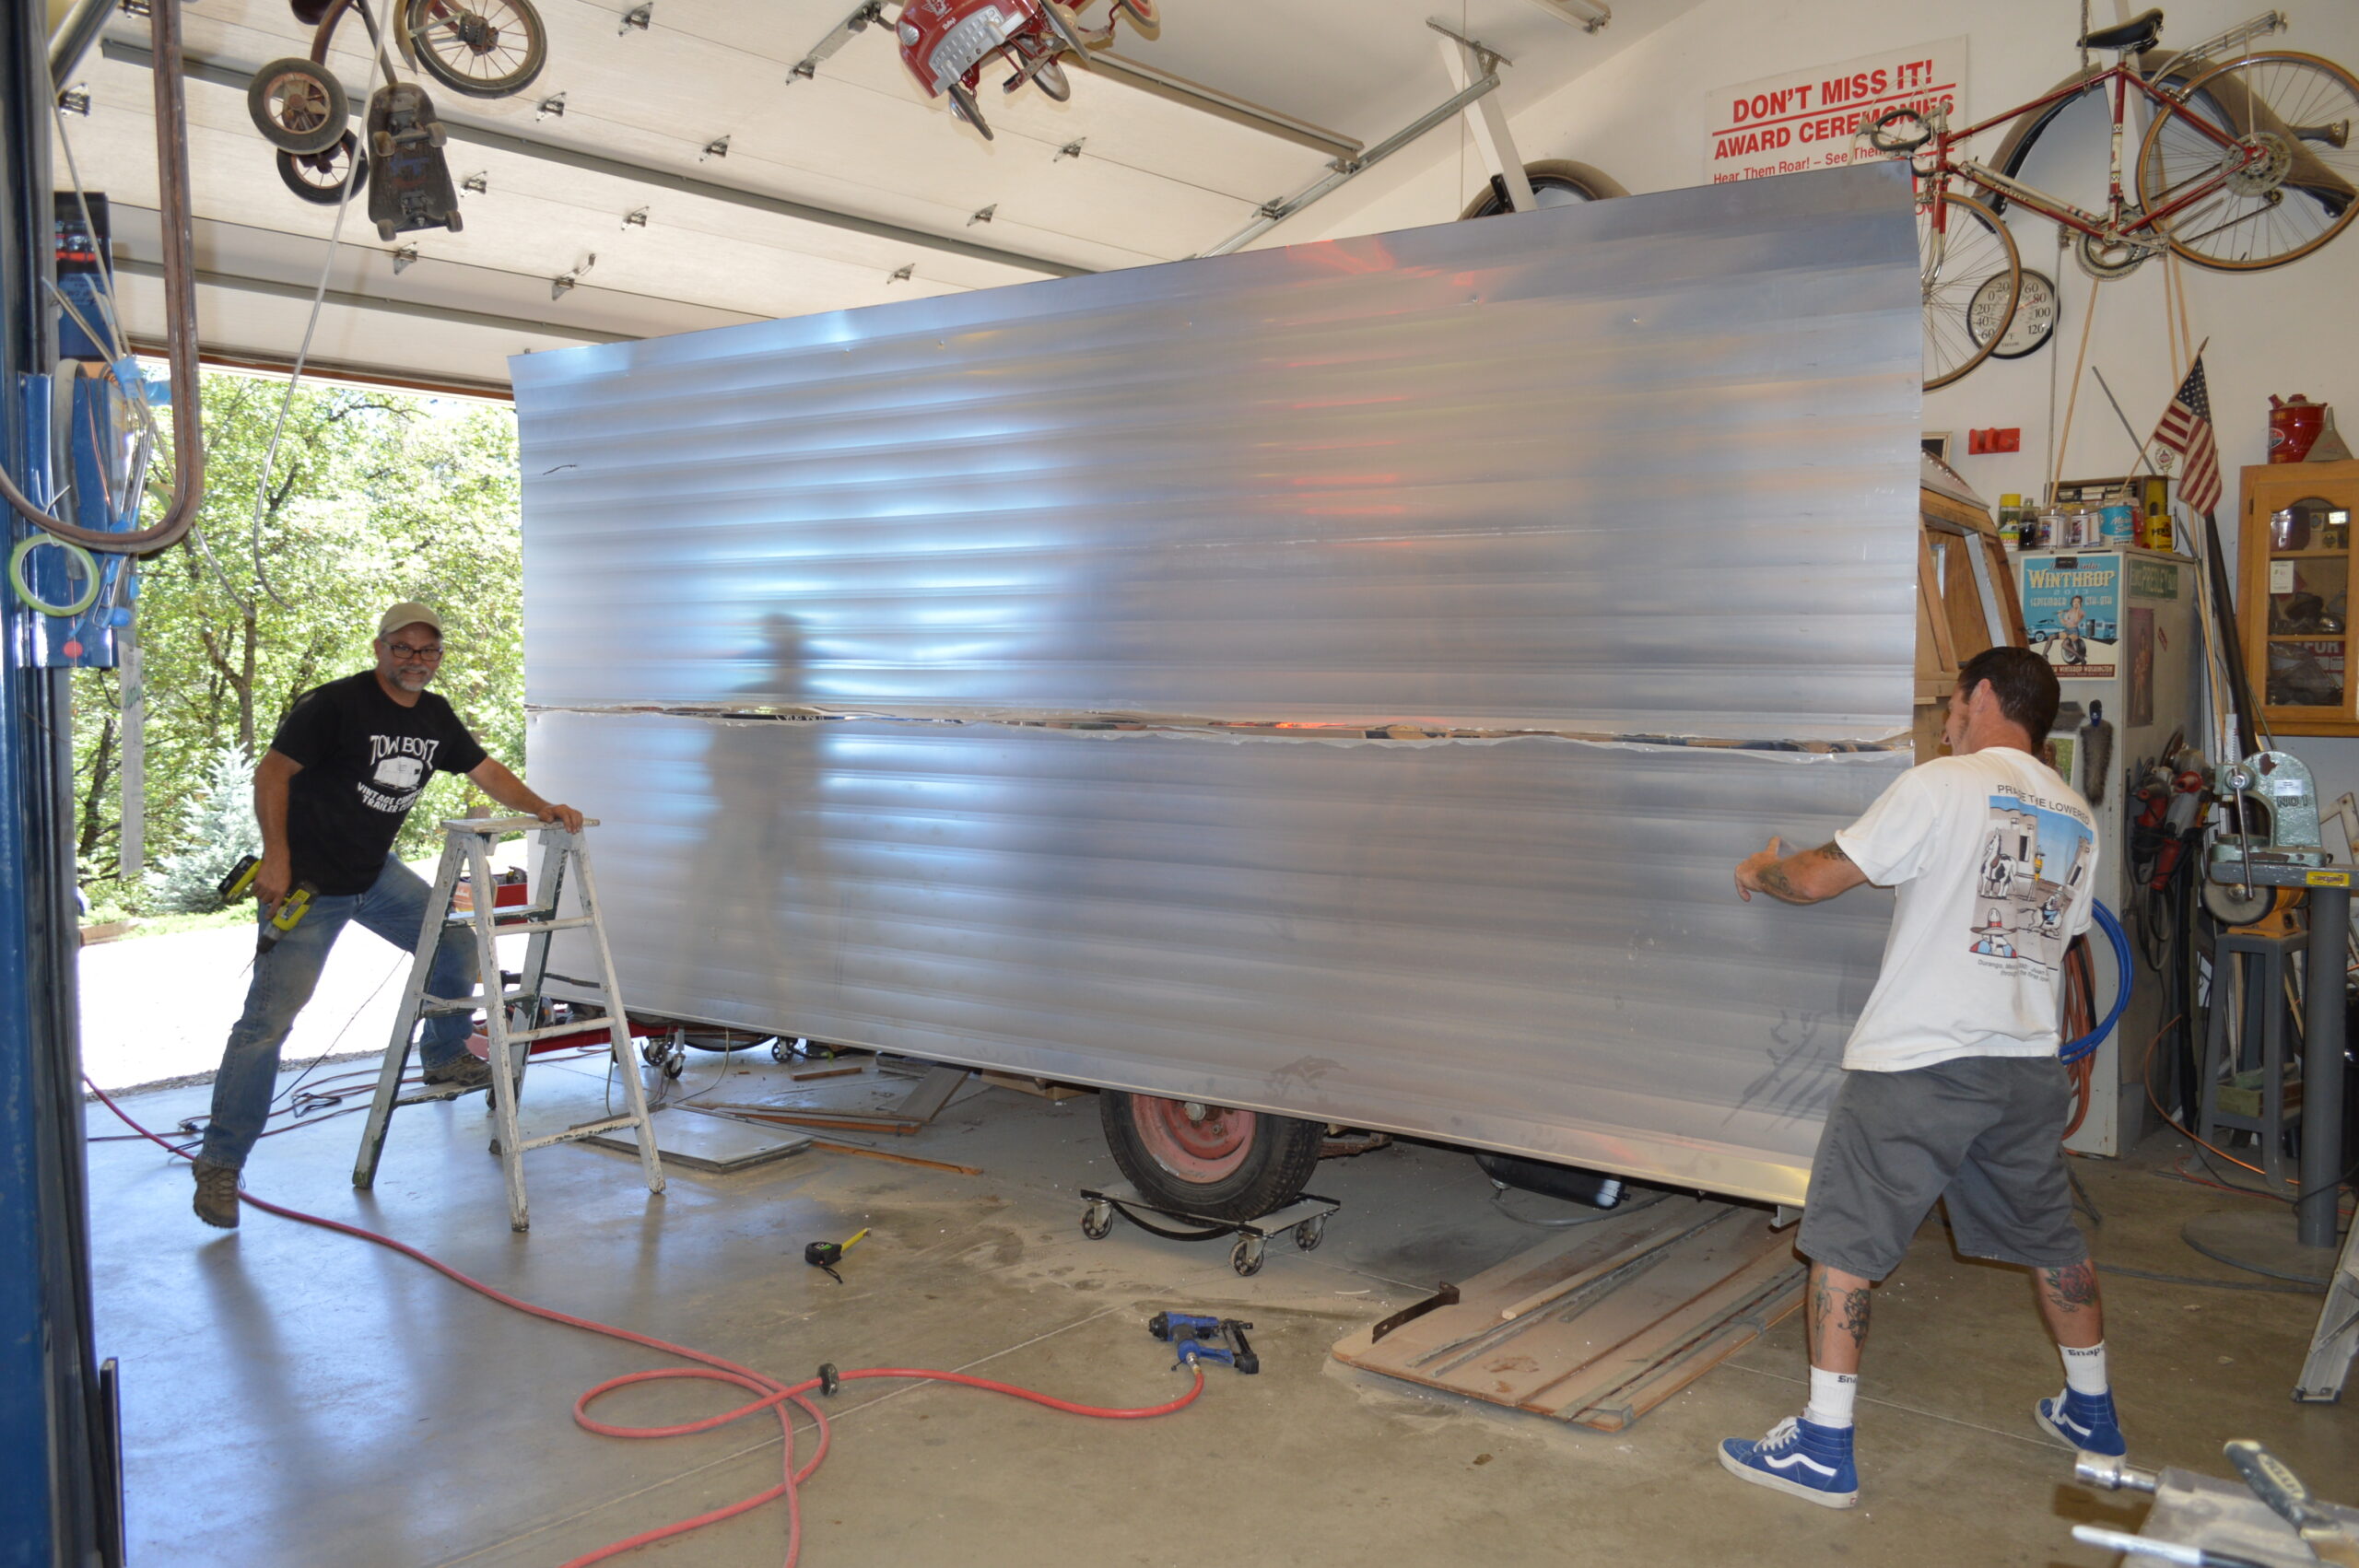
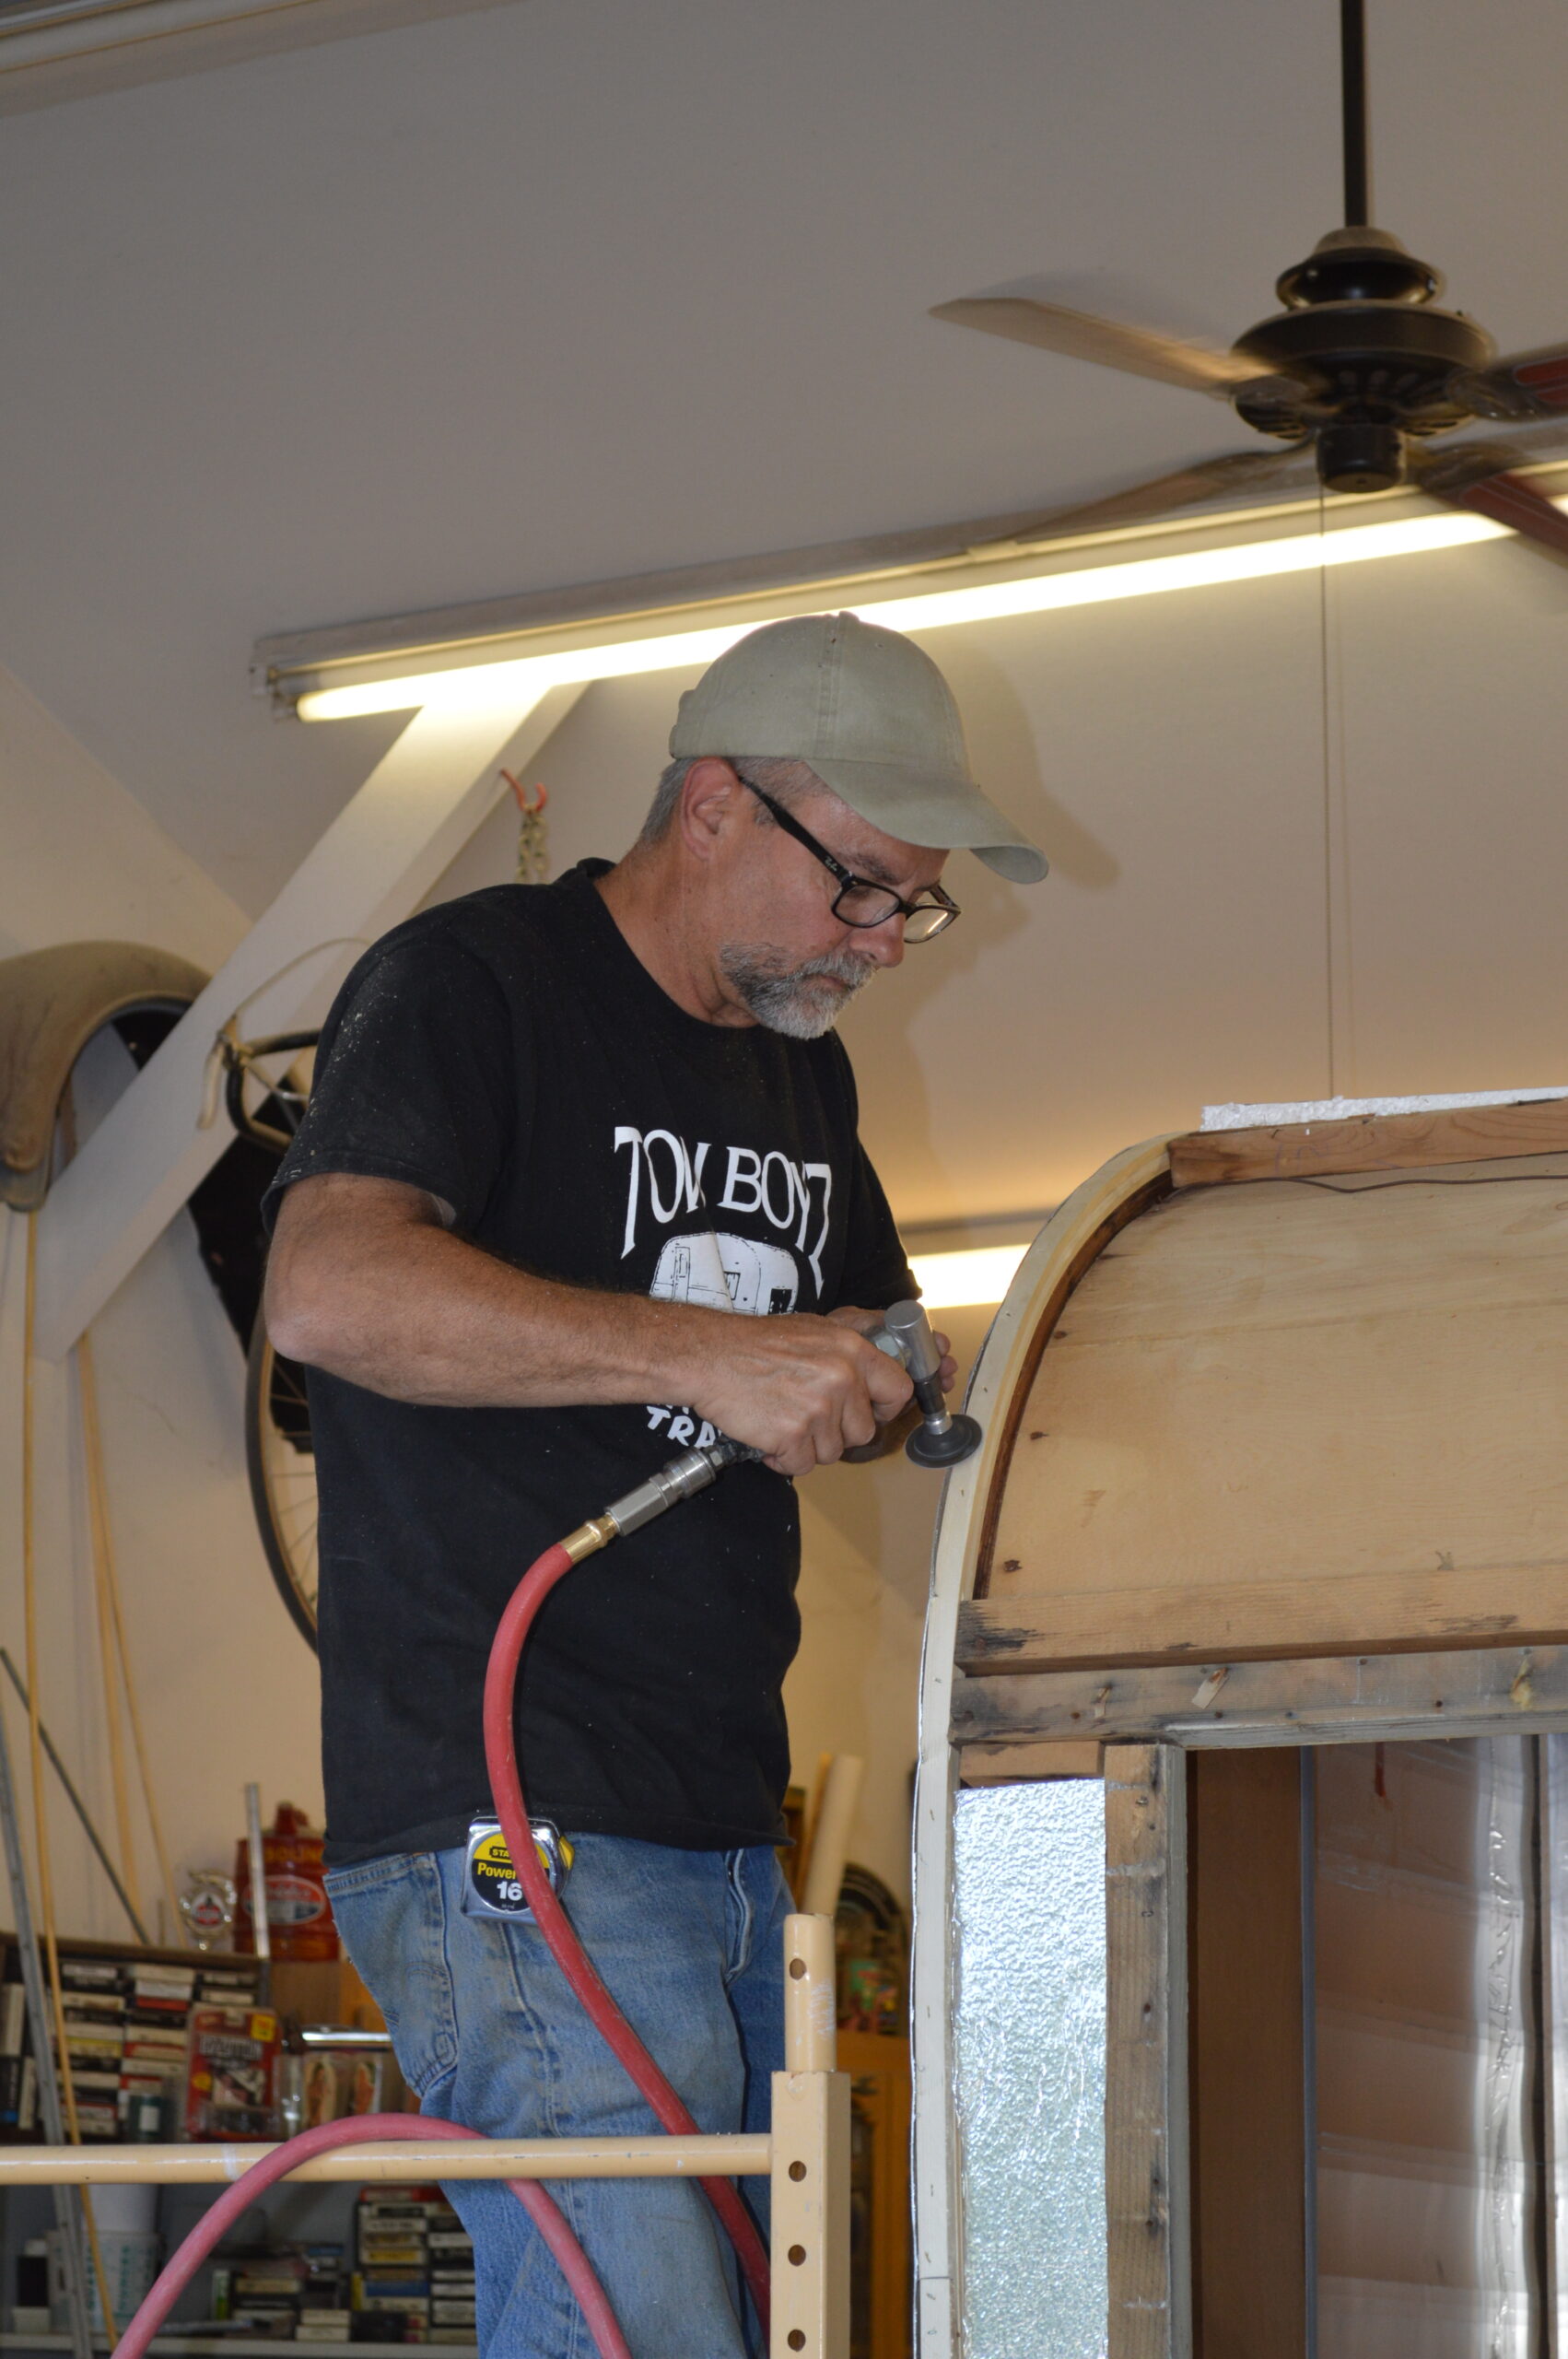
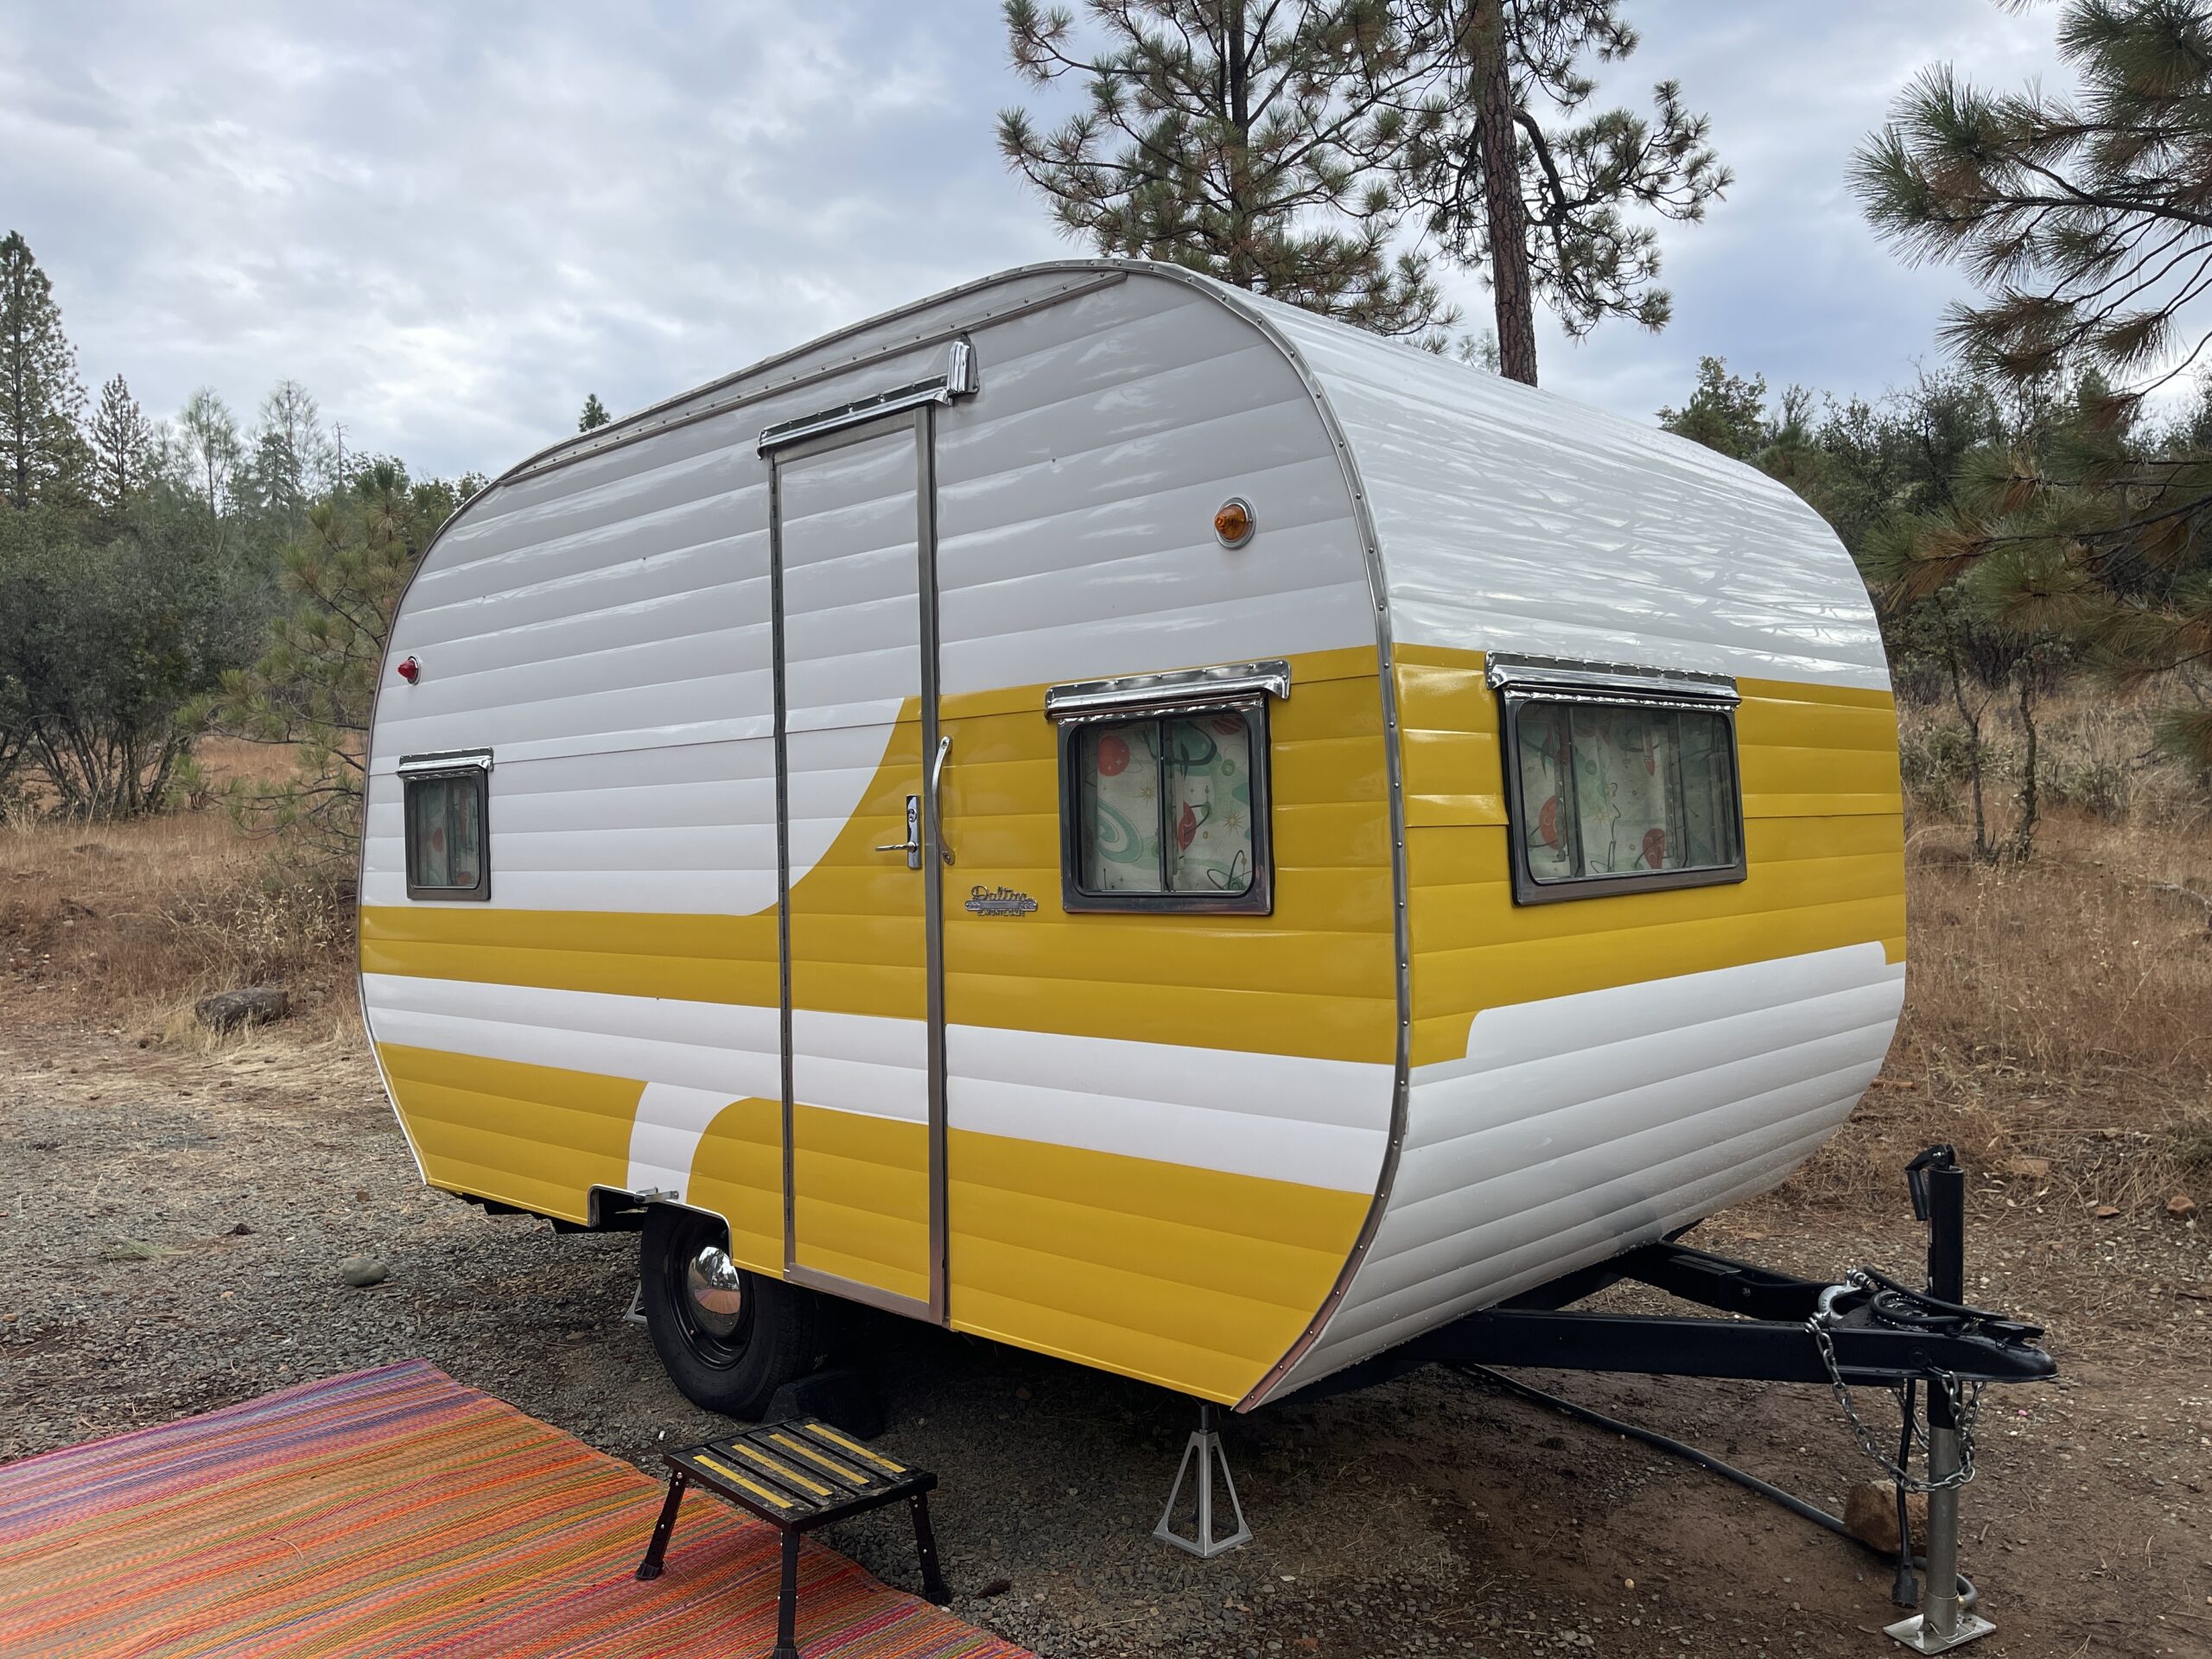
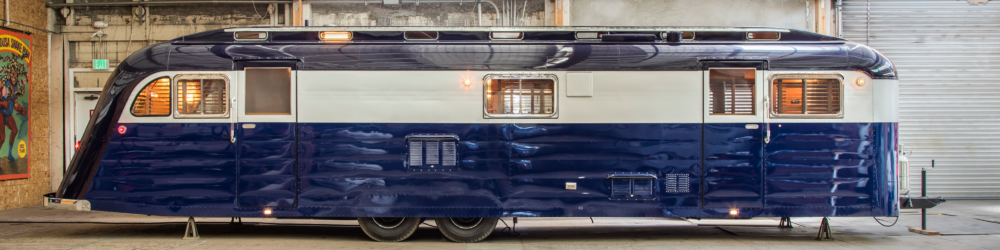
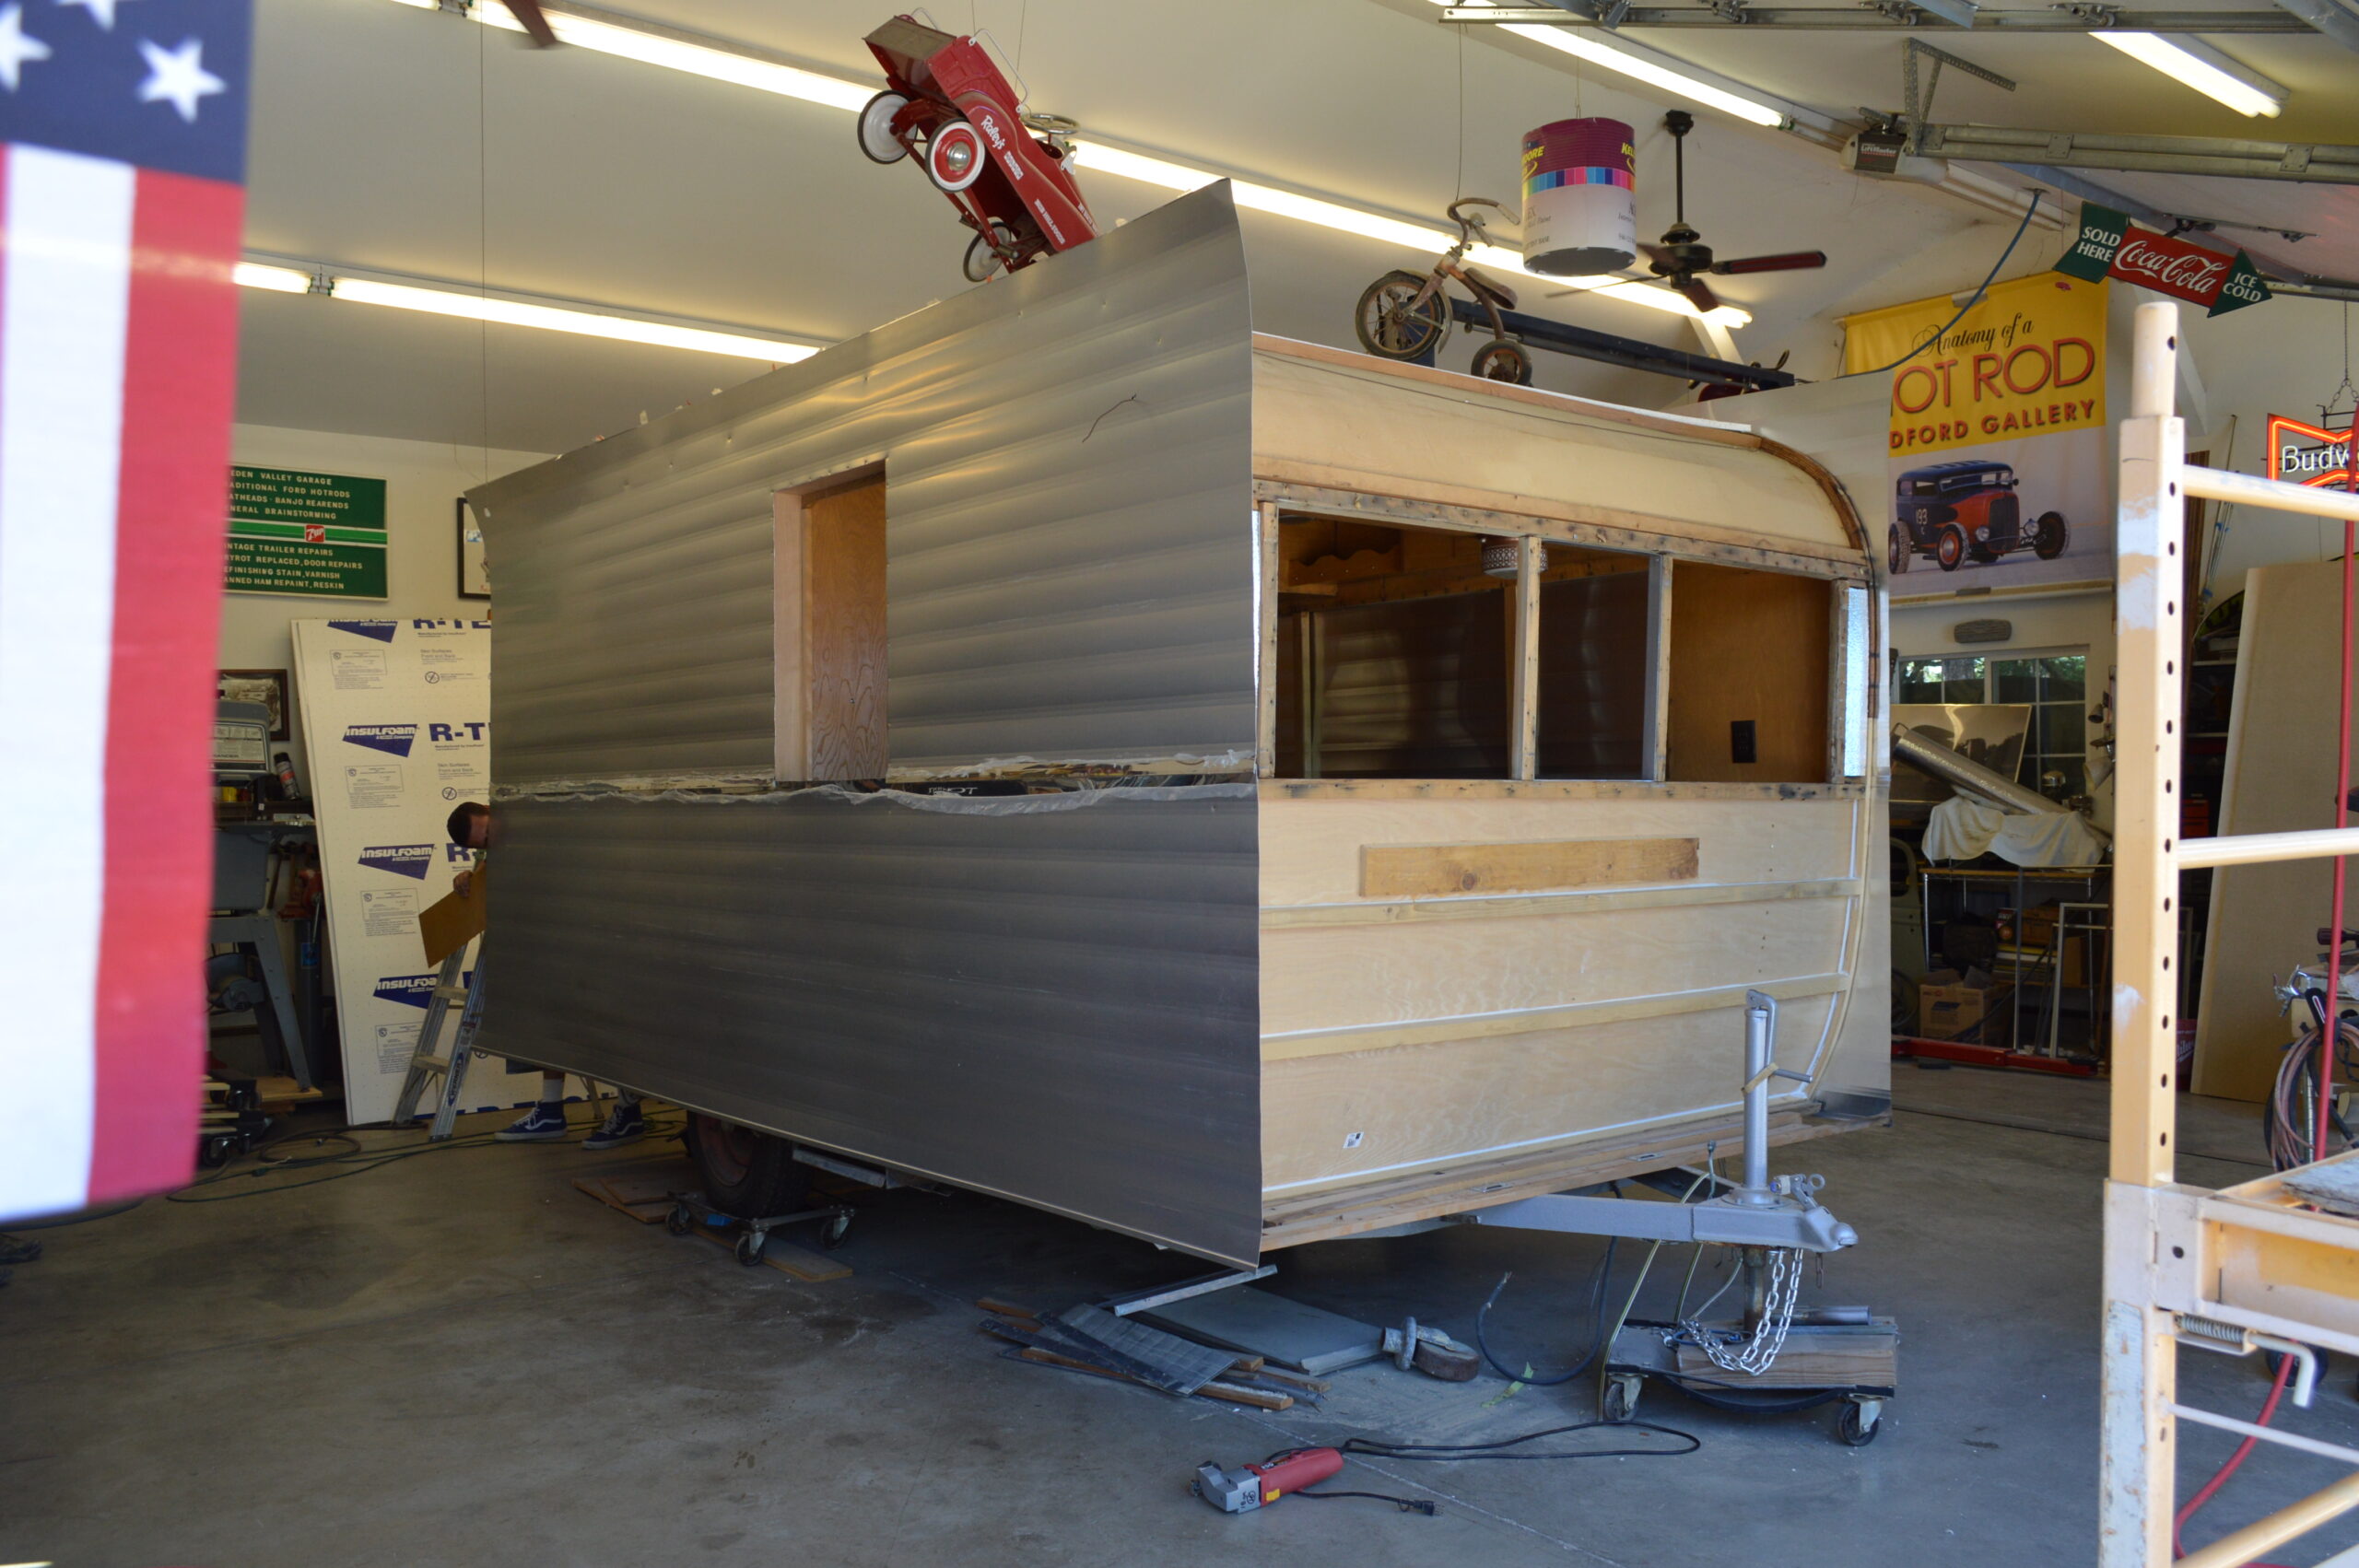
In these photos of a complete exterior re-skinning, the customer wanted a polished trailer, but with some original skins dented and others showing small dings, they opted for all-new polished aluminum siding from Hemet Valley RV.

- Side Panels:
- Start by measuring from the bottom of the trailer and snap a chalk line where the top of the bottom section will sit.
- Secure the top piece first by stapling along the top and bottom edges. It should hang over at the ends.
- The bottom piece slides into the “S-Lock” joint at the bottom of the top section.
- The Auto Mold detail at the bottom wraps under the wooden frame, creating a seamless look.
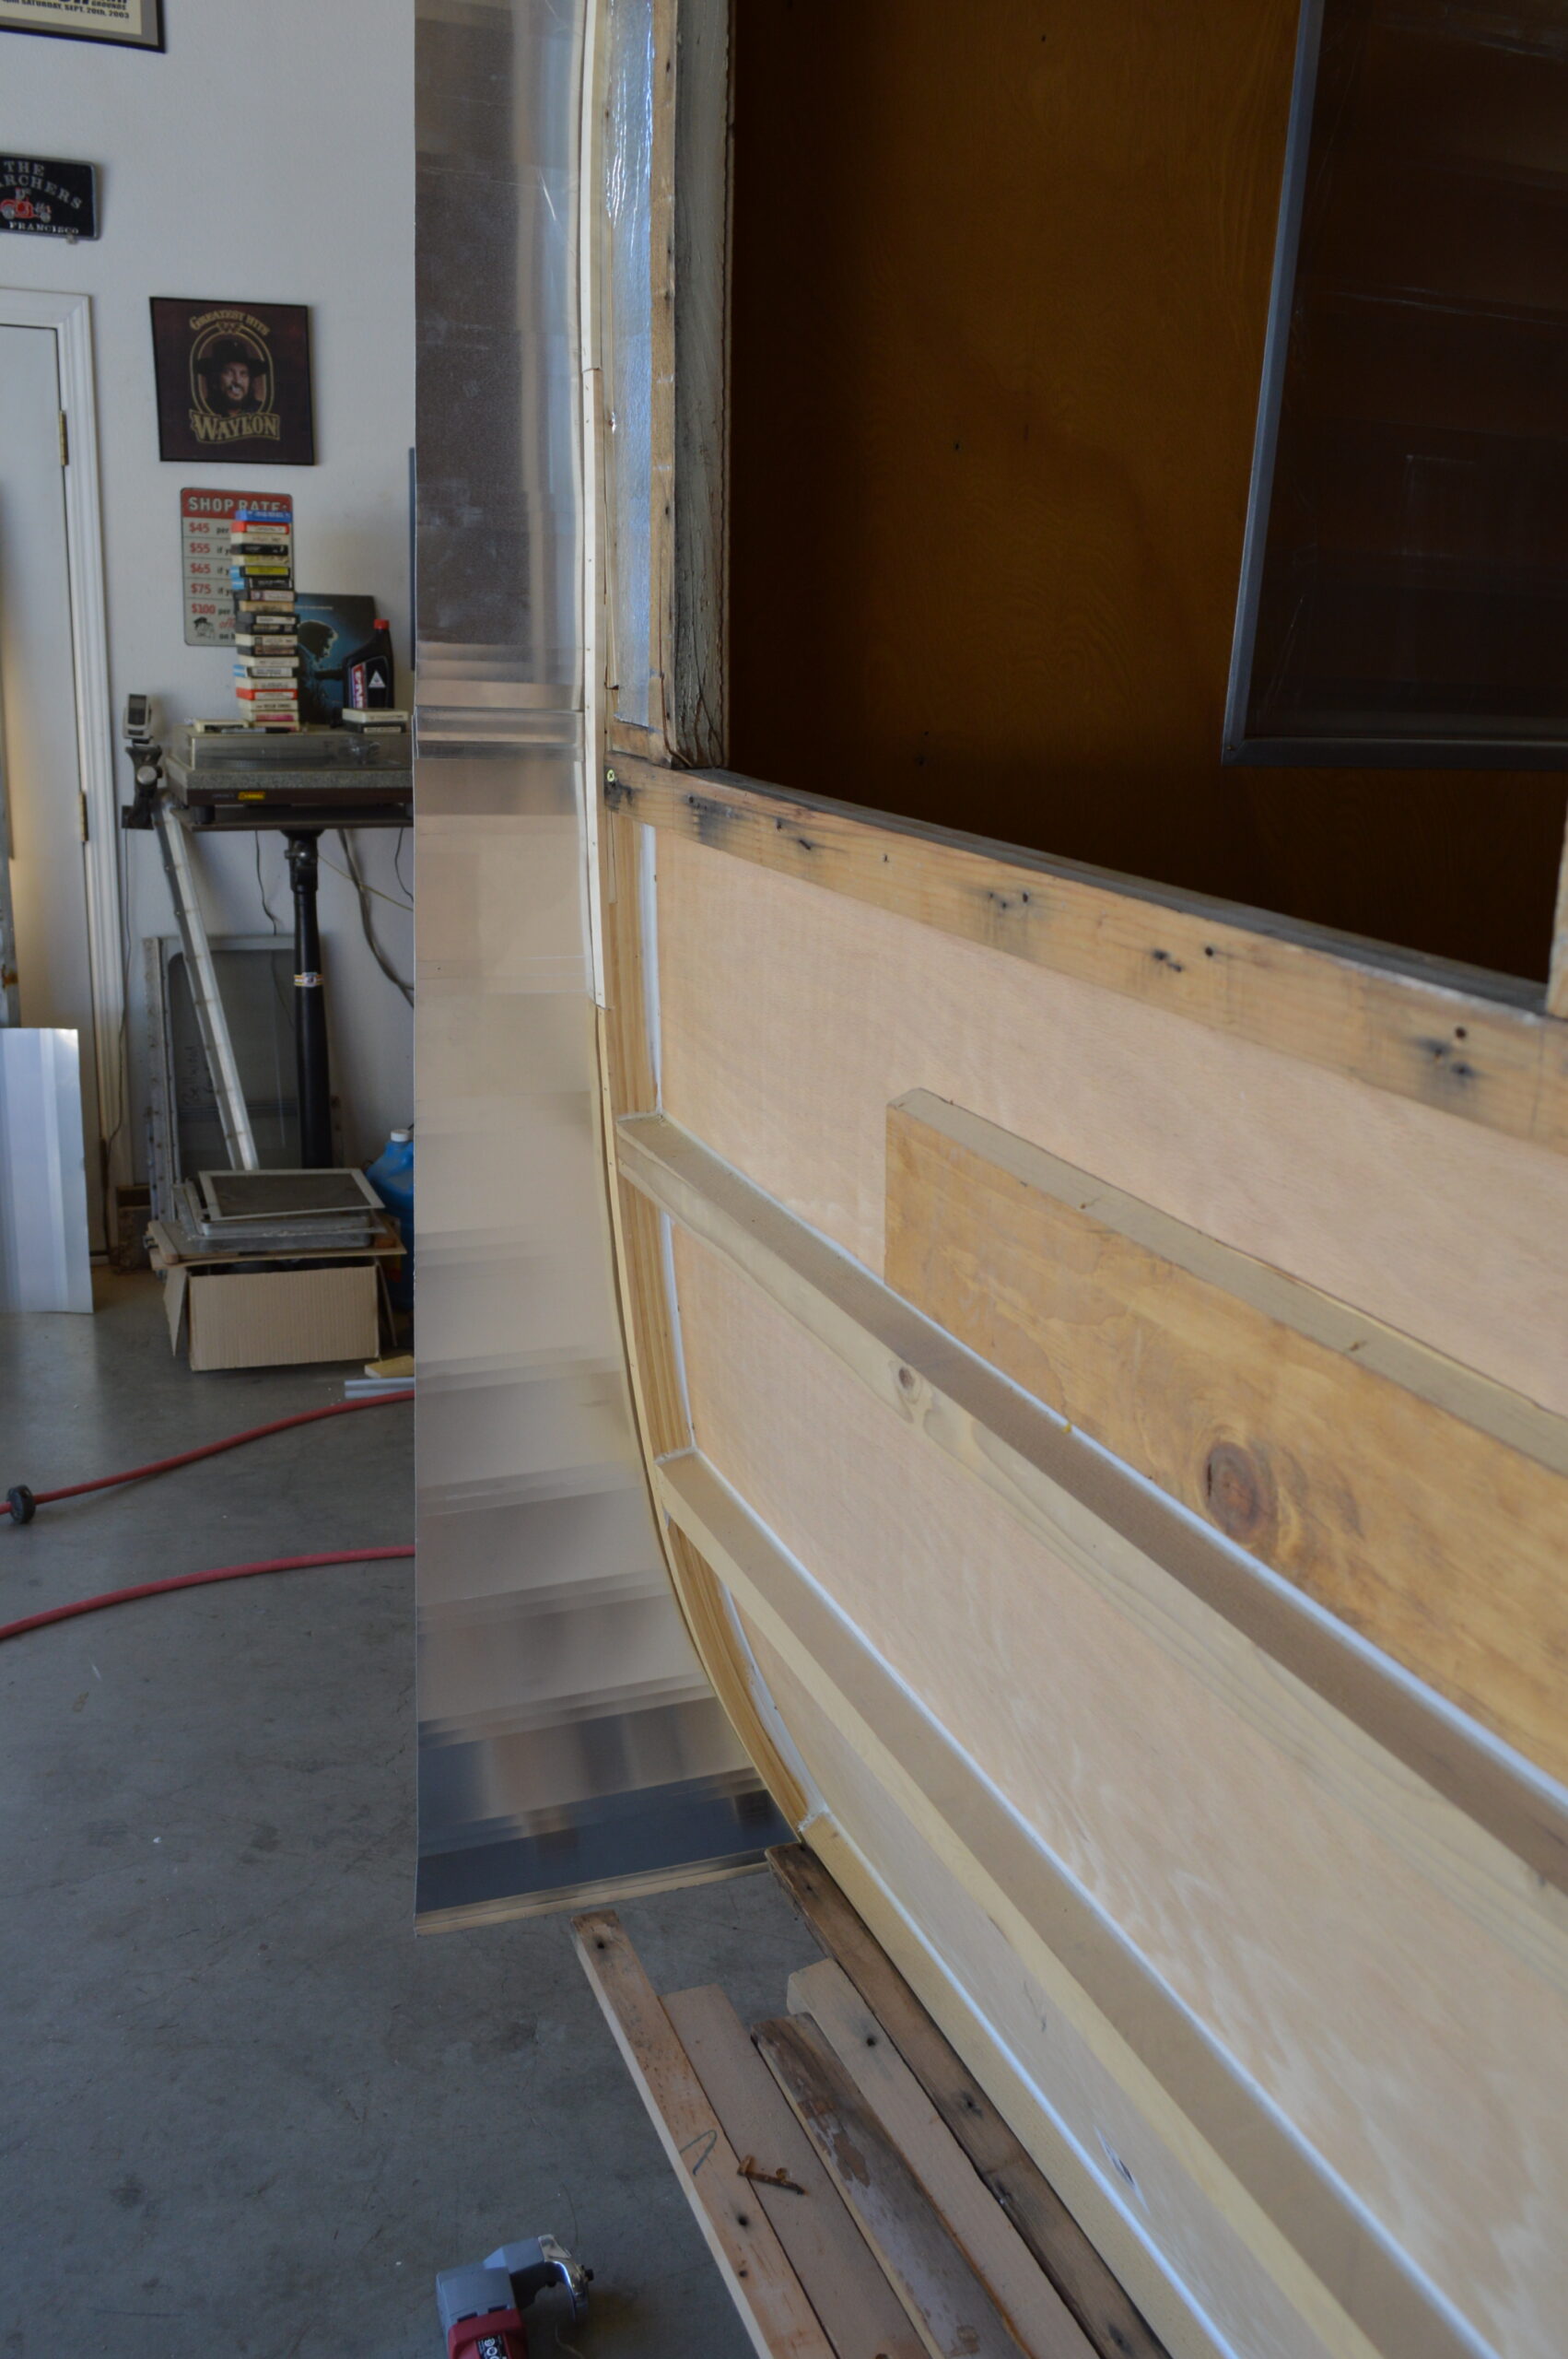
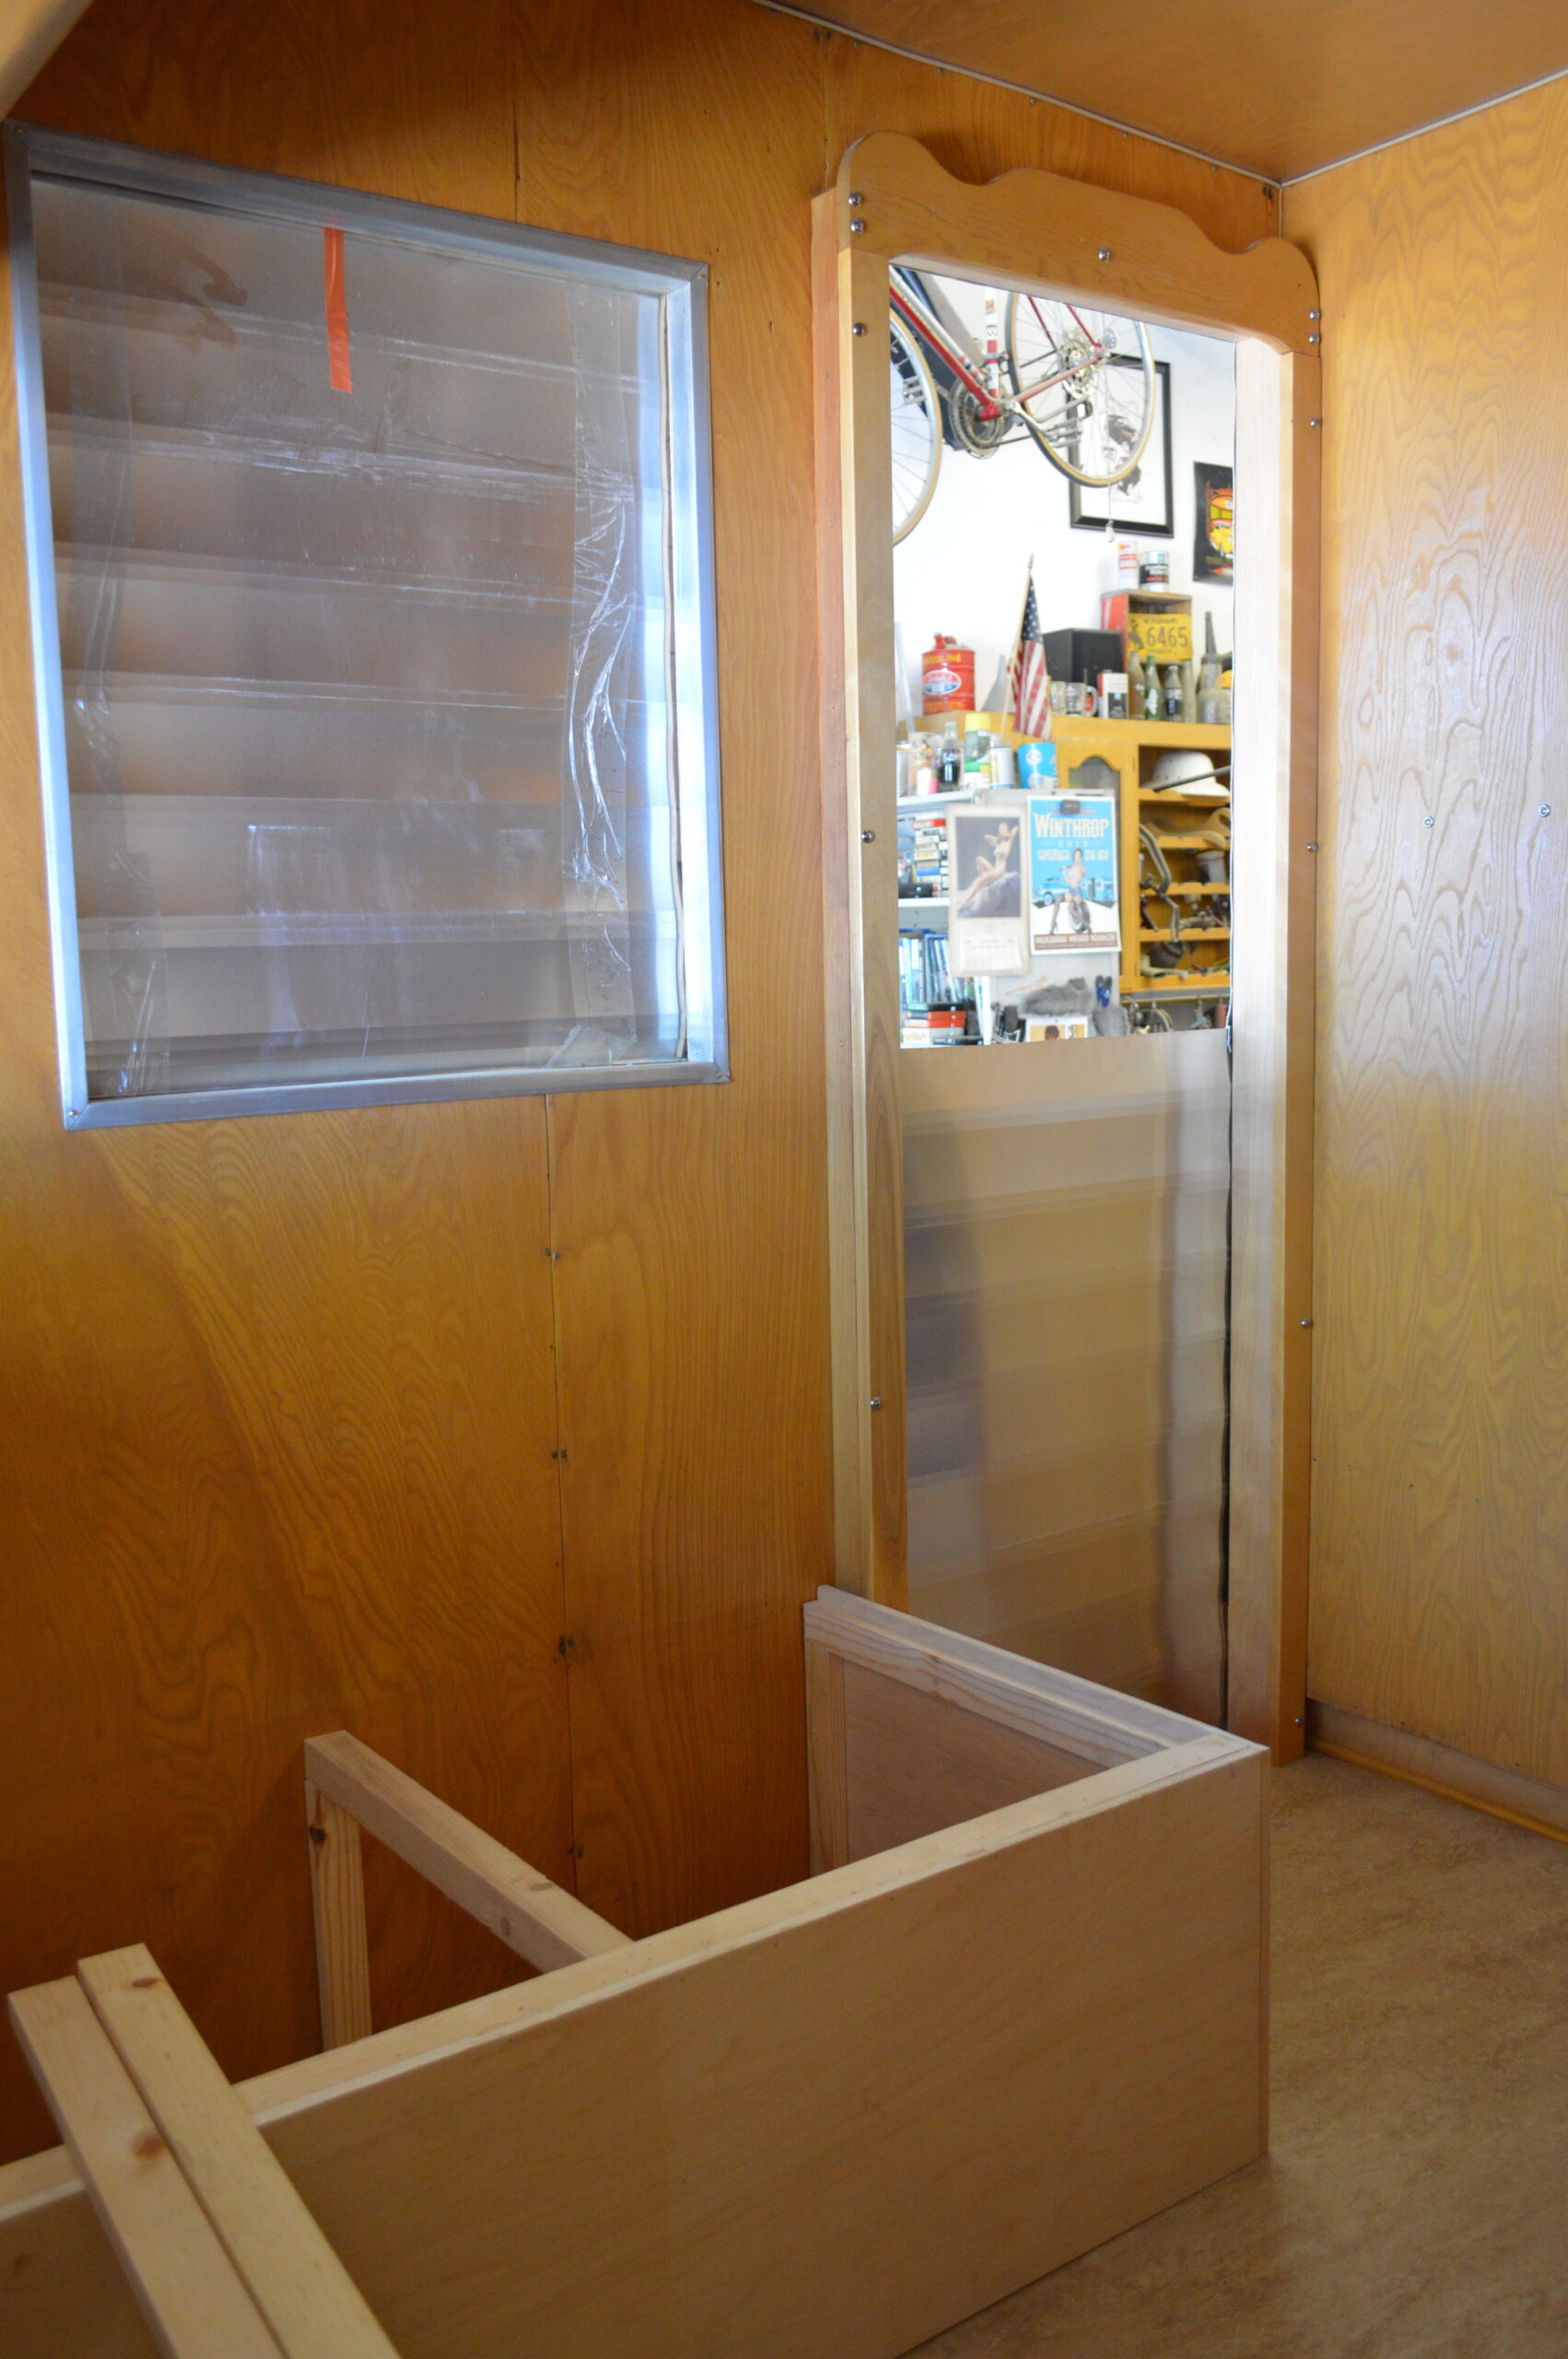
- Window Cutouts:
- Only lightly staple the siding at first.
- Cut out windows from the inside using a drill and high-speed metal saw.
- Install windows promptly—they help secure the aluminum.
- If any “pillowing” occurs (where aluminum slightly lifts), remove a few staples to relieve tension. (Tip: Cut out at least one window large enough to climb through—this makes it easier to cut out the door!)
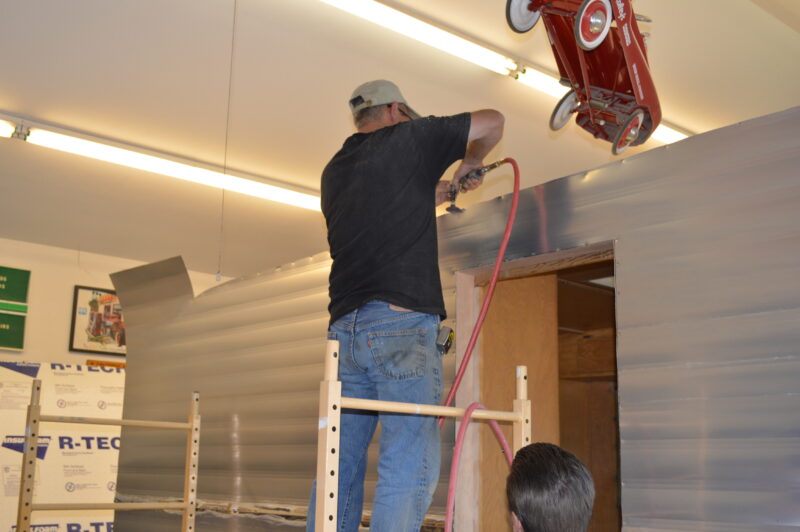
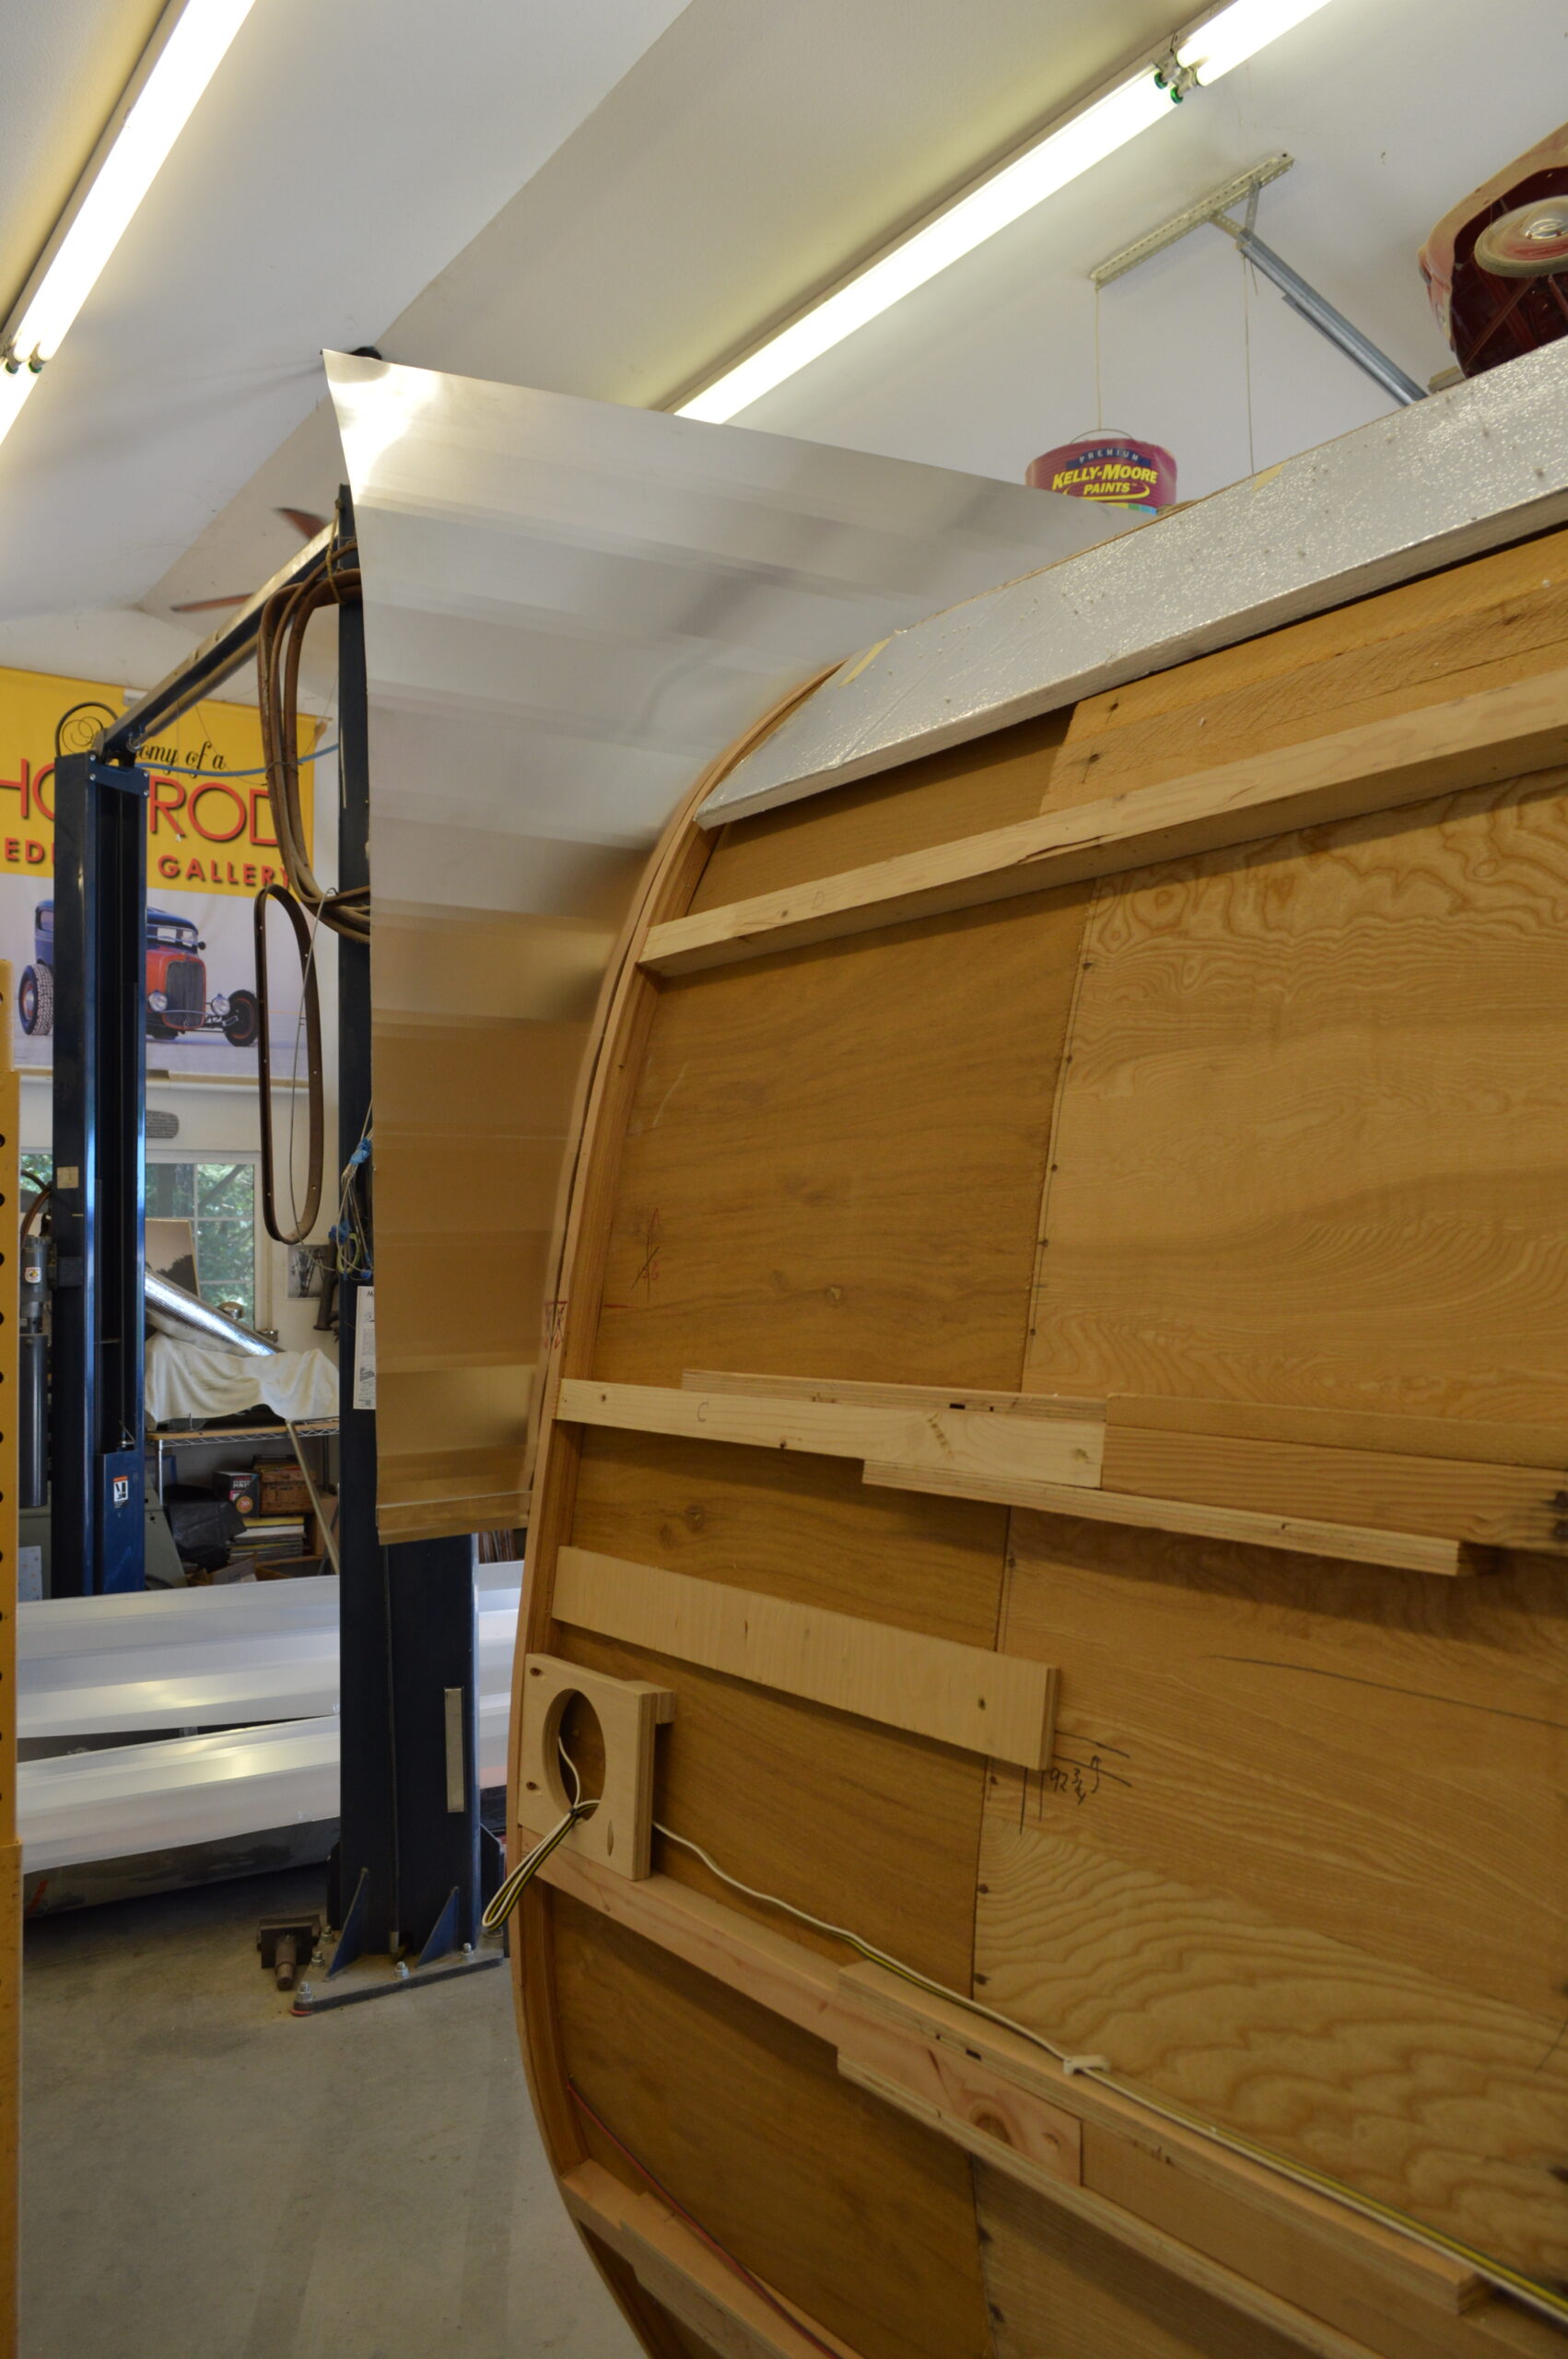
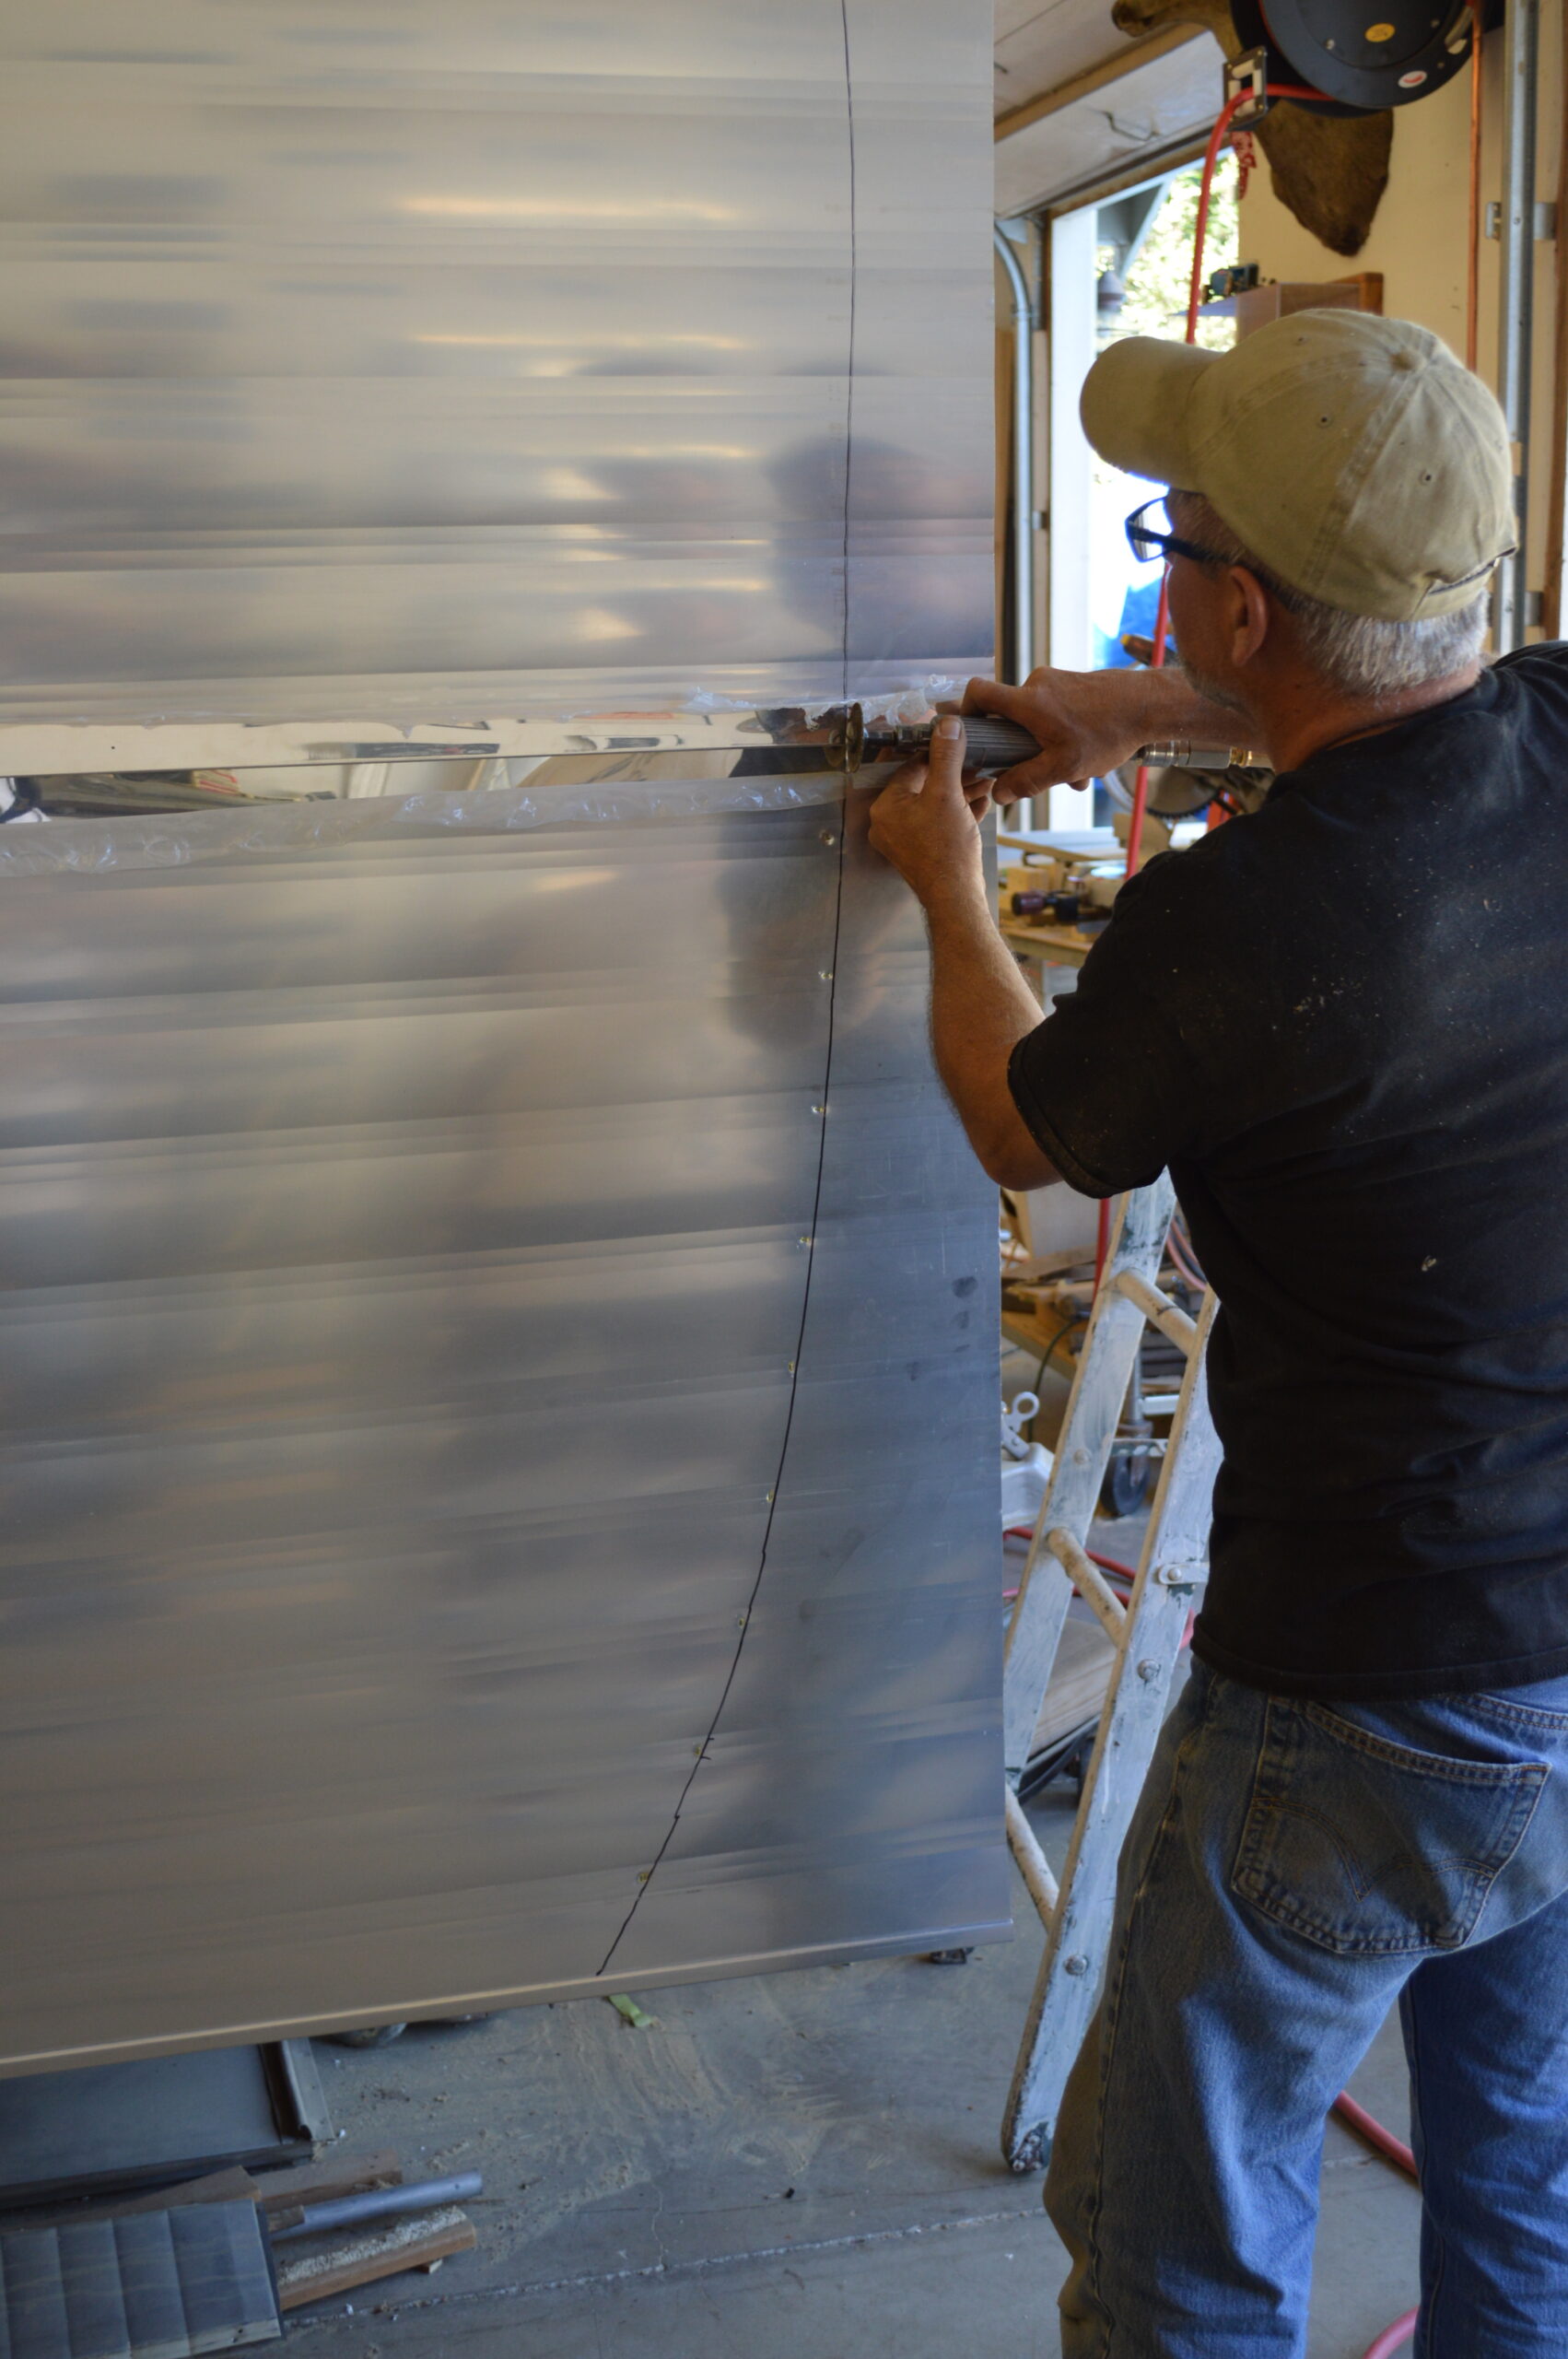
Roof Installation & Final Trim
- Both sides should be fully installed before adding the roof section.
- Trim the overhang at the ends, following the trailer’s curves.
- Snap a chalk line for the “S-Lock” placement.
- Attach the top piece first, then slide the bottom piece(s) into the S-Lock joint.
- Secure the roof by folding a ¾-inch edge over the sides and stapling it down. (This step takes patience, but with practice, you’ll get the hang of it!)
Final Touches: Butyl Tape & J-Moulding
Once the siding is in place, it’s time to install butyl tape and J-moulding to seal and finish the edges.
Ready to Tackle This Project?
Whether you take on a full restoration yourself or enlist the help of a professional, replacing vintage trailer siding is a rewarding project that dramatically improves your trailer’s appearance and durability.
What did we miss? How would you do it? Comment Below.