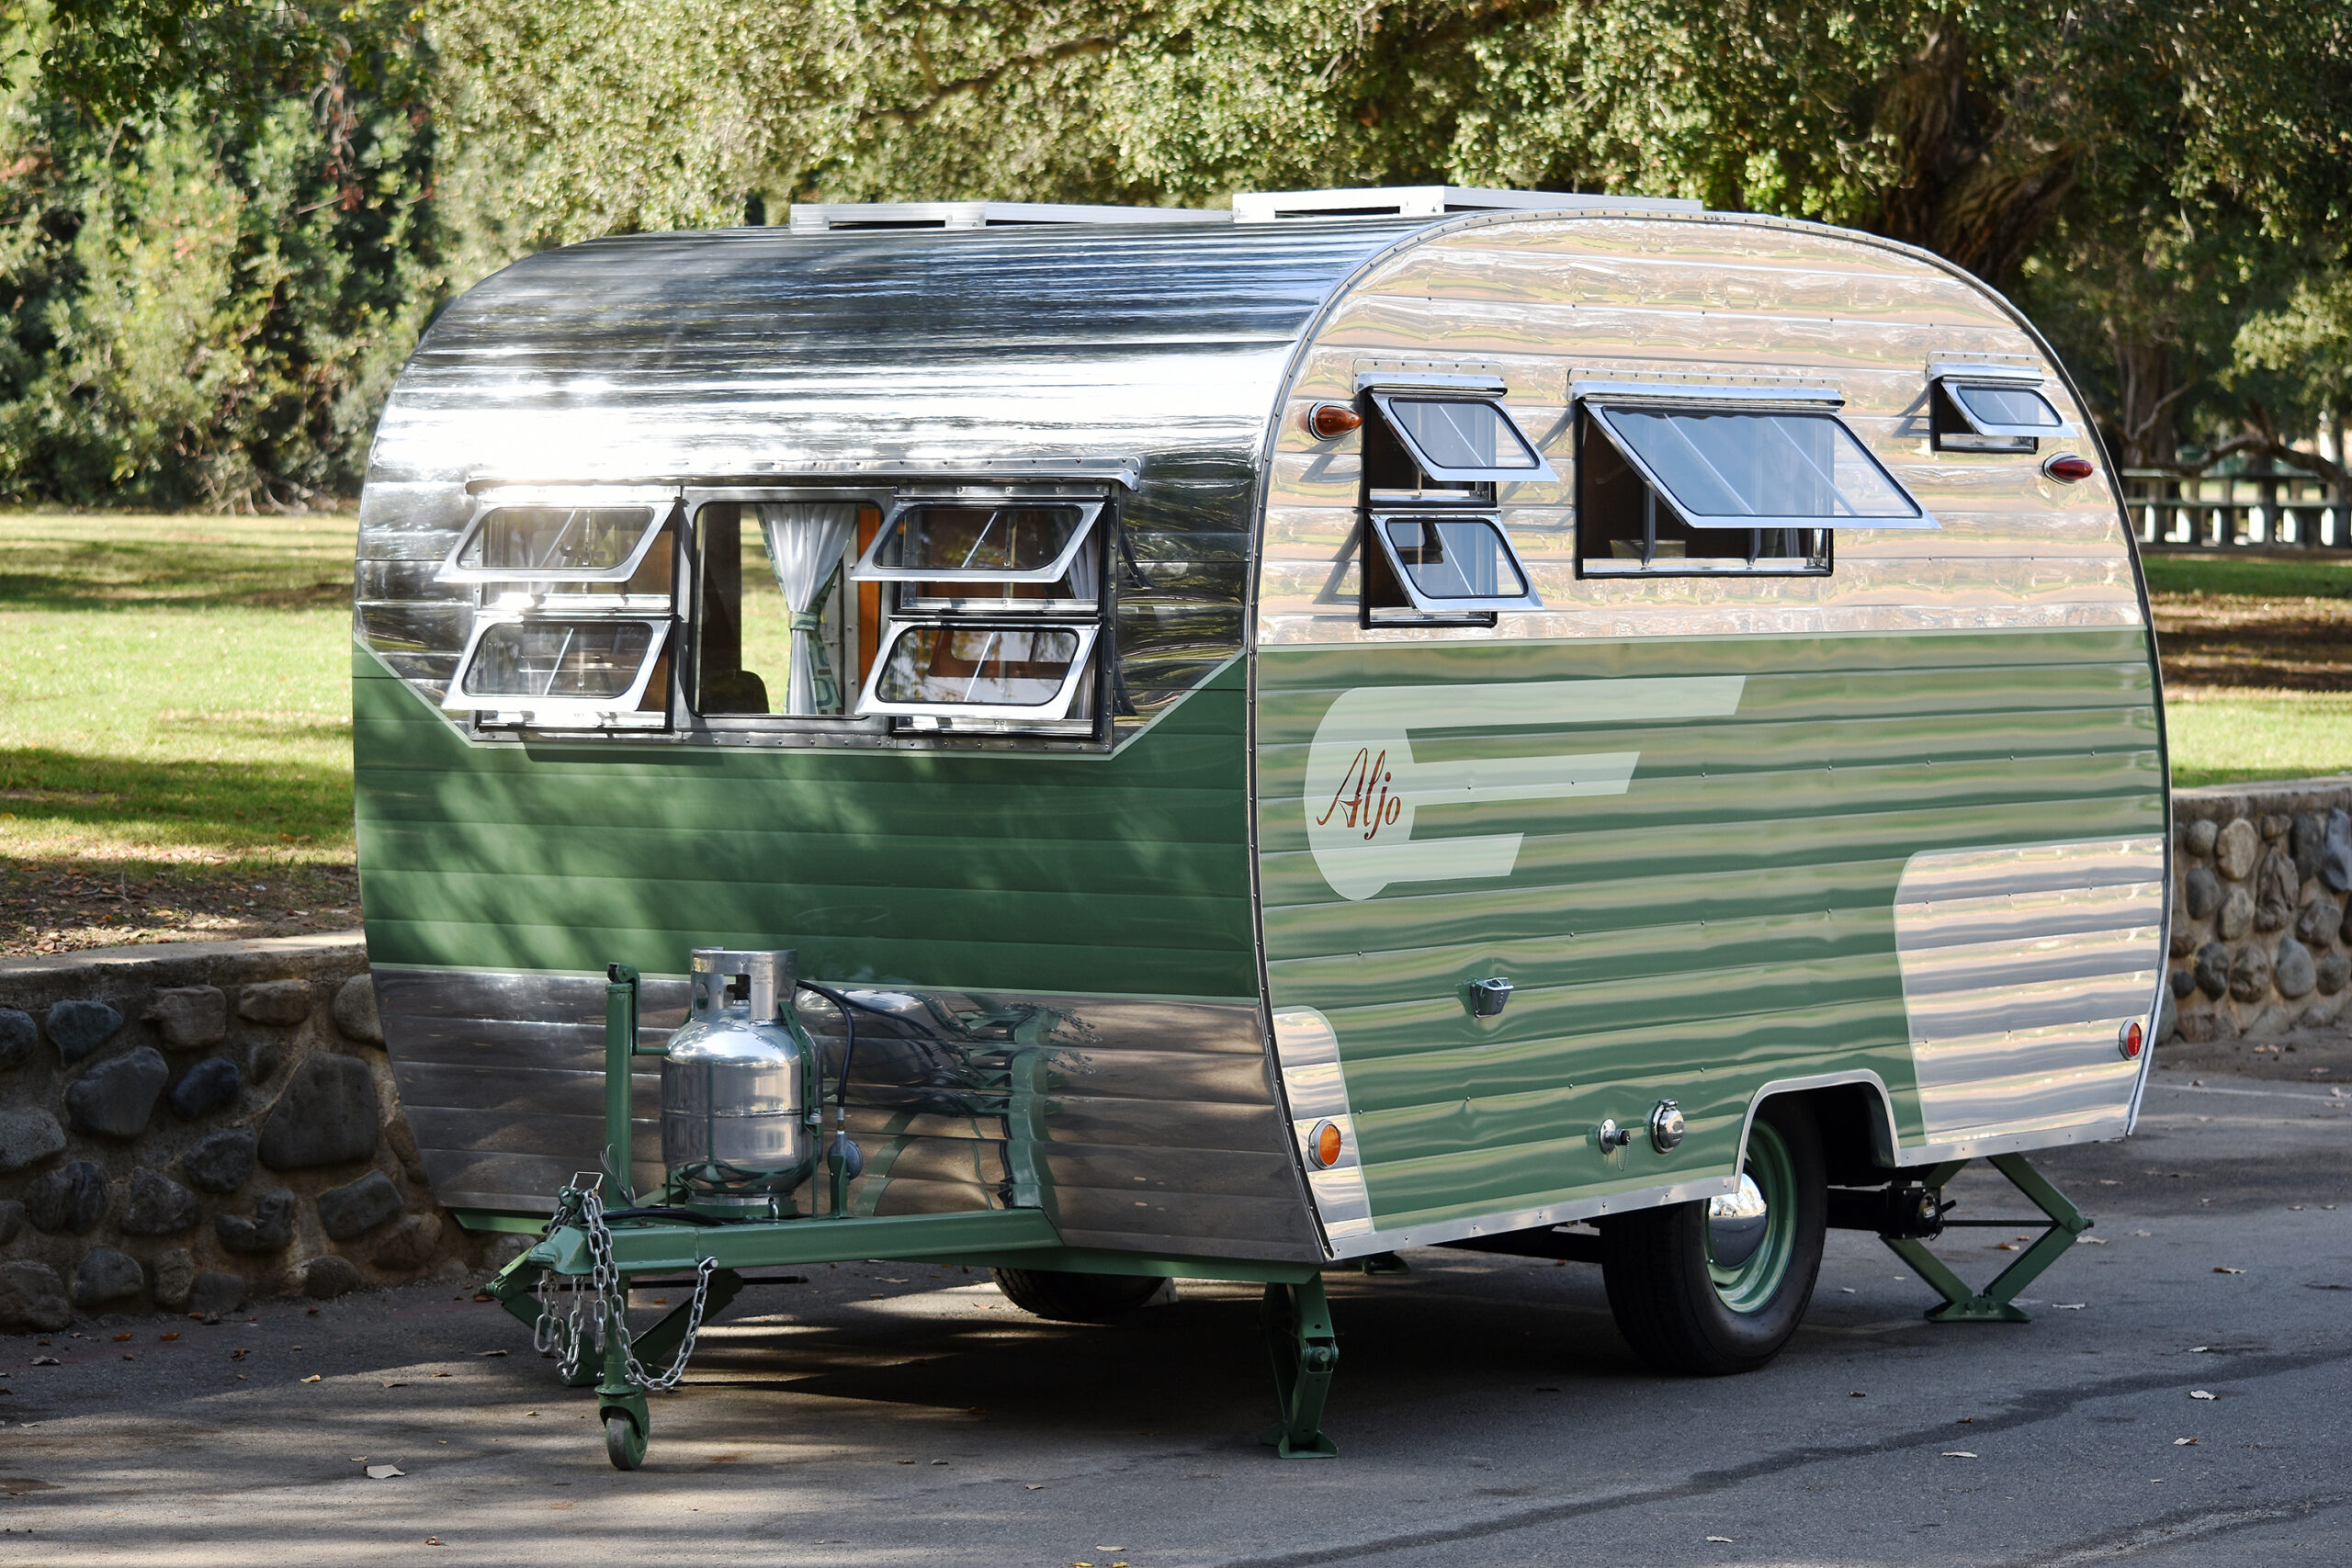
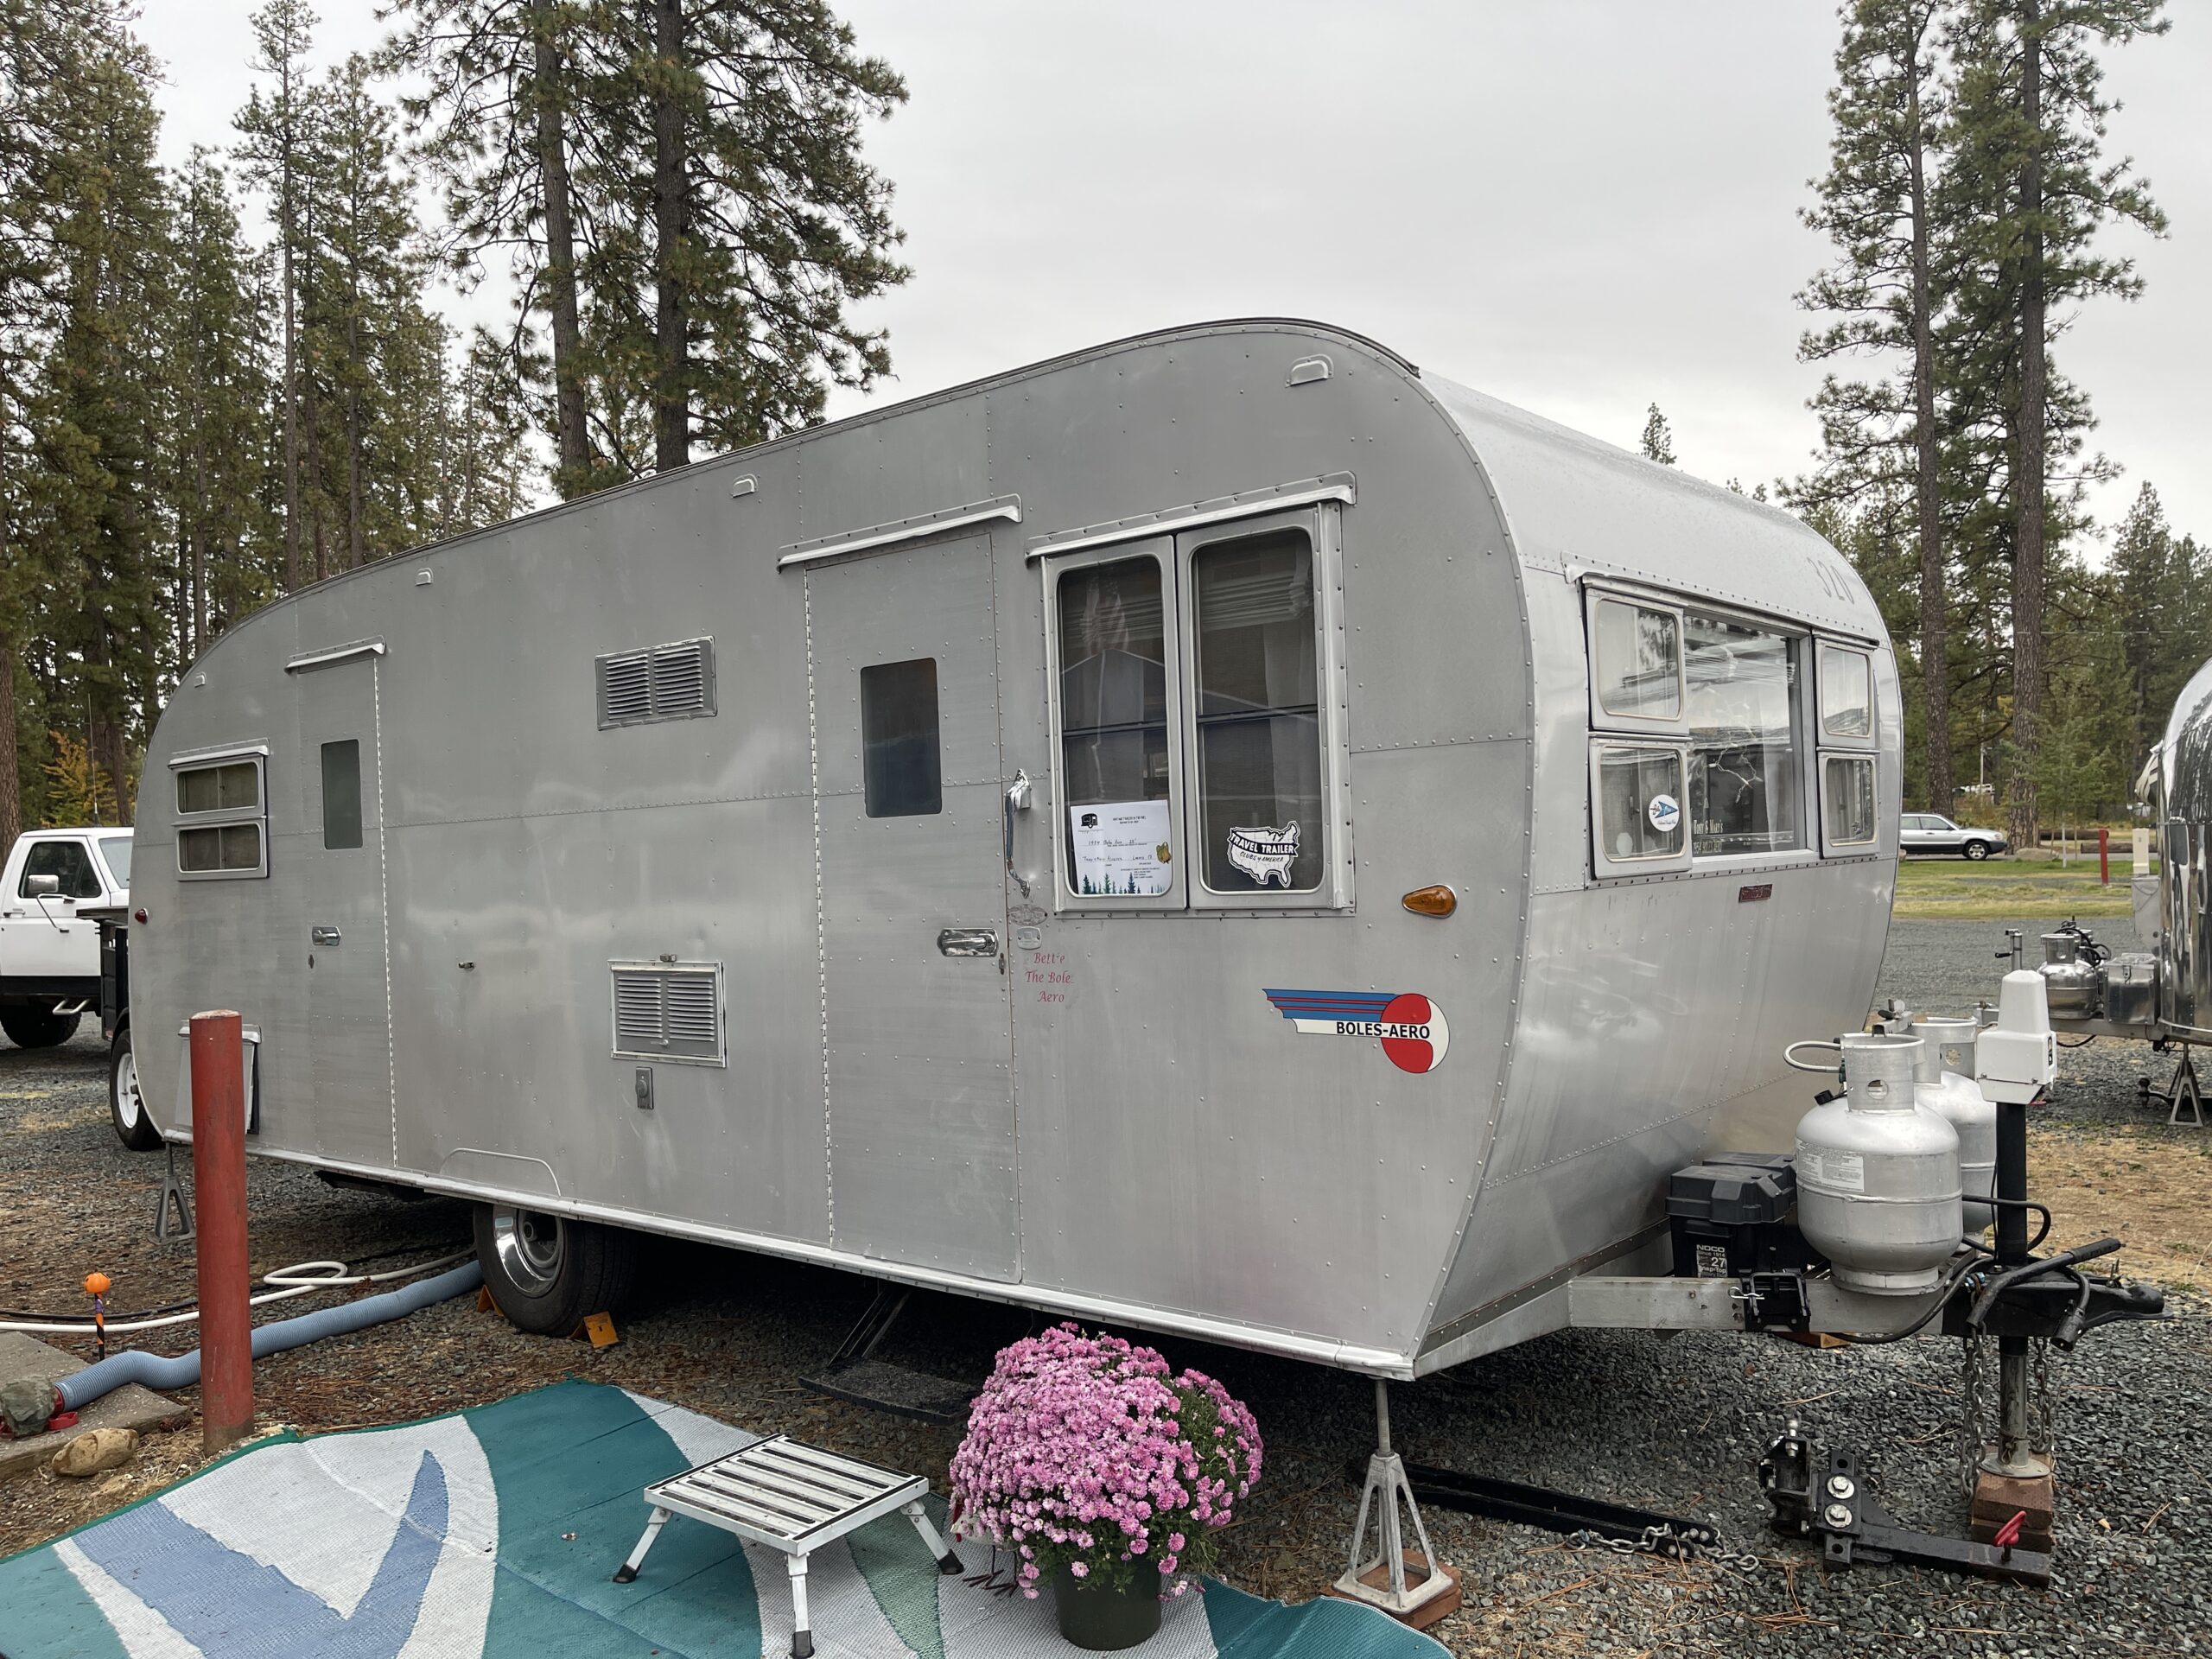
What could be greener than camping in the woods in a Vintage Trailer powered by the sun?
by Adam Blair, Avalon RV, Benicia, CA
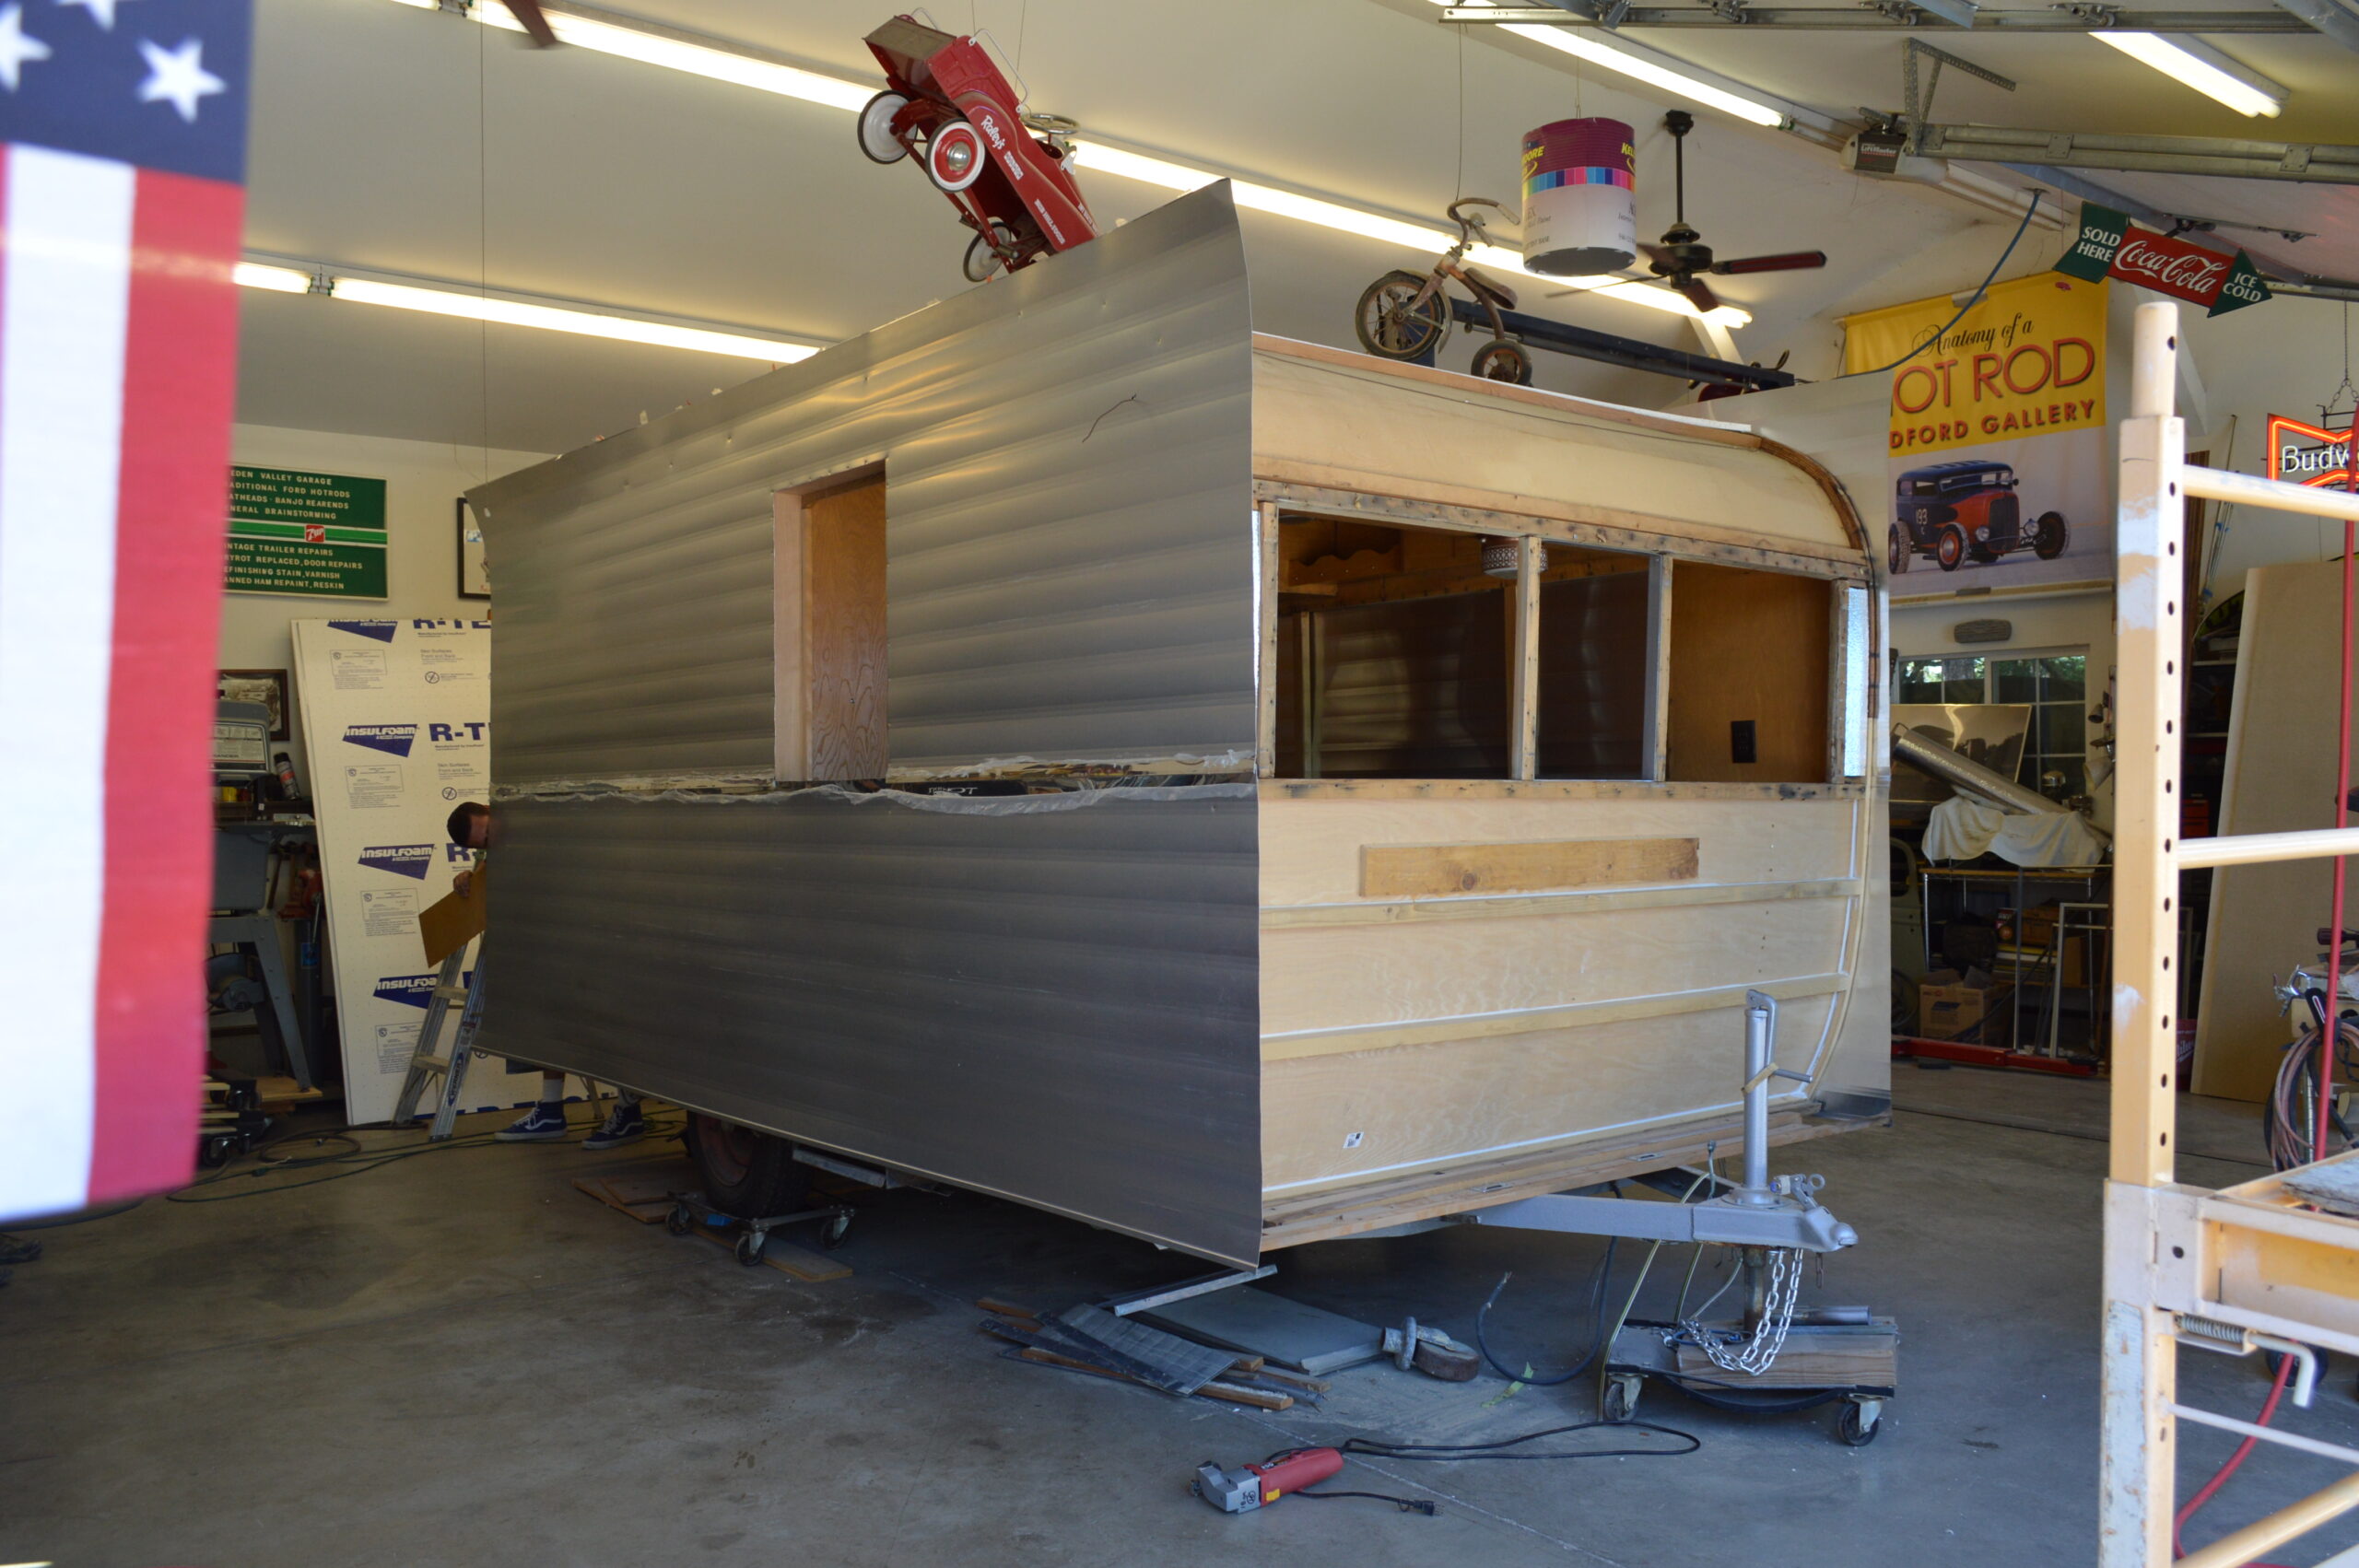
Restoring and enjoying a vintage trailer is a very environmentally friendly endeavor. Keeping it out of the landfill reduces waste and conserves the materials that would otherwise be used to manufacture a new trailer. One step further, and you’re running all your gadgets to play games at night, stay cool during the heat, stay warm when it’s cold, and keep up with your email.
Solar can provide all the power you need to run all of your camping systems (short of an Air Conditioner and 120-volt microwave oven). With an inverter, you can run that microwave or opt for a more compact 12-volt microwave, and then you won’t need the inverter.

10 Steps to “Camping Off The Grid”:
- Vintage Trailer
- Cool Interior with your favorite décor.
- Determine how many 12 volt DC amps you need/use
for a 24 hour period. - Double the number from step # 3. This is the minimum
number of amp hours you need from your battery(s). - Multiply the number from step # 4 x 1.5 for the number
of watts you need in solar panels on your roof. - Order your solar panels, controller/regulator, wire &
new deep cycle batteries. - Install the panels or have someone do it with fuses &
safety switches. - Test the system.
- Enjoy the freedom & flexibility of having power
anywhere. - Camp using the Power of the Sun!
A good system would have approximately 250 to 300 watts of solar panels on the roof, with roughly 200 amp-hours in the batteries. This would provide you with sufficient power to charge the batteries. You will have approximately 100 amp-hours available each day with good sun exposure. This is typically enough power to run most everything you need.
The complicated part of doing it yourself is locating the panels on the roof, running the wires through the roof to the controller, and then on to the batteries. Remember, the solar panel is producing power as soon as it is facing the sun. Either cover it up or flip it over to be safe. Generally, each RV solar panel creates about 14 to 20 volts and 1 to 10 amps. The controller/regulator manages the higher voltage and uses it to charge the battery(s).
The battery(s) should be newer and if there is more than one, they should be the same size, type & age. A set of batteries is only as good as the weakest battery. There is debate over Wet batteries verses AGM & Sealed batteries. The most important part is to be certain if you are using wet batteries that they are vented outside of your vintage trailer. This is so you are not breathing in the fumes or gases as it boils each time the batteries are at the top end of their charge. This is true whether you are charging the batteries with Solar, while driving, plugged in to a campground 110v outlet or running a generator.
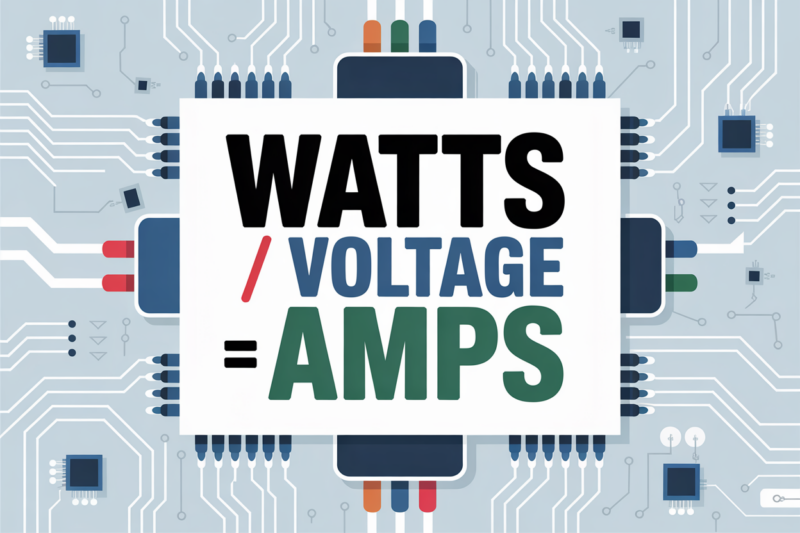
Solar panels come in many sizes & power outputs. They are rated in watts. Remember Watts / Voltage = Amps. The standard solar panel will come with a rigid black or silver rectangular frame. They should be mounted with feet having a 1” air space underneath to help keep the solar panels cool. Too much heat reduces the power the panels will provide.
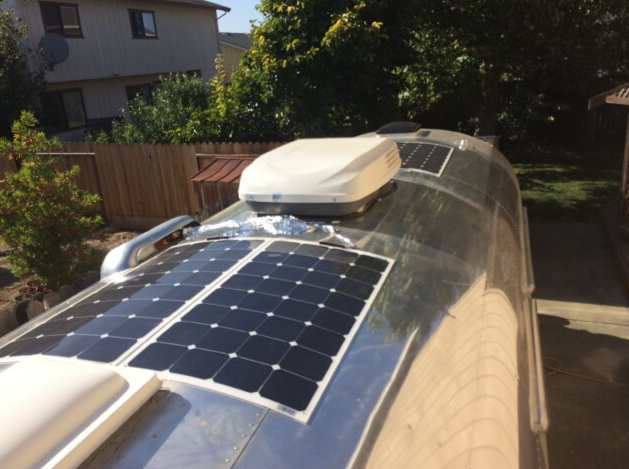
Of course, you can always be Solar Stealthy and install a flat solar panel. They are very thin and conform to the shape of your RV roof. They work great on the roof curves of our favorite vintage trailers. They can be installed directly onto the roof with screws that are sealed, with 3m tape or “Rivnuts”. Rivnuts are a neat gadget. They install like a rivet and provide a threaded opening for a bolt. This allows you to anchor the panels nicely and remove them easily. Note: These panels will lose some of their efficiency due to heat when the roof is hot.
Getting your wire thru the roof can be a challenge, but it can often be done by simply going thru a vent on your roof. Examples are your refrigerator vent, a plumbing vent or installing a box on the roof that ties your rooftop wires together and then directs it into the interior of your RV. Sealing the roof at all feet, screws, anchors and thru points is very important to avoid leaks. Proper gauge, UV, strand wire is what you want to use for your rooftop. Crimp your wires together, test them to be sure they do not come apart & use shrink tubing to protect the connections.
Your Regulator/Controller is fed power from the Solar Panels and then it sends the proper amount of voltage to the batteries. Using a Temperature Sensor at the batteries helps the regulator manage the voltage accordingly. Placing a safety On/Off switch before and another switch with a circuit breaker after the controller, protects the system and makes servicing it safer & easy. A shunt can be placed on the negative side within 2 feet of the battery for tracking amps going into and out of the battery.

Battery Monitors are wonderful. They can be set up easily and provide the information you want. It can tell you how much power is being put into the batteries and how much power is being used. Temperature, total amp hours available and much more data is available. A battery monitor is like having a gas gauge for your car. It helps to know how much gas you have available before you run out!
Vintage Green is living the dream of enjoying the art of yesteryear, as I am on vacation. For me, vintage yellow is about using the Sun to enjoy the outdoors with my family. I prefer to hear the song of a bird or the wind as it rushes by, instead of a generator or the hum of a converter. I enjoy feeling the sun on my face and knowing that later, using my solar panels, it will brighten my night, allowing me to enjoy a game of cards with my children when it gets dark.
Need help or have questions? Call Adam at: 707-746-0400