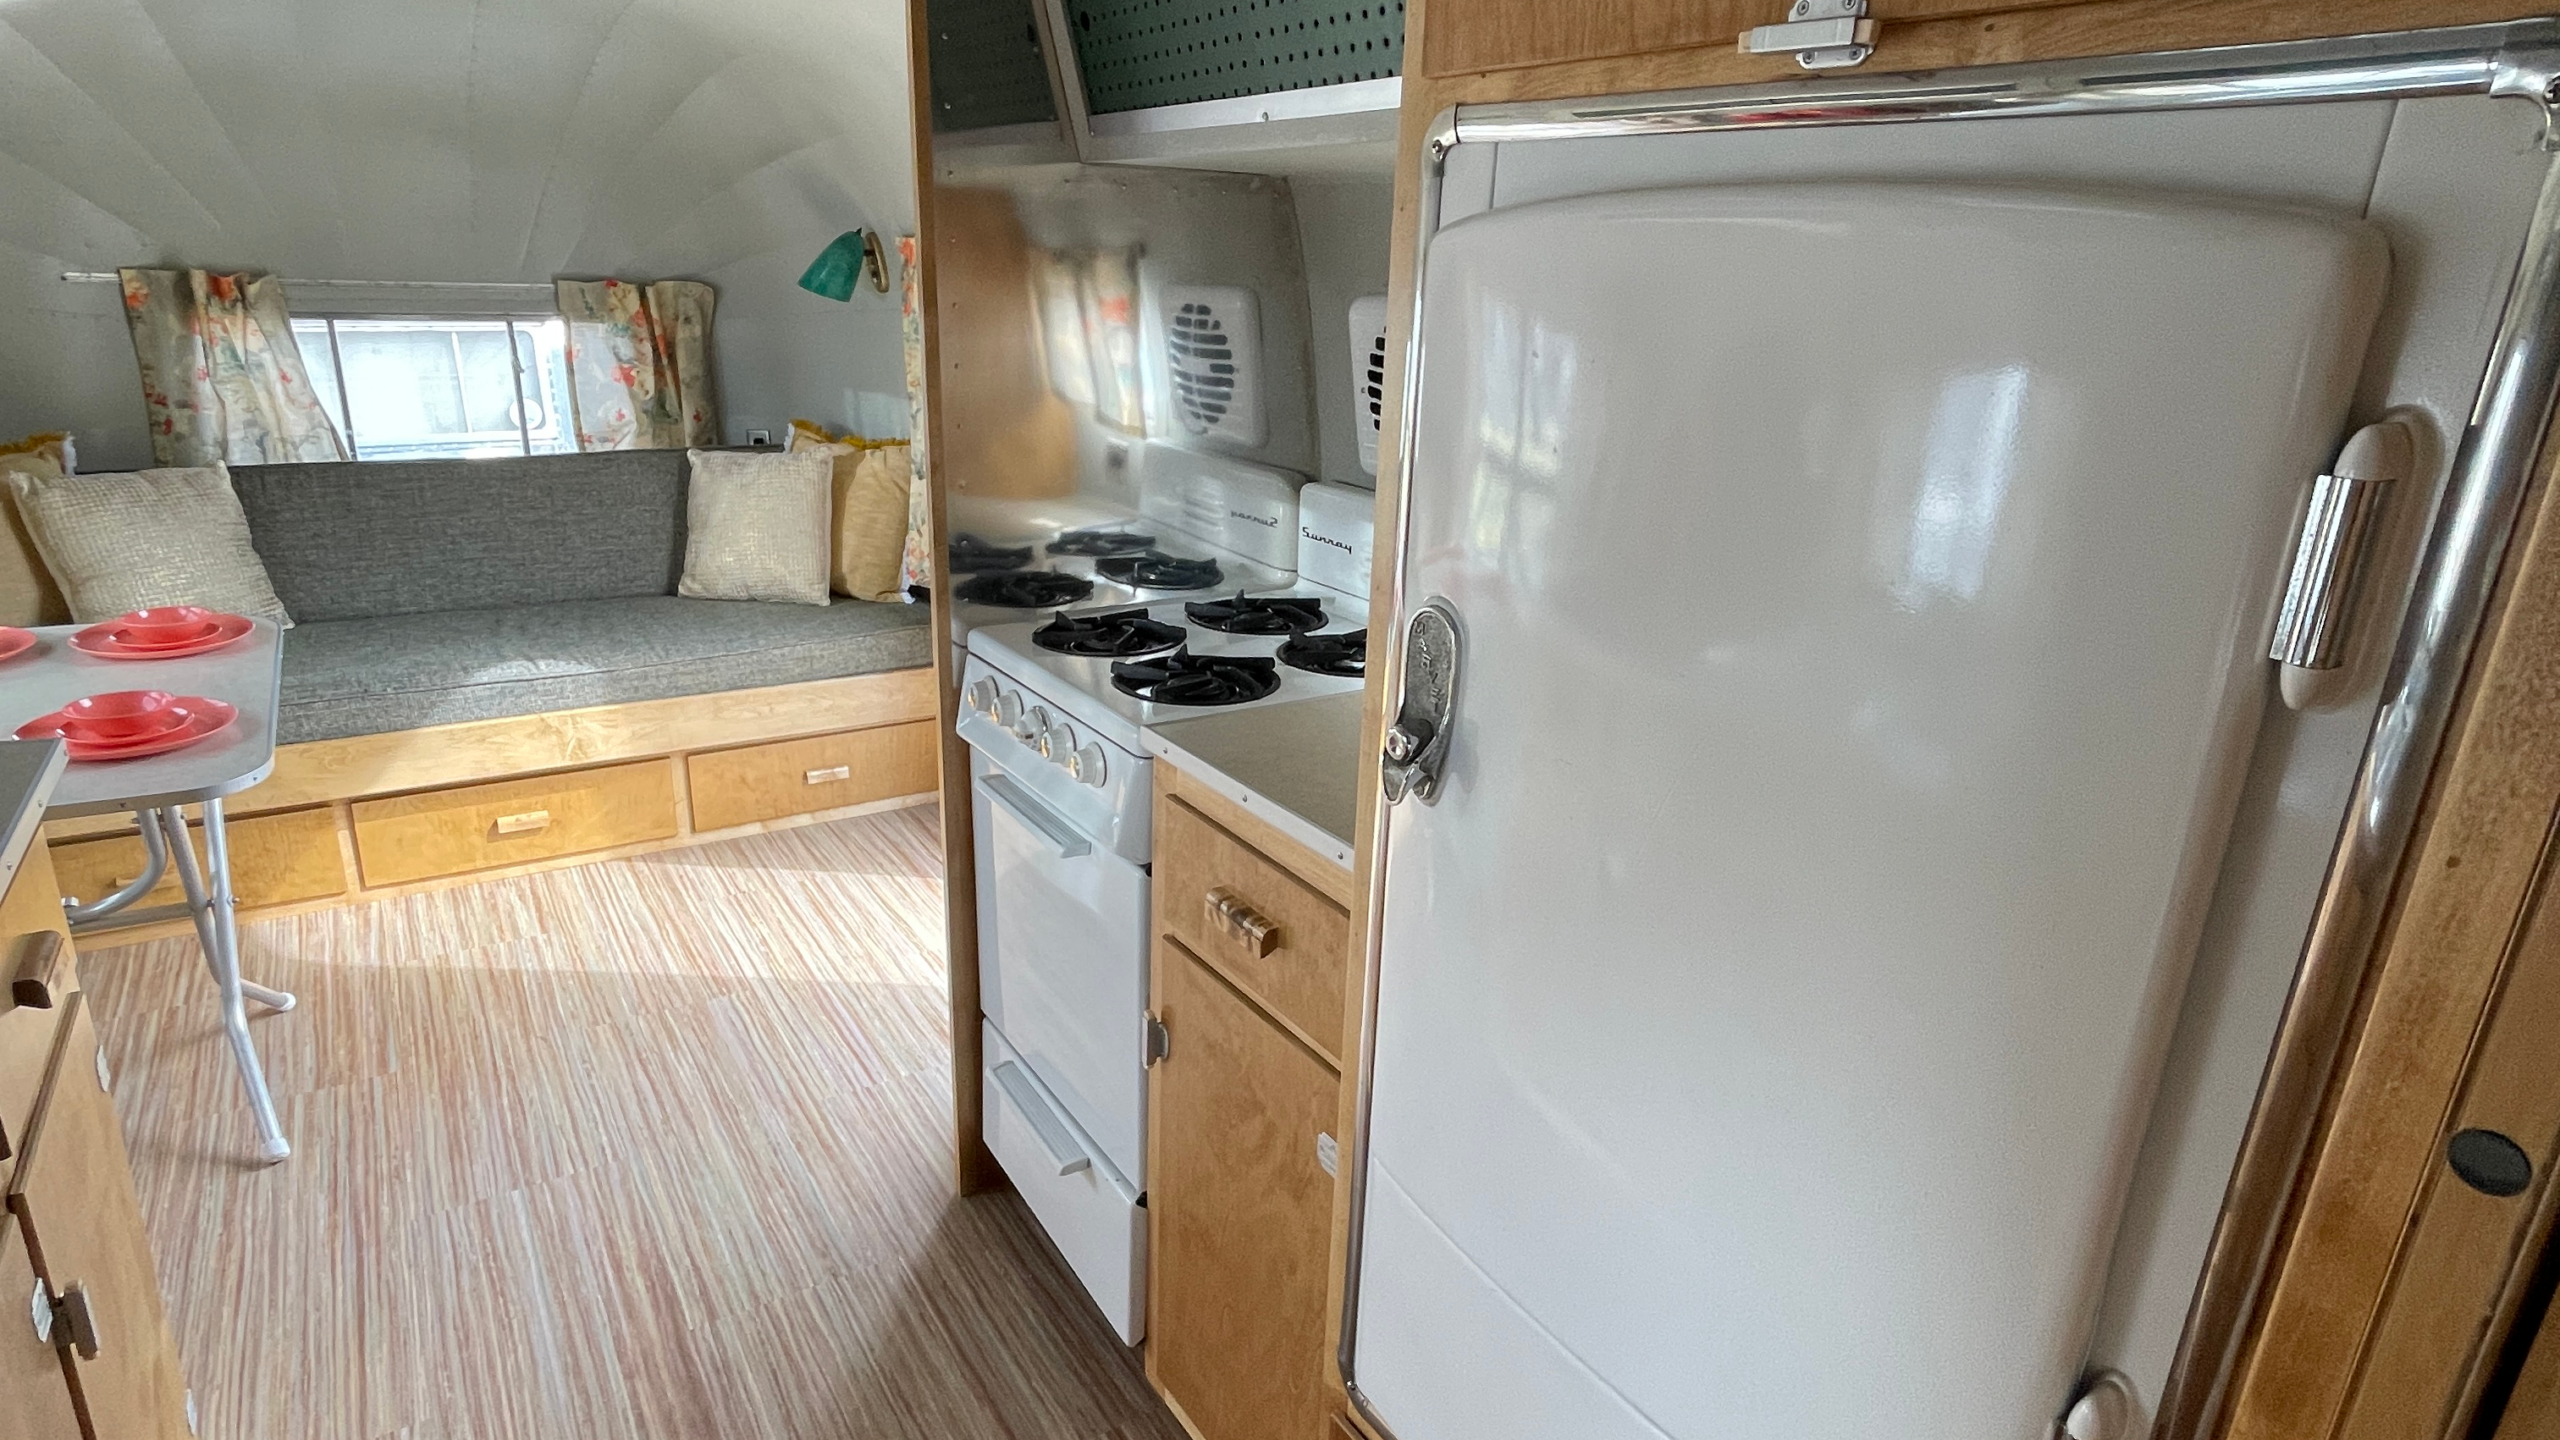
Thinking about upgrading your vintage trailer with a modern fridge? One DIYer took on the challenge of replacing an old icebox with an LP/AC refrigerator, documenting the step-by-step process along the way. From removing doors to running electrical and gas lines, this project took time, patience, and a few unexpected adjustments. Follow along to see how it all came together!

Day One
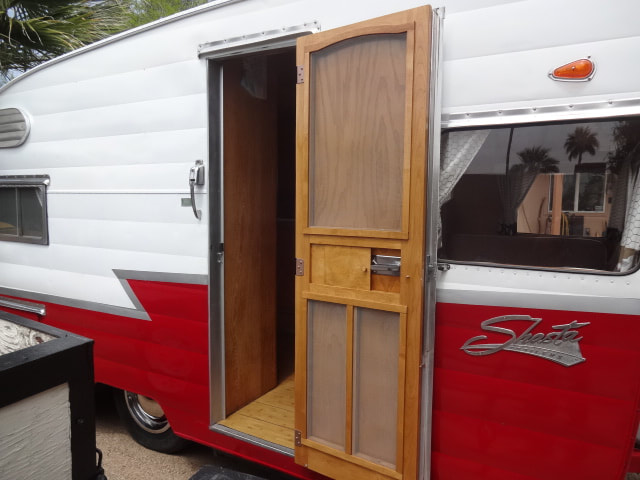
Started the project by removing the door, screen door, and both jambs from the trailer. This was necessary in order to remove the existing icebox from the trailer and to get the new LP/AC refrigerator into the trailer, as neither one would fit through the door opening with the doors and jambs in place.
Did some preliminary demo of the opening that housed the old icebox.
These steps took approximately 4 1/2 hours.

Day Two
Installed two 1″ PVC conduits under the trailer in order to get the gas supply and electrical wire to the side of the trailer where the fridge will be placed. Also, today I ran the 12-2 Romex in the new conduit.
Need to order my gas supply line, as I now have a good idea of how long it needs to be.
Worked about 5.5 hours today.

Day Three
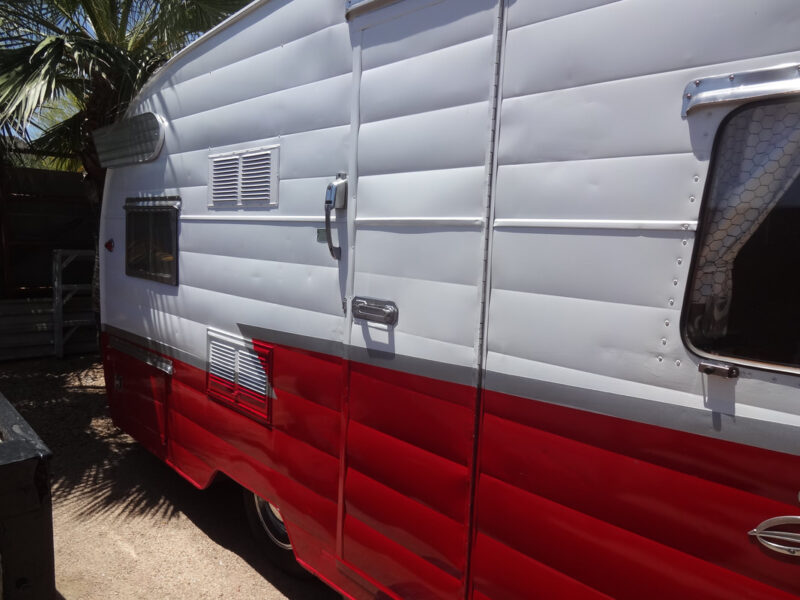
Today the electrical tie-in was done at the main panel, with a loop to an outlet behind the stove. 12-gauge wire was used per Norcold’s recommendations. Also cut in the lower fresh air/access panel, which allowed me to locate the electrical outlet that will service the fridge and get an idea of where the gas supply will be placed. It’s a tight fit but doable. Thankfully, the Shasta side vertical framing members are placed exactly where needed for the lower and upper intake/exhaust vents! I just had to add one horizontal framing member for the bottom vent, but the top will require two horizontals, which will be held in place with screws through the 1/4″ plywood from the inside.
Worked about 6 hours today.
Day Four
The gas hose to extend the gas supply to the new fridge arrived from Amazon today. Routed it from the tie-in behind the stove to the new fridge, installed a temporary cap at the fridge end so I could double- and triple-check for leaks behind the stove before it is bolted back in place (left the gas on so tomorrow I can quadruple-check for leaks before the stove goes back in place).
Also, today, I completed the electrical installation at the new outlet location for the new fridge. Checked for proper voltage (120V), which I have—sweet!
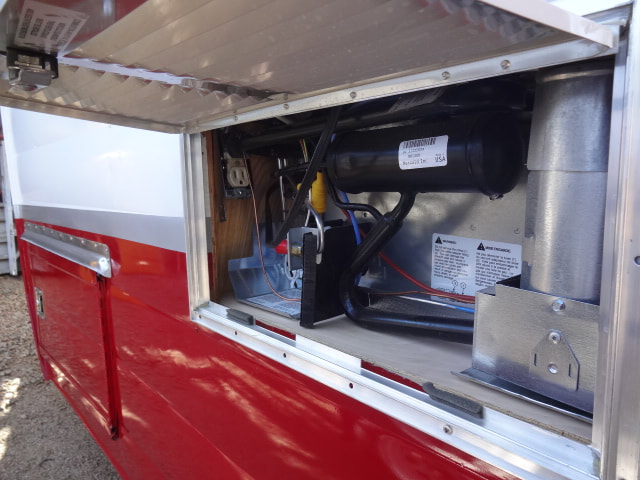
Finally finished today by locating and cutting in the rough opening for the upper side vent.
It’s easy to write all these jobs down; however, I worked on this for about 7 hours today.
Day Five
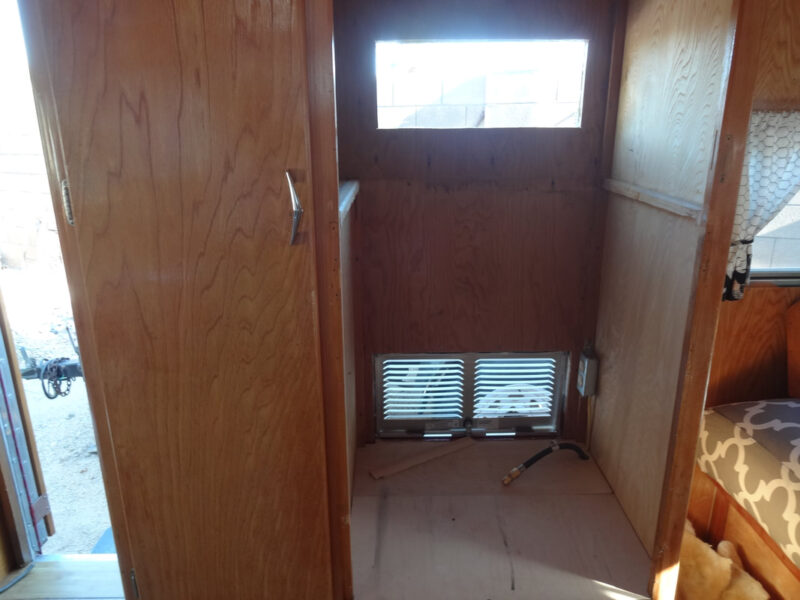
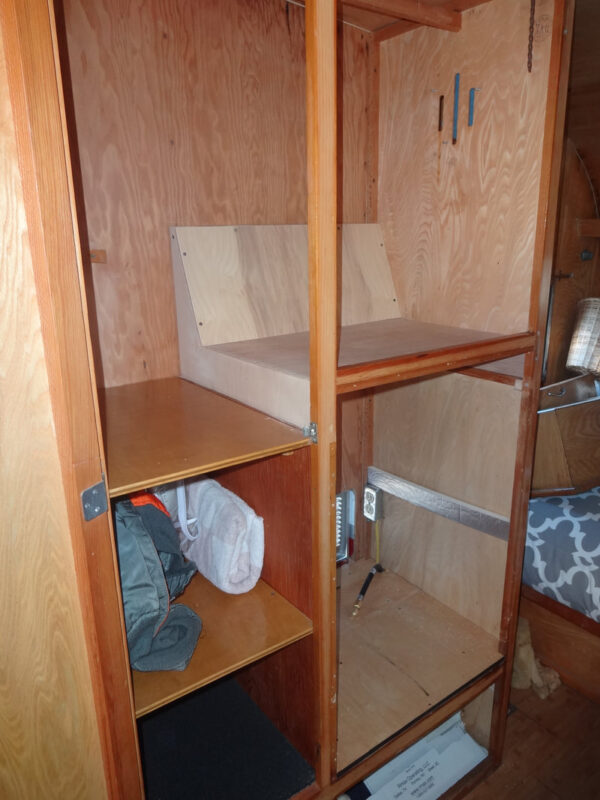
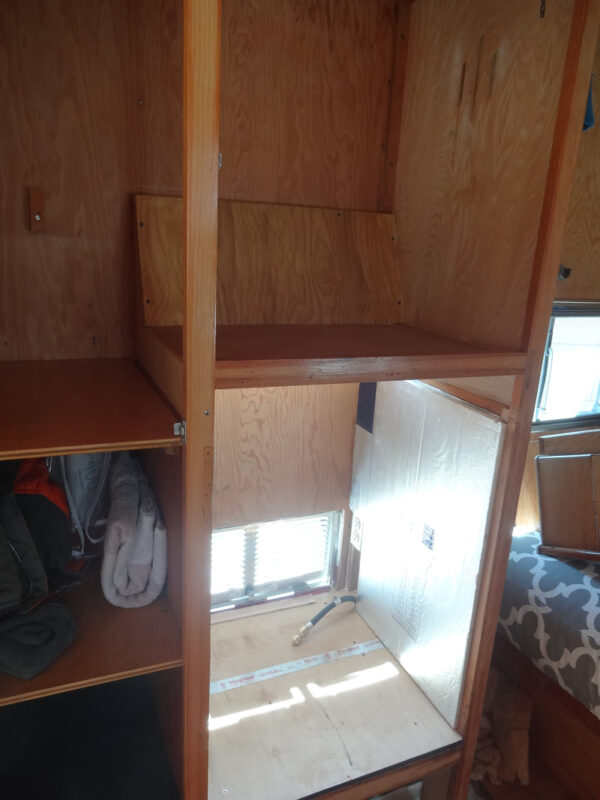
Finished framing in the upper vent rough opening and pre-drilled mounting holes for the exterior vent cover. Removed the floor and gave the top and bottom a coat of sealer. Installed some extra shielding for the gas supply line where it enters the trailer floor at both locations. Started fabricating the upper fridge enclosure panels.
Worked about 5 hours today.
Day Six
Completed the upper enclosure shelf and baffle (which directs hot air out to the upper vent) and stained the interior side to match the ash Shasta paneling. Installed 1″ rigid foil-faced insulation board on either side of the enclosure, which closes the gaps on the fridge sides (Norcold recommends less than 1/2 inch clearance for both sides). I wound up with about as close to zero clearance as possible. Using urethane sealant, I also sealed the floor penetrations where the gas/electric was routed.
Worked about 3 1/2 hours today.
Day Seven
Finally! Ready to slide the fridge in for the last time, and it was a perfect fit! Hooked up the gas supply, checked and triple-checked for leaks, then lit the fridge on propane for the first time (we had already tested the AC side prior to this). After about 3 hours, the fridge started to cool; I filled the ice cube tray and checked after another 3 hours to find ice starting to form. Walked away from it for today; checked early the next morning to find solid cubes in the tray.
I plan on running the fridge on propane for 3-4 days to get a feel for how much gas is being used.
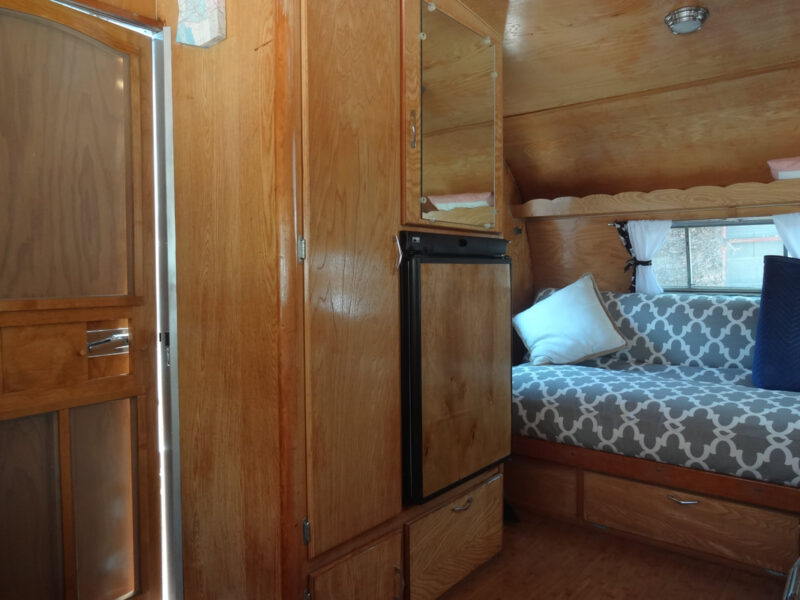
Remaining tasks include deciding on a door panel insert—matching the paneling or using brushed aluminum/stainless? Securing the fridge to the enclosure/floor with the provided screws. I will also need to modify the storage door/mirror above the fridge as it encroaches about 3 inches into that existing space. This should be a nice upgrade to make camping just that much more enjoyable. Stained and varnished the fridge panel in place (turned out a little darker as a different species of plywood was used, but it will do for now). (Painting vents, fridge door panel, and modifying the upper cabinet door/mirror: about 6 hours.)
Ran the fridge on gas from a hot start-up for 5+ days in 100-degree heat, and it used about 3.5 gallons of propane. It should do better if I pre-cool first using 110V, then switch to gas before traveling.