A very easy installation If you’re capable of running a power saw, router and hand tools – you’re ready to get started.
When purchasing metal banding make sure you have the correct size needed for your countertop. Generally the countertop thickness will dictate the size of banding you are able to select. Take into consideration the laminate thickness added to the wood when determining your banding. Also remember that when working in campers, the countertop doesn’t always allow for any overhang from the bottom of the metal banding to the top of the first drawer. Most people realize this after the installation. Don’t beat yourself up- this is a very easy and common mistake. So please make sure whatever thickness the drawers are if any, they will clear the bottom of the metal banding.
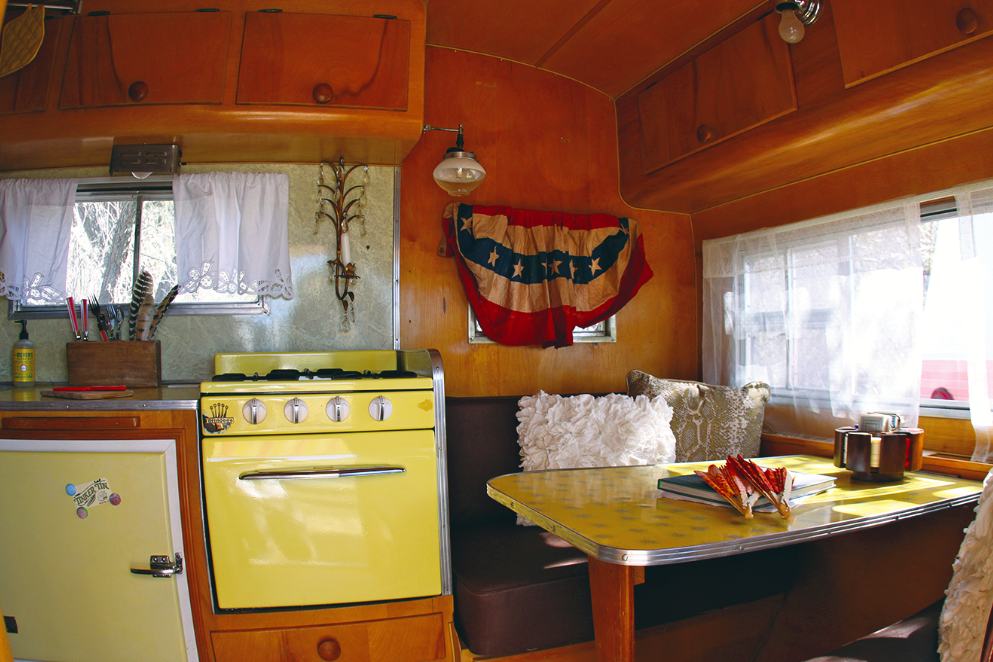
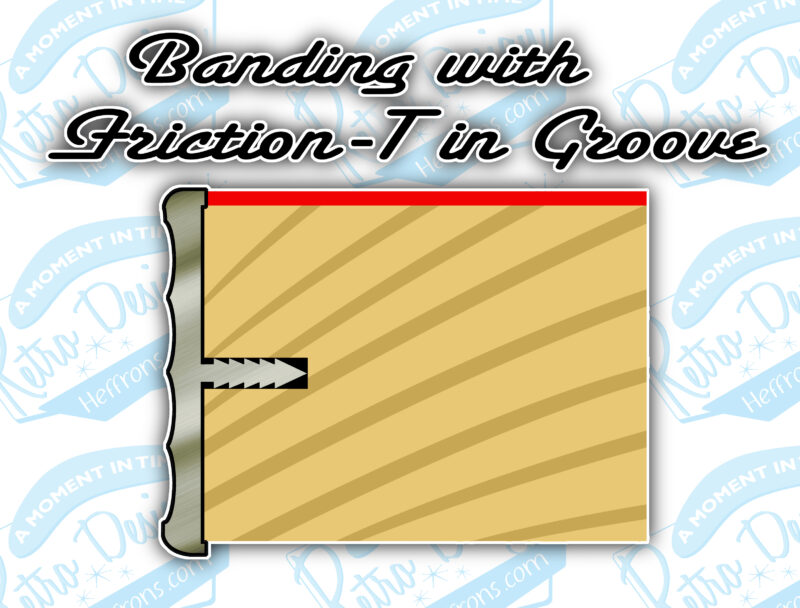
If you choose a metal banding with a friction fit T-lip on the back for a friction fitted installation, you will need to cut a corresponding groove in the wood for the friction T-lip to fit into. For this you’ll need a 2 or 3 wing .080 cutter bit, with a ¼”shank. The lip depth on the back of the banding can vary. Please don’t make any cuts in the wood until you have the metal banding on hand. Make sure the guard is set where the cut isn’t too deep. If the cut is too deep you will have a loose banding. This isn’t to scare you, it’s just to make you aware that it’s always best to measure twice and cut once. You can always go in deeper if needed later.
If you’re not using a router and are straight cutting the groove, then you can use a chalk line to assist you with keeping your cut straight. A guide is always recommended however, to ensure as straight of a line as possible.
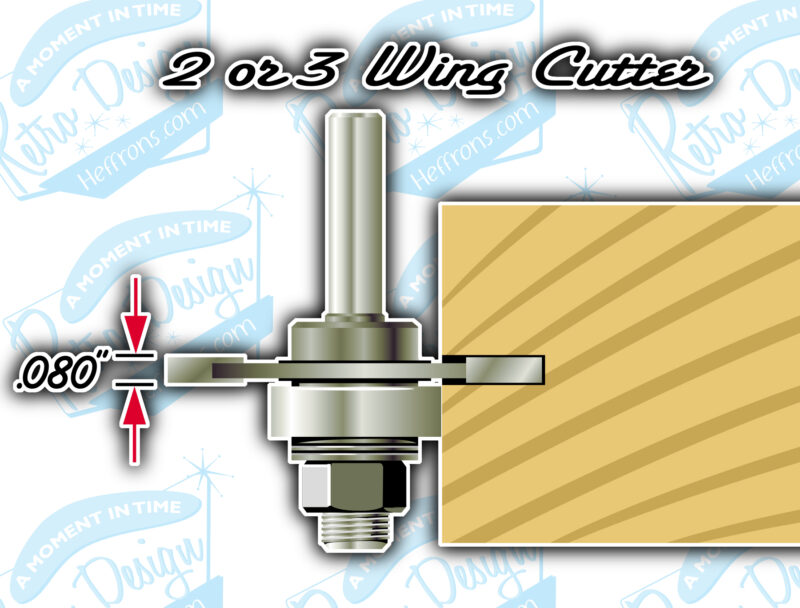
Using a banding profile with the friction fit T-lip, you’ll also need to notch the back to accommodate any radius down to 3”. This can be done with a wheel type hand grinder or jigsaw with a fine metal blade.
For banding that has no friction fit T-lip to mount with, some require screws, nails or adhesive. Our customers have let us know they have used adhesives such as Liquid Nails or Locktite and like the results. Please note this is only passed on information. You may want to try if you don’t already have your own specialty adhesive. For added insurance, some customers also use the adhesive on the friction fit T-lip banding.
Any of the miters that need to be cut should be done with a fine tooth blade to minimize jagged edges. A fine metal file can be used to eliminate sharp edges.
Heffron’s A Moment in Time Retro Design is always willing to answer any questions in the selection of products we carry to assist you with your renovation or restoration project. Find us on the web at www.heffrons.com.