When you go fishing, preparation is everything. Your checklist might include:
- A fishing pole, hooks, bobbers, weights, and lures.
- Bait like worms, marshmallows, or cheese.
- Essentials such as bug spray, long underwear, waders, a vest, and a trusty fishing hat.
- And, of course, a current fishing license.
You’re ready, right? But imagine driving 100 miles to the perfect fishing spot, only to realize you forgot fishing line. Suddenly, your carefully planned trip turns into frustration.
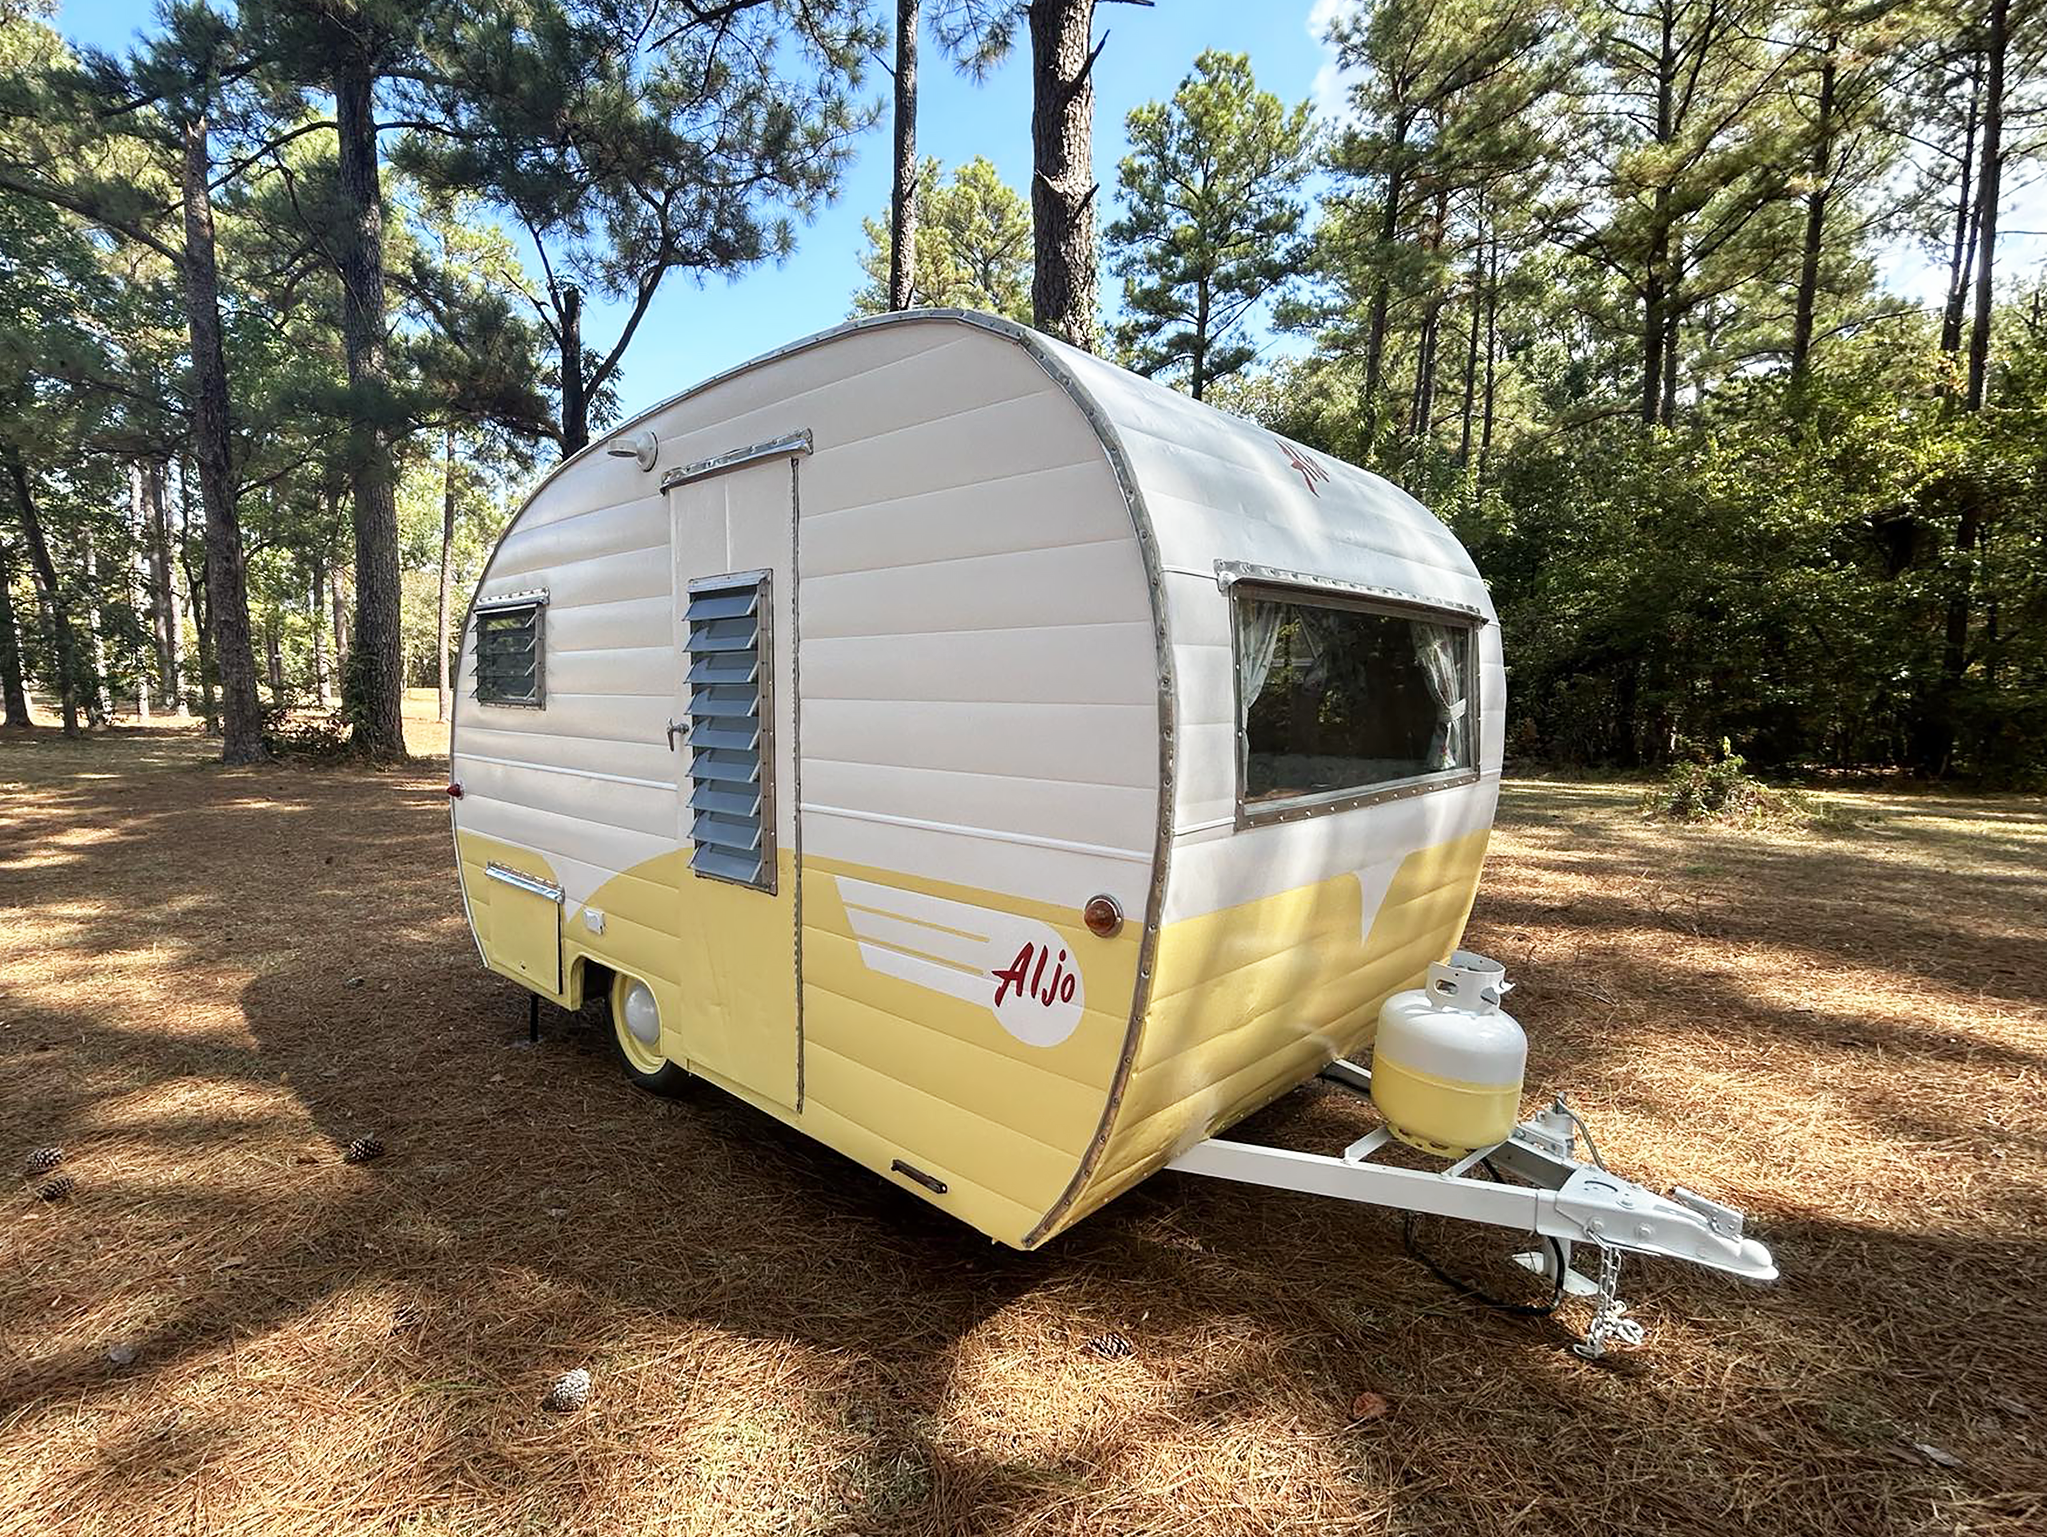
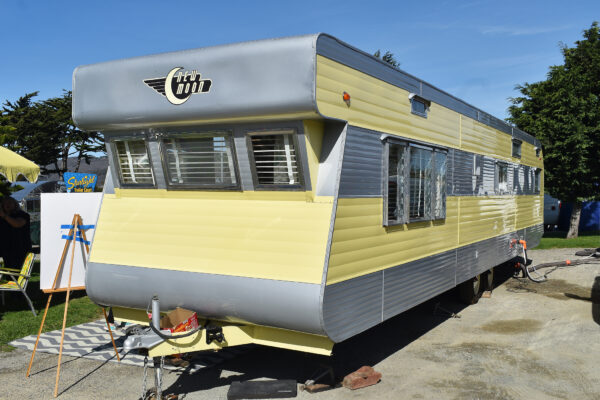
This same principle applies to vintage trailer restoration and decal application. No matter how prepared you think you are, skipping one crucial step can lead to disappointment.

At Canned Ham Decals, the excitement of finding and ordering the perfect decal for your project is part of the fun. The thrill peaks when the decal arrives in the mail. But without proper preparation, that joy can quickly fade. Missing a step in decal application—like not preparing the surface, not having the right tools, or rushing the process—can ruin your hard work.
Success comes from careful planning, attention to detail, and following every step. So, whether you’re fishing or restoring a vintage trailer, remember: preparation is the key to satisfaction.


That annoying piece of paper called ‘Instructions’ often goes ignored for many of us because we all know we don’t need those! Sadly, that pursuit of accomplishing a task on our own, versus casting ignorance aside to follow a well-established course of assured success, often fails. While our time is the most precious commodity we have, taking this necessary precaution can save removing a decal and redoing the job a second time.
Applying a decal isn’t as simple as ‘peel-n-stick’ if the intention is years and years of longevity. The surface where each decal is placed is as critical as how it is applied. For example, if the surface is painted with house paint, the decal will not last long. Automotive paint or bare aluminum is a more stable surface and provides a better decal adhesion surface.

Choose between a dry application (faster but riskier) or a slightly wet application (more controlled and reliable). The wet method for decal application involves using a liquid solution to help position the decal more easily and reduce the chance of bubbles or wrinkles. Here’s how it works:
Steps for the Wet Method of Decal Application
- Prepare the Surface
- Clean the surface thoroughly to remove dirt, grease, and debris.
- Ensure the surface is smooth and dry before proceeding.
- Assemble the proper tools.
- Create a Wetting Solution
- Mix water with a small amount of dish soap (a few drops in a spray bottle works well).
- Shake gently to combine.
- Spray the Surface
- Mist the area where the decal will be applied with the soapy water solution.
- Ensure the surface is evenly wet but not dripping excessively.
- Position the Decal
- Peel off the backing and place the decal onto the wet surface.
- The solution allows you to slide the decal into the correct position before it sticks firmly.
- Remove Excess Liquid
- Use a squeegee or a credit card wrapped in a soft cloth to gently press the decal down.
- Start in the center and work outward to push out any air bubbles or excess liquid.
- Let It Dry
- Allow the decal to set and dry completely, which can take several hours depending on humidity and temperature.
- Avoid touching or moving the decal during this time.
- Check Edges and Secure
- After drying, check for any edges that might not have adhered properly and press them down firmly.
By following these steps, you’ll achieve a professional, long-lasting finish for your decal.
You know the old saying, a doctor is the worst patient, or a mechanic’s car is in the worst shape? One of my bucket list items is to complete a vintage trailer restoration of my own. For now, I take joy and pleasure from the photos of proud customers who stuck it through to the end, then stood back and looked upon the perfection of a job done correctly, ‘fishing line’ and all!

By Linnaia Jervis
Canned Ham Decals
www.cannedhamdecals.com