Trailer restorers are creative if nothing else. Here is a cooling system that is a do-it-yourself project with common supplies from the hardware store. By Richard Cook
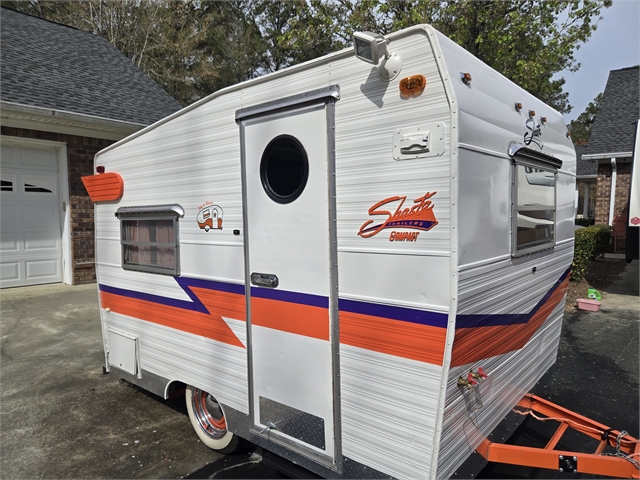
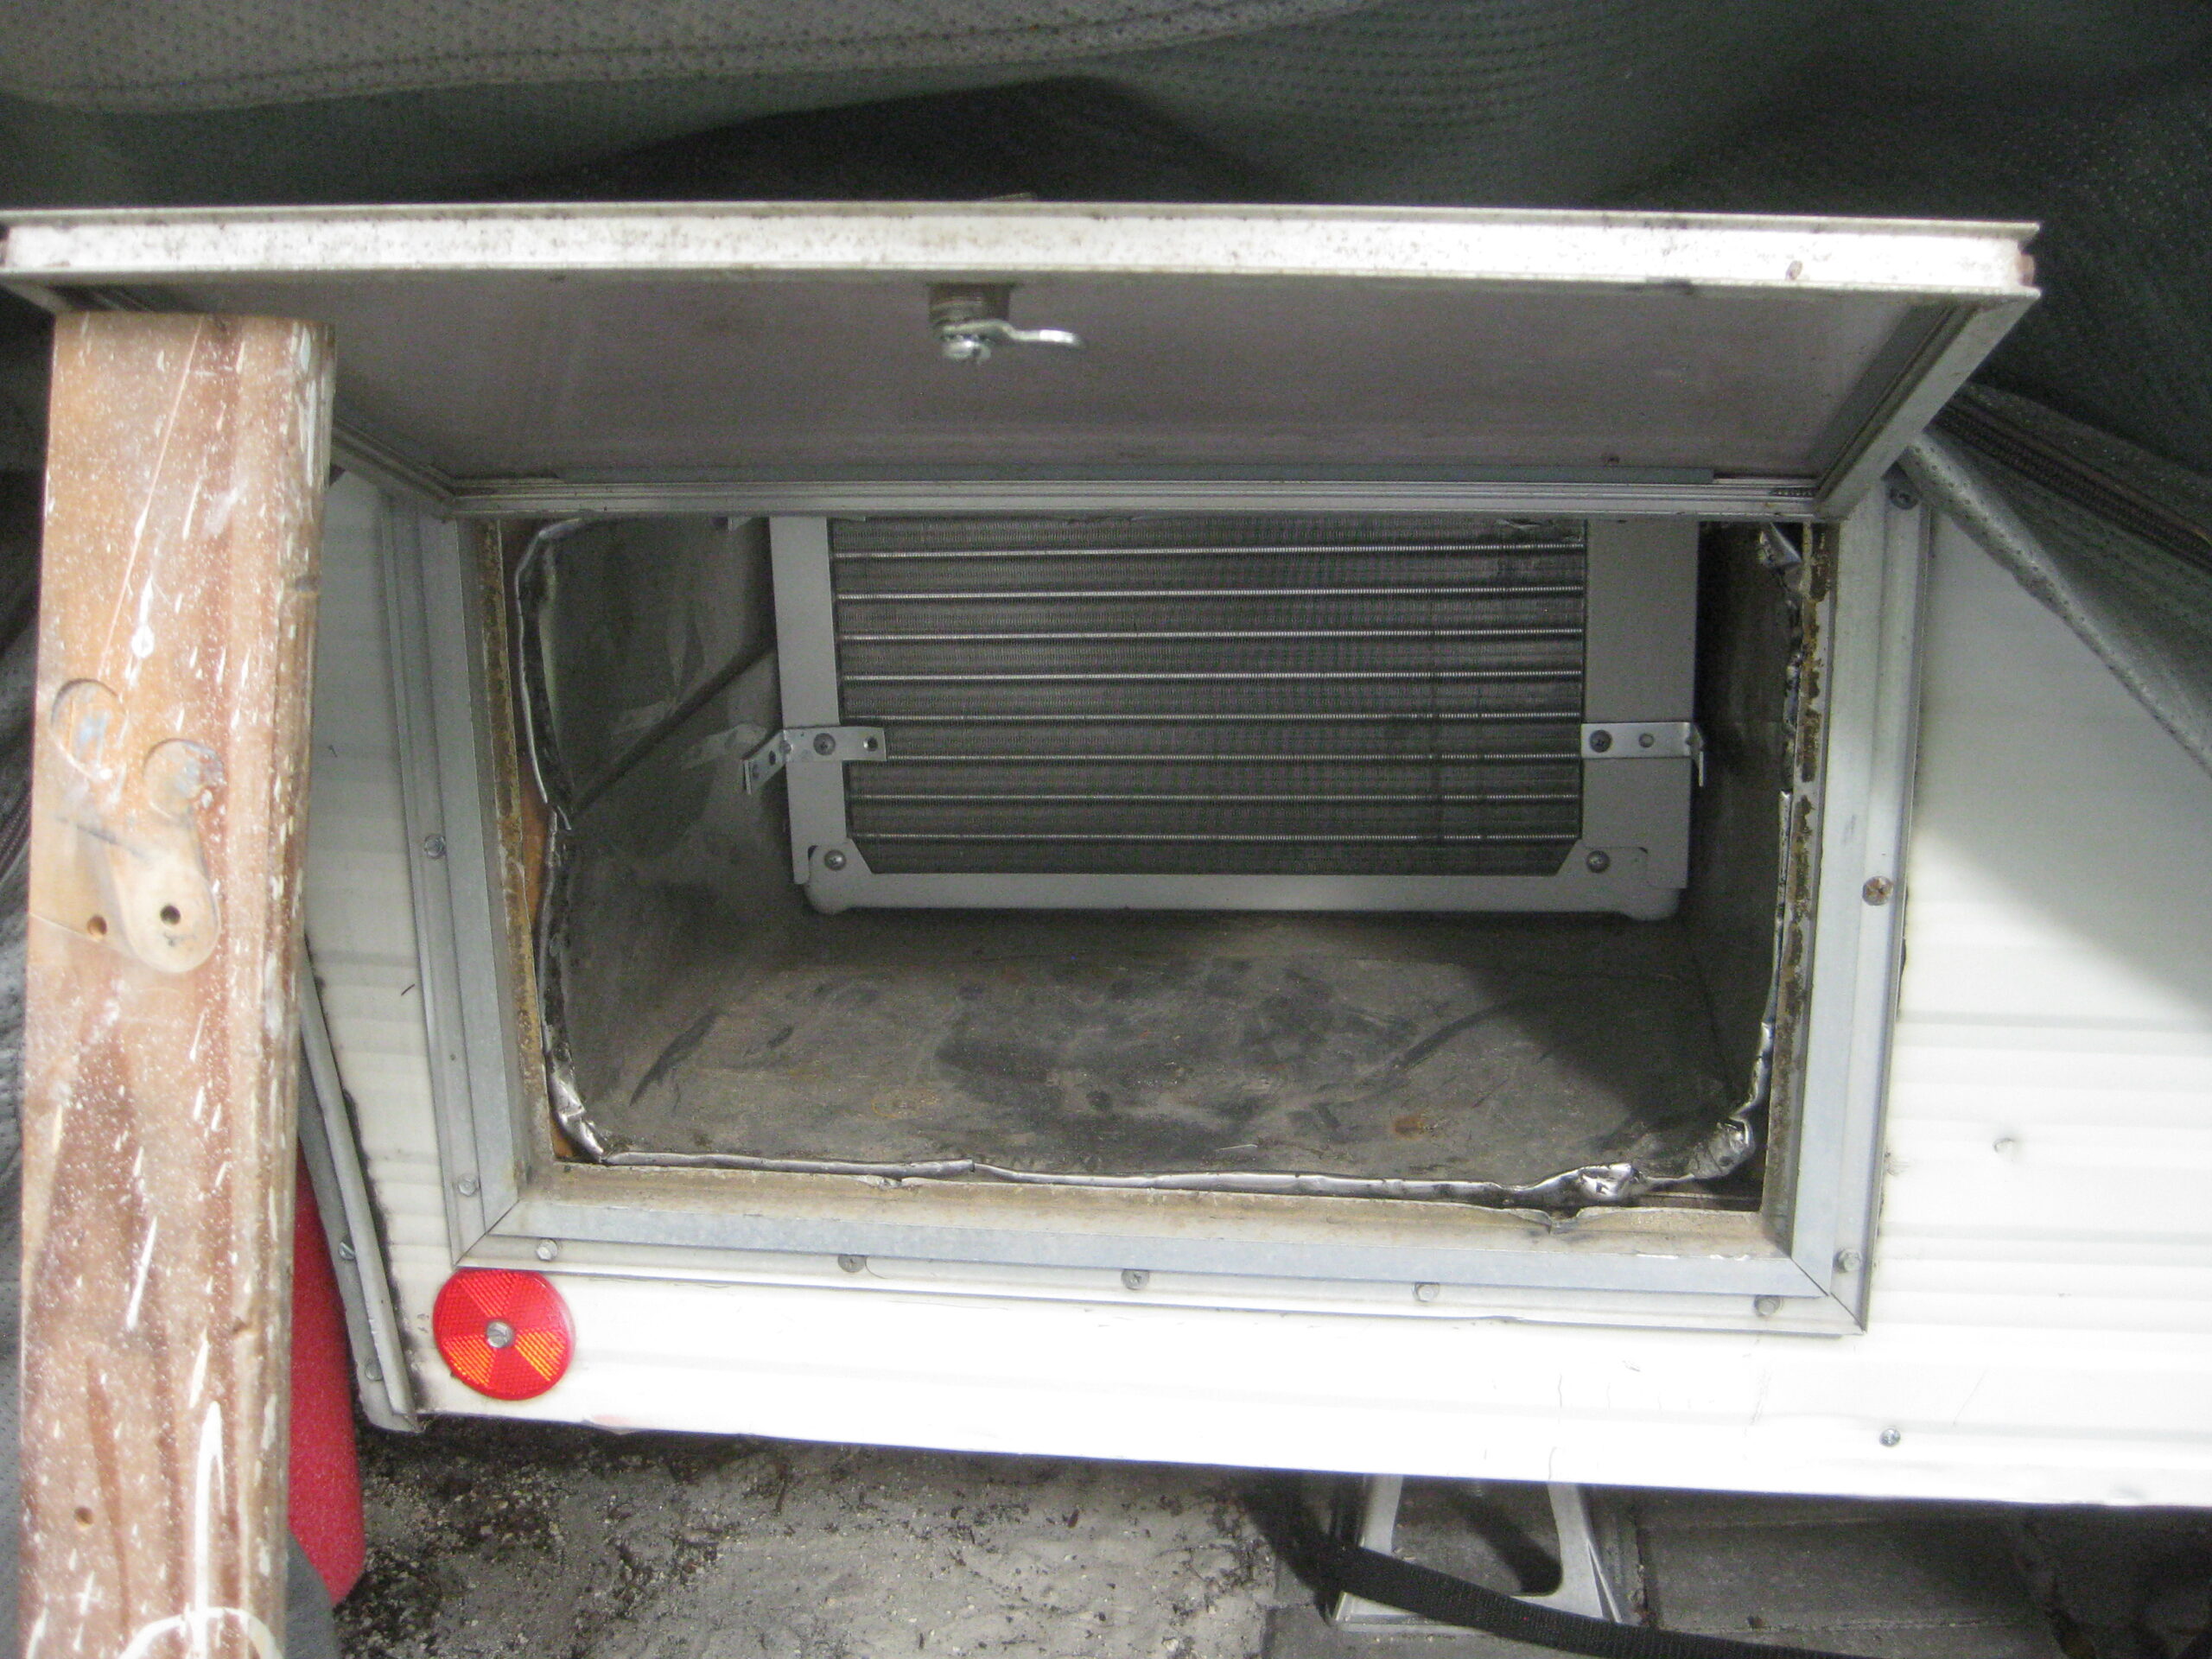
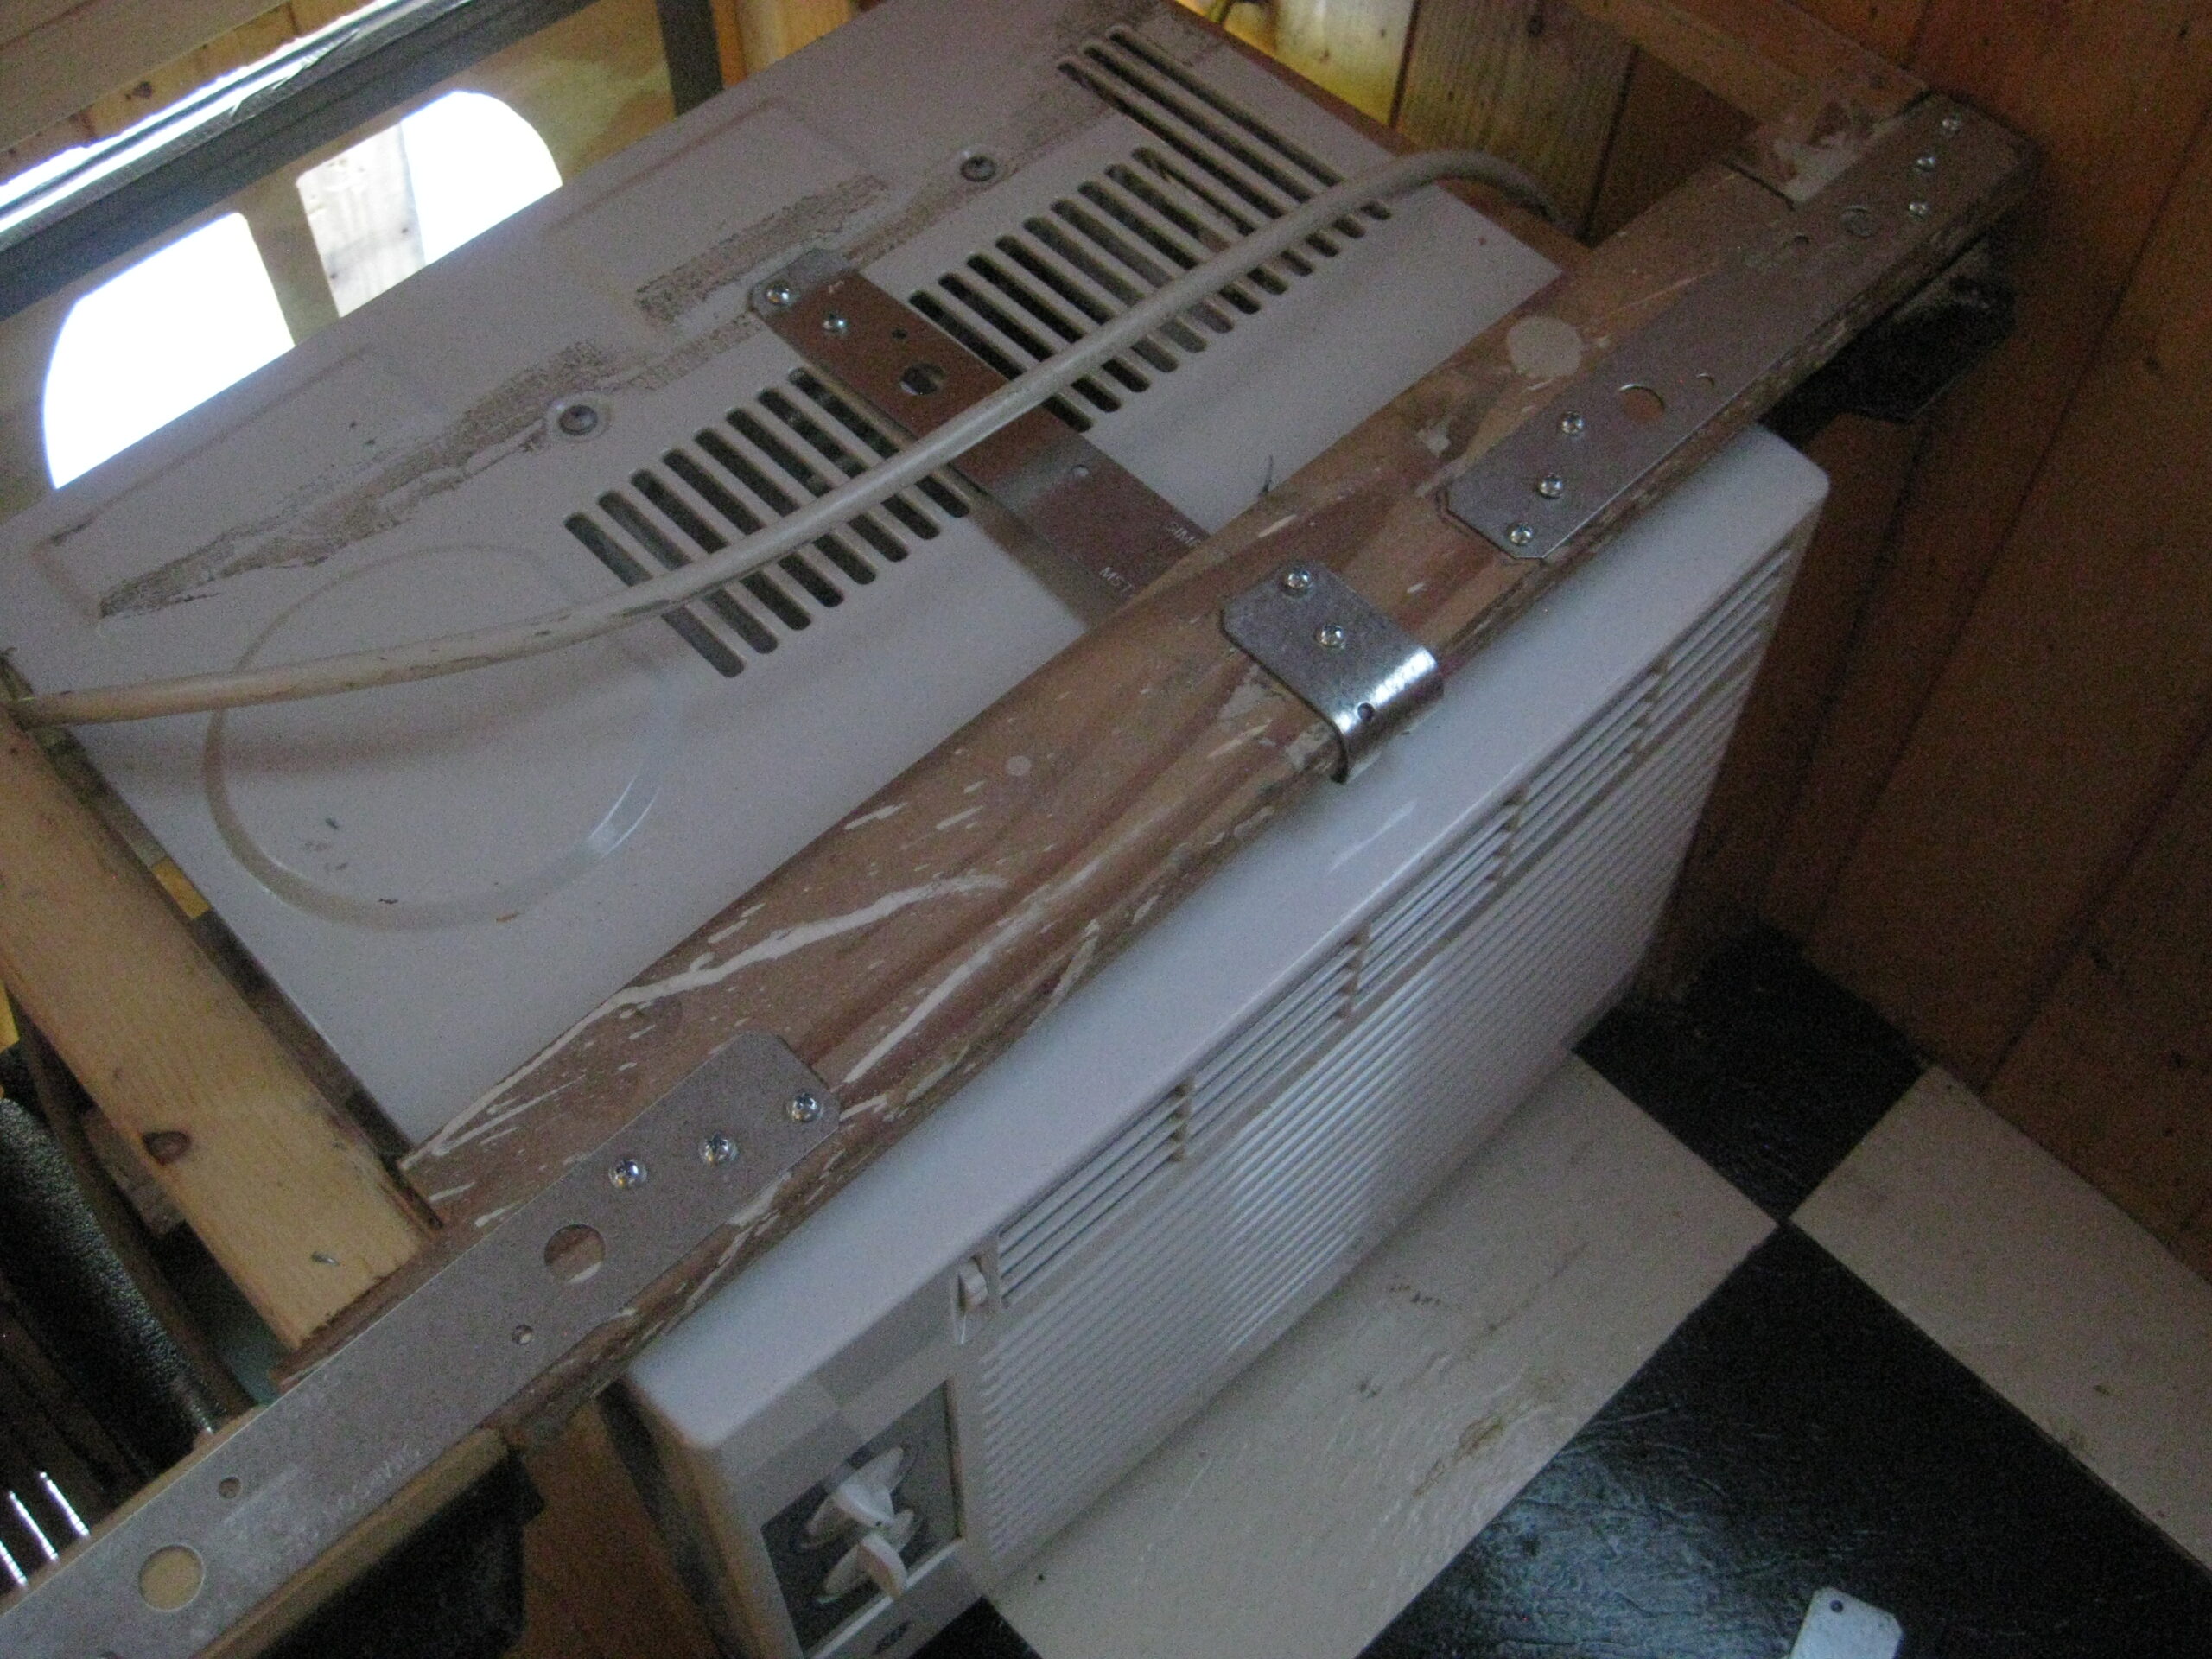
The previous owner of our 1969 Shasta Compact had installed a 5,000 BTU home-style air conditioner under the right-hand dinette seat, in what was originally a storage compartment accessible via an outside access door. Although this a/c unit cooled our small trailer, I didn’t like the way it was installed. First, it was attached to the floor using a thin metal band held down by two screws. Second, the hot exhaust was vented through an uninsulated aluminum duct system that wasn’t sealed around the access doorway, allowing hot air to reenter the compartment and mix with the fresh air flowing in through a floor vent (used for cooling the compressor), reducing the air-conditioner’s efficiency. In addition, because the duct system wasn’t sealed, water could enter the compartment during a rainstorm, since the access door had to be held open with a stick while the air conditioner was in operation. Finally, access for maintenance was restricted because the dinette seat was screwed down rather than hinged.
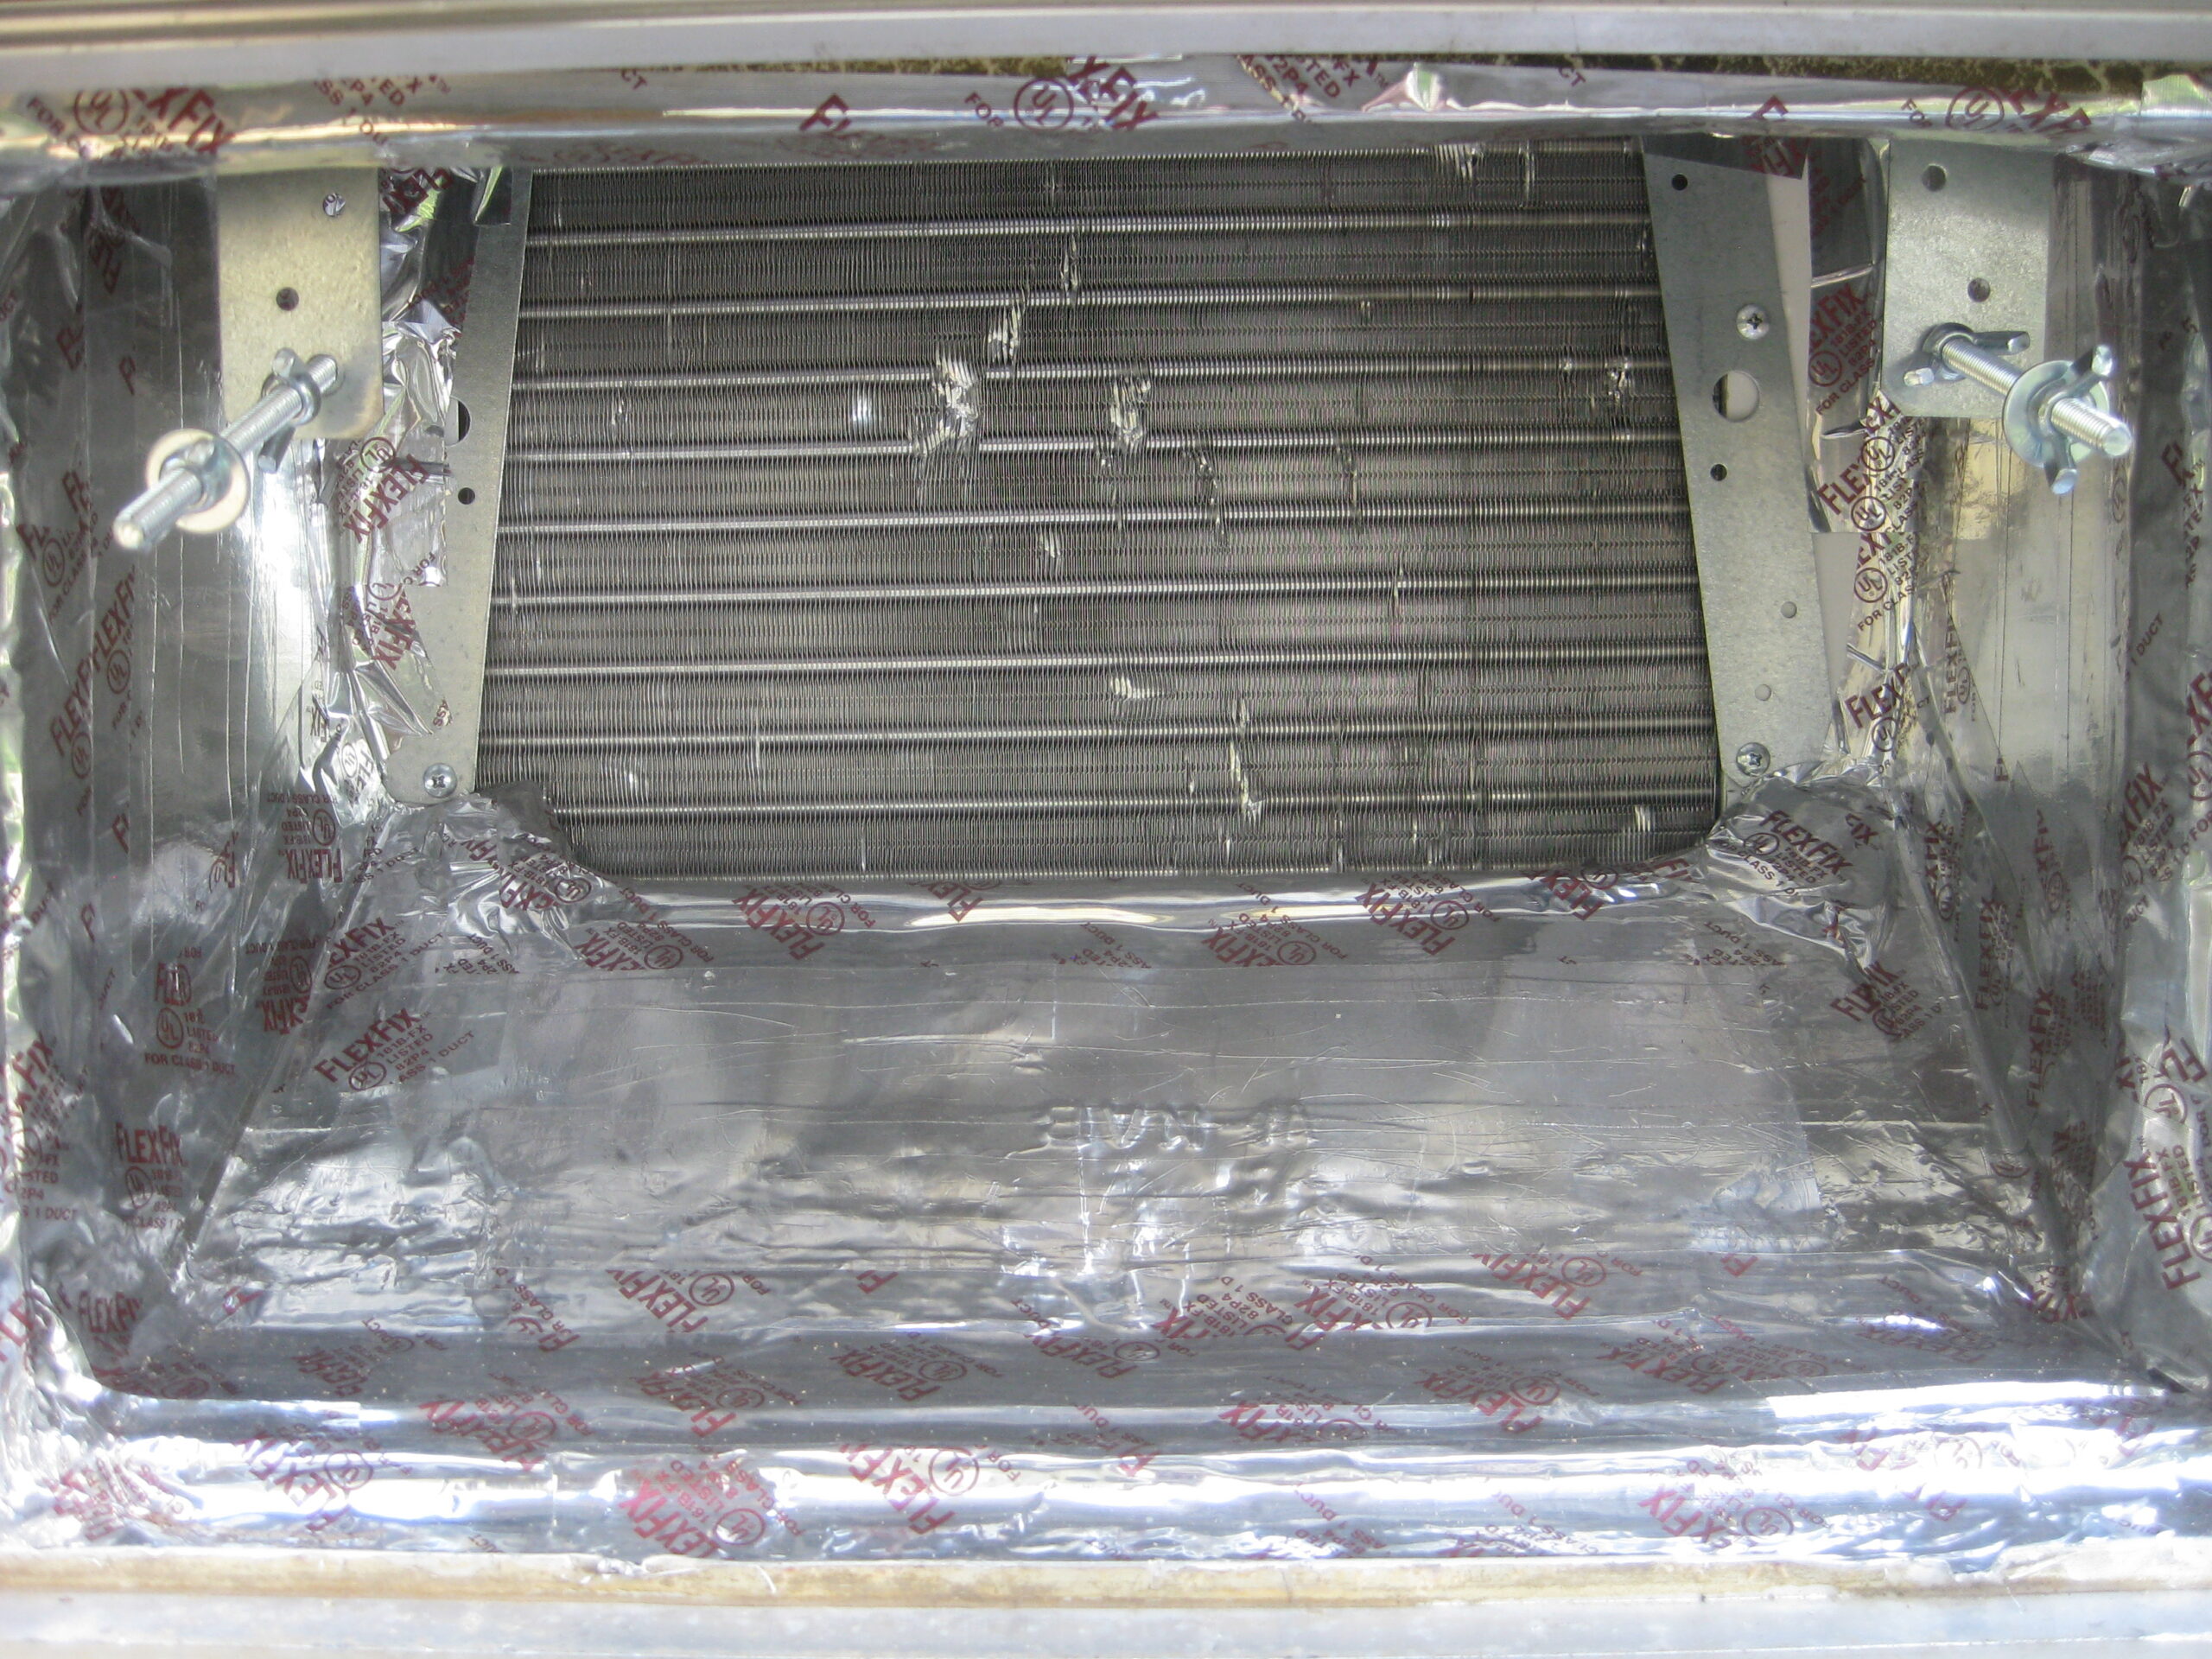
After removing the dinette seat, duct system, a/c unit, drip pan, and electrical outlet, years of accumulated dust and grime were wiped away, especially from the a/c filter and coils. In other words, maintenance.
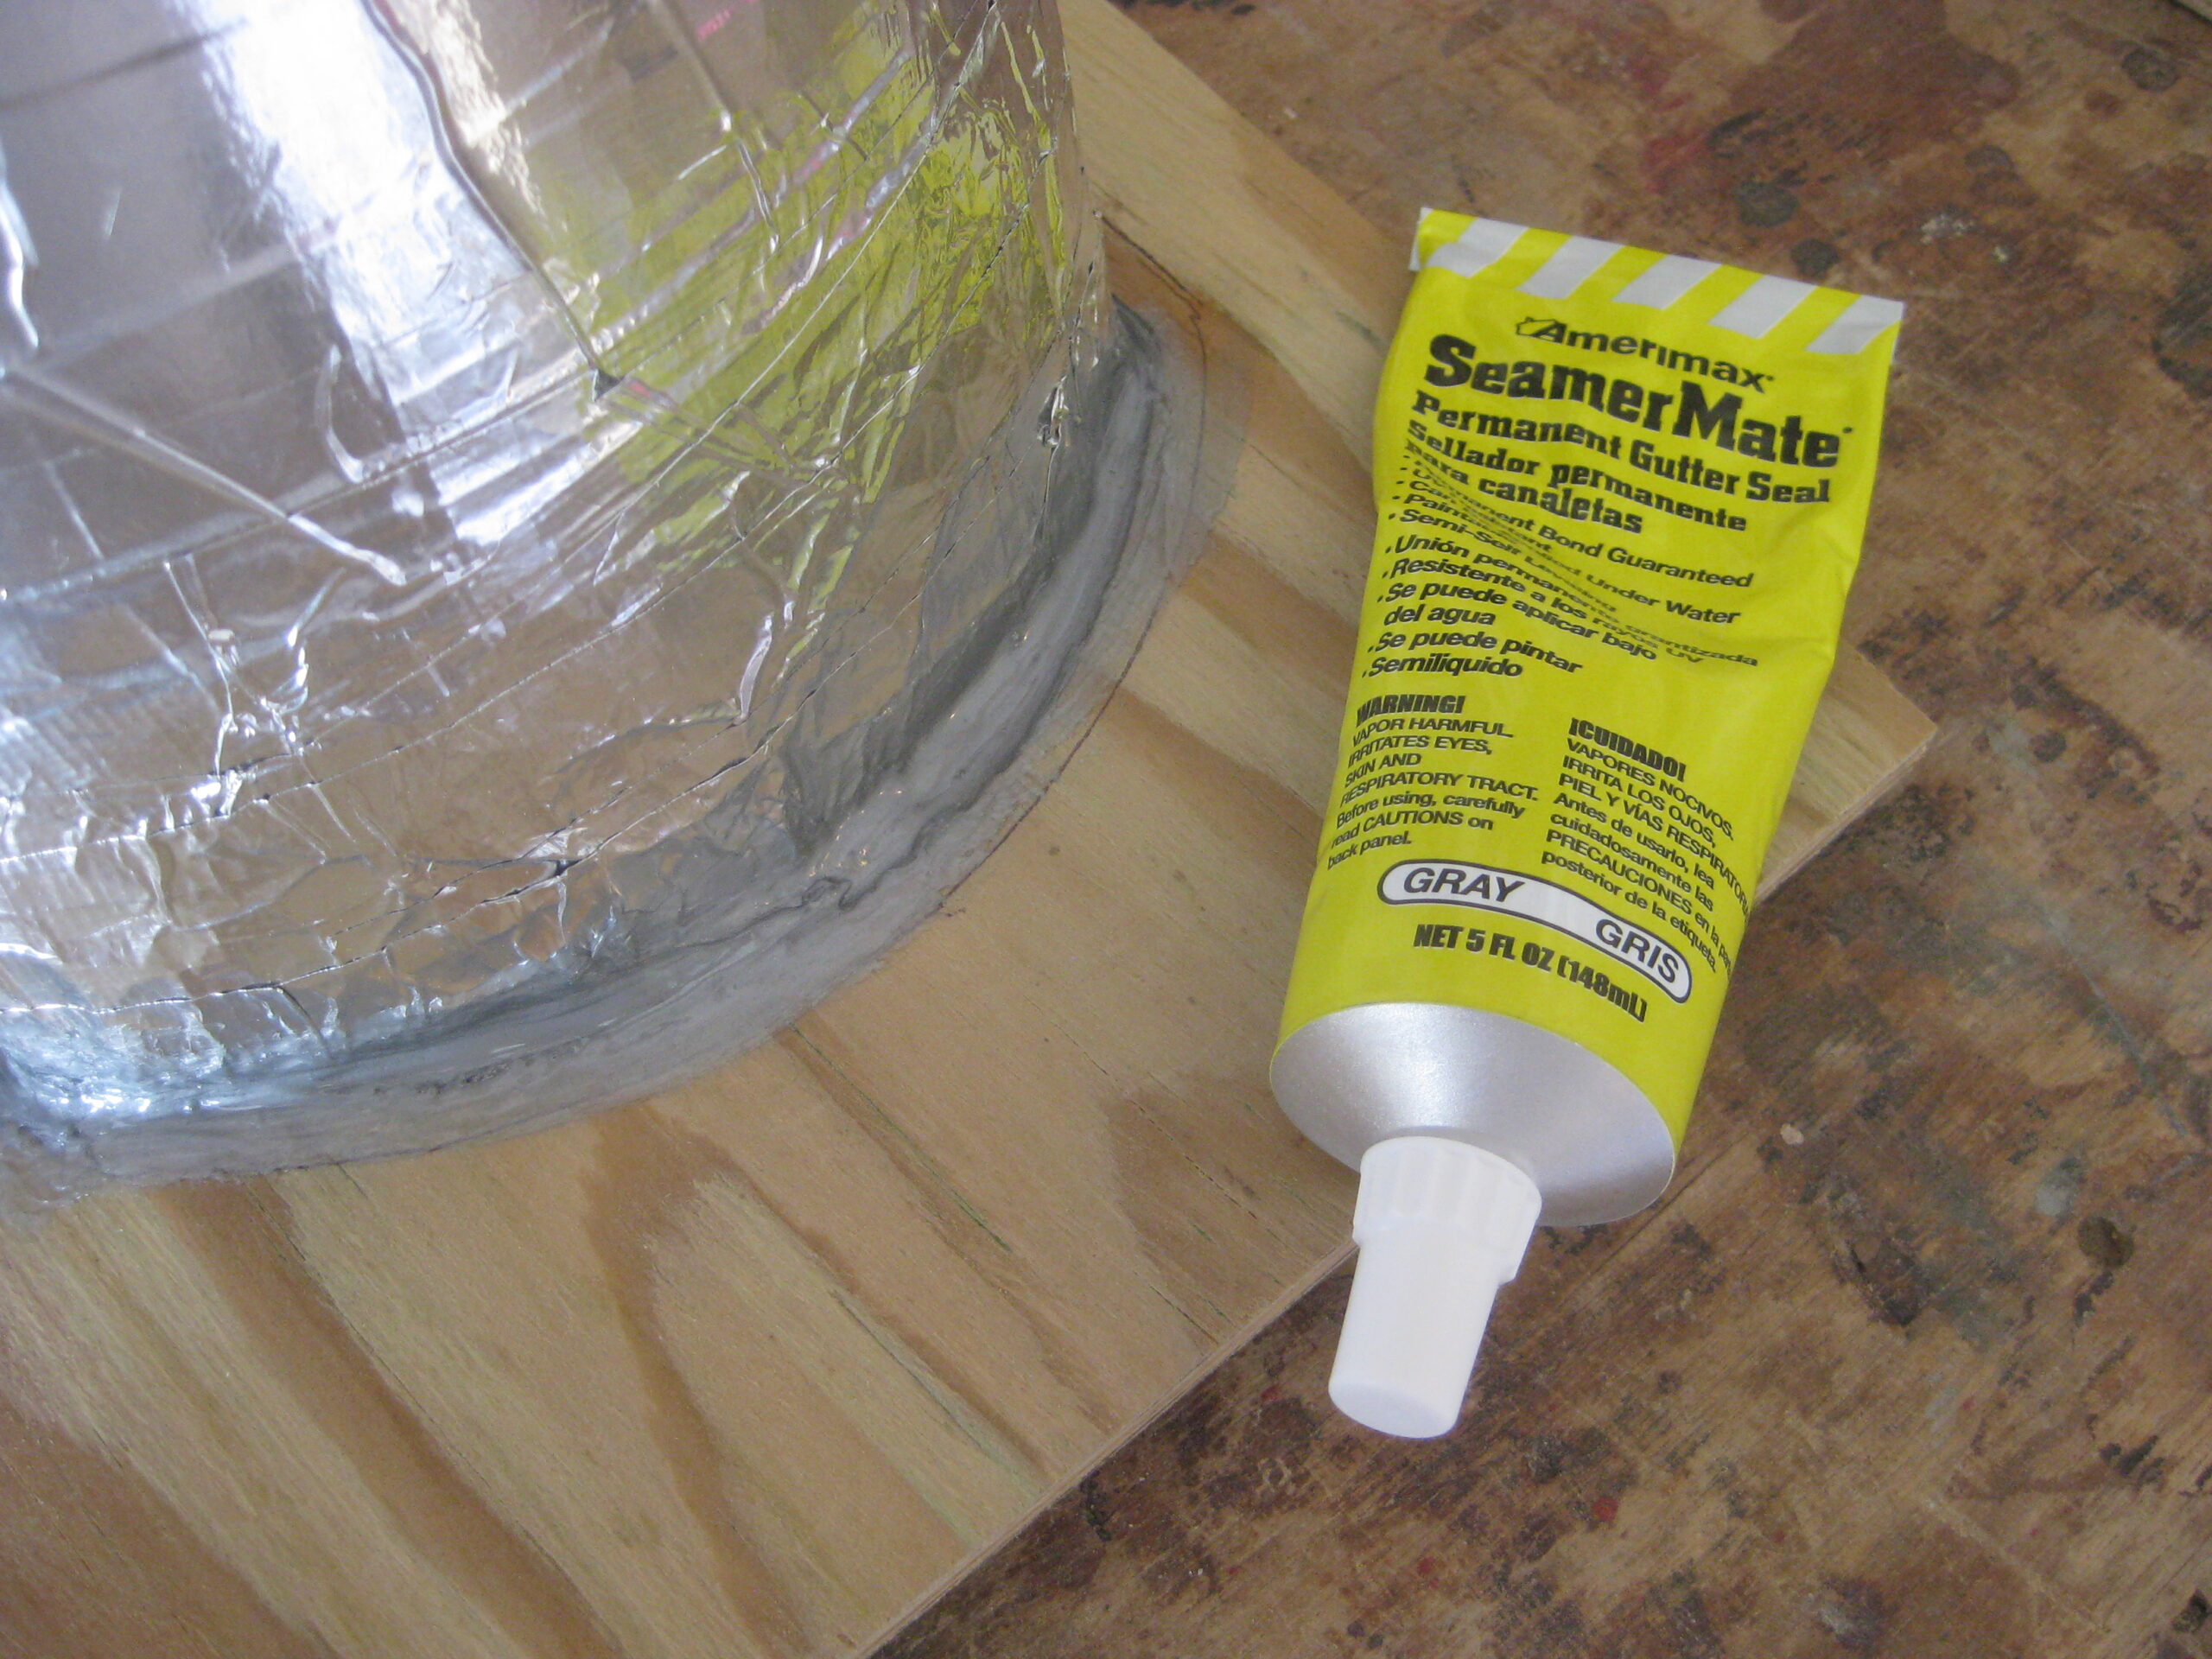
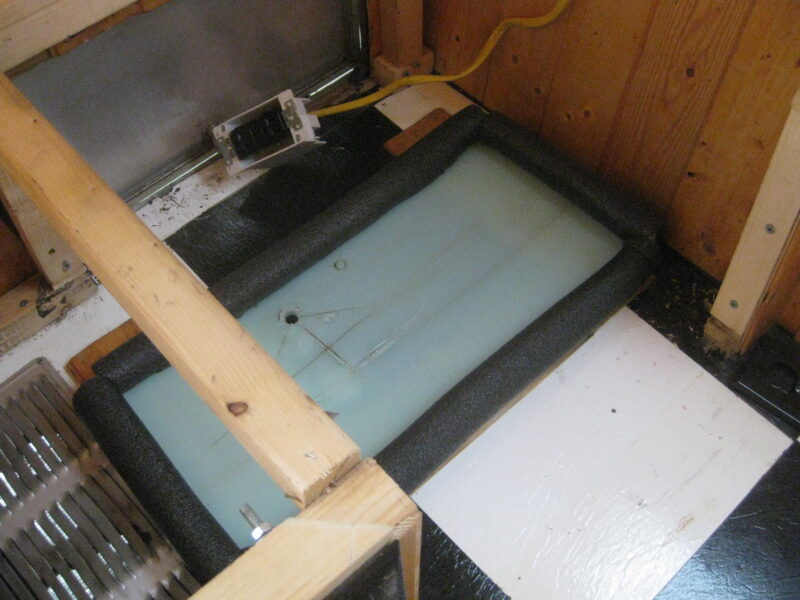
The capacity of the plastic drip pan was increased by attaching closed-cell rounded foam strips (normally used for pipe insulation) to each of the four sides. The corner gaps between each length of foam were filled with gutter sealant. The curve of the drip pan allowed water (from condensation) to flow down towards a rubber hose that exited the trailer through a hole in the floor.
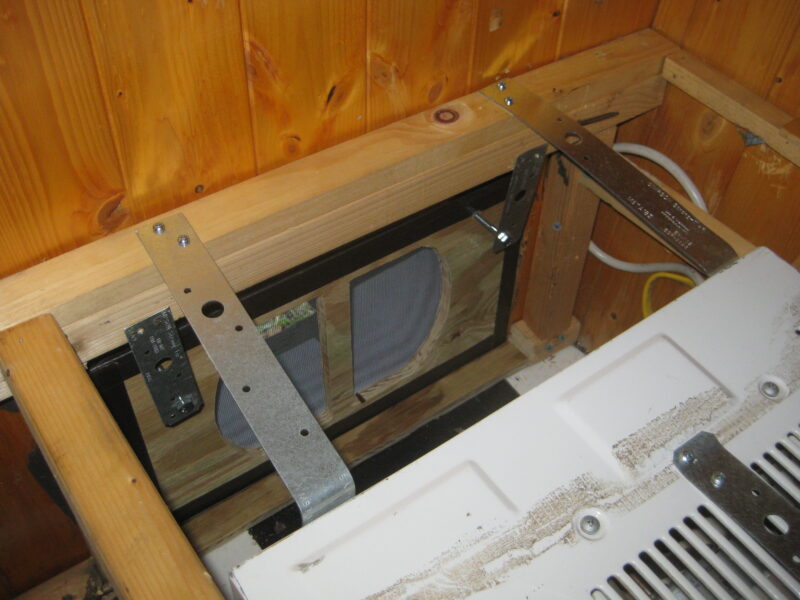
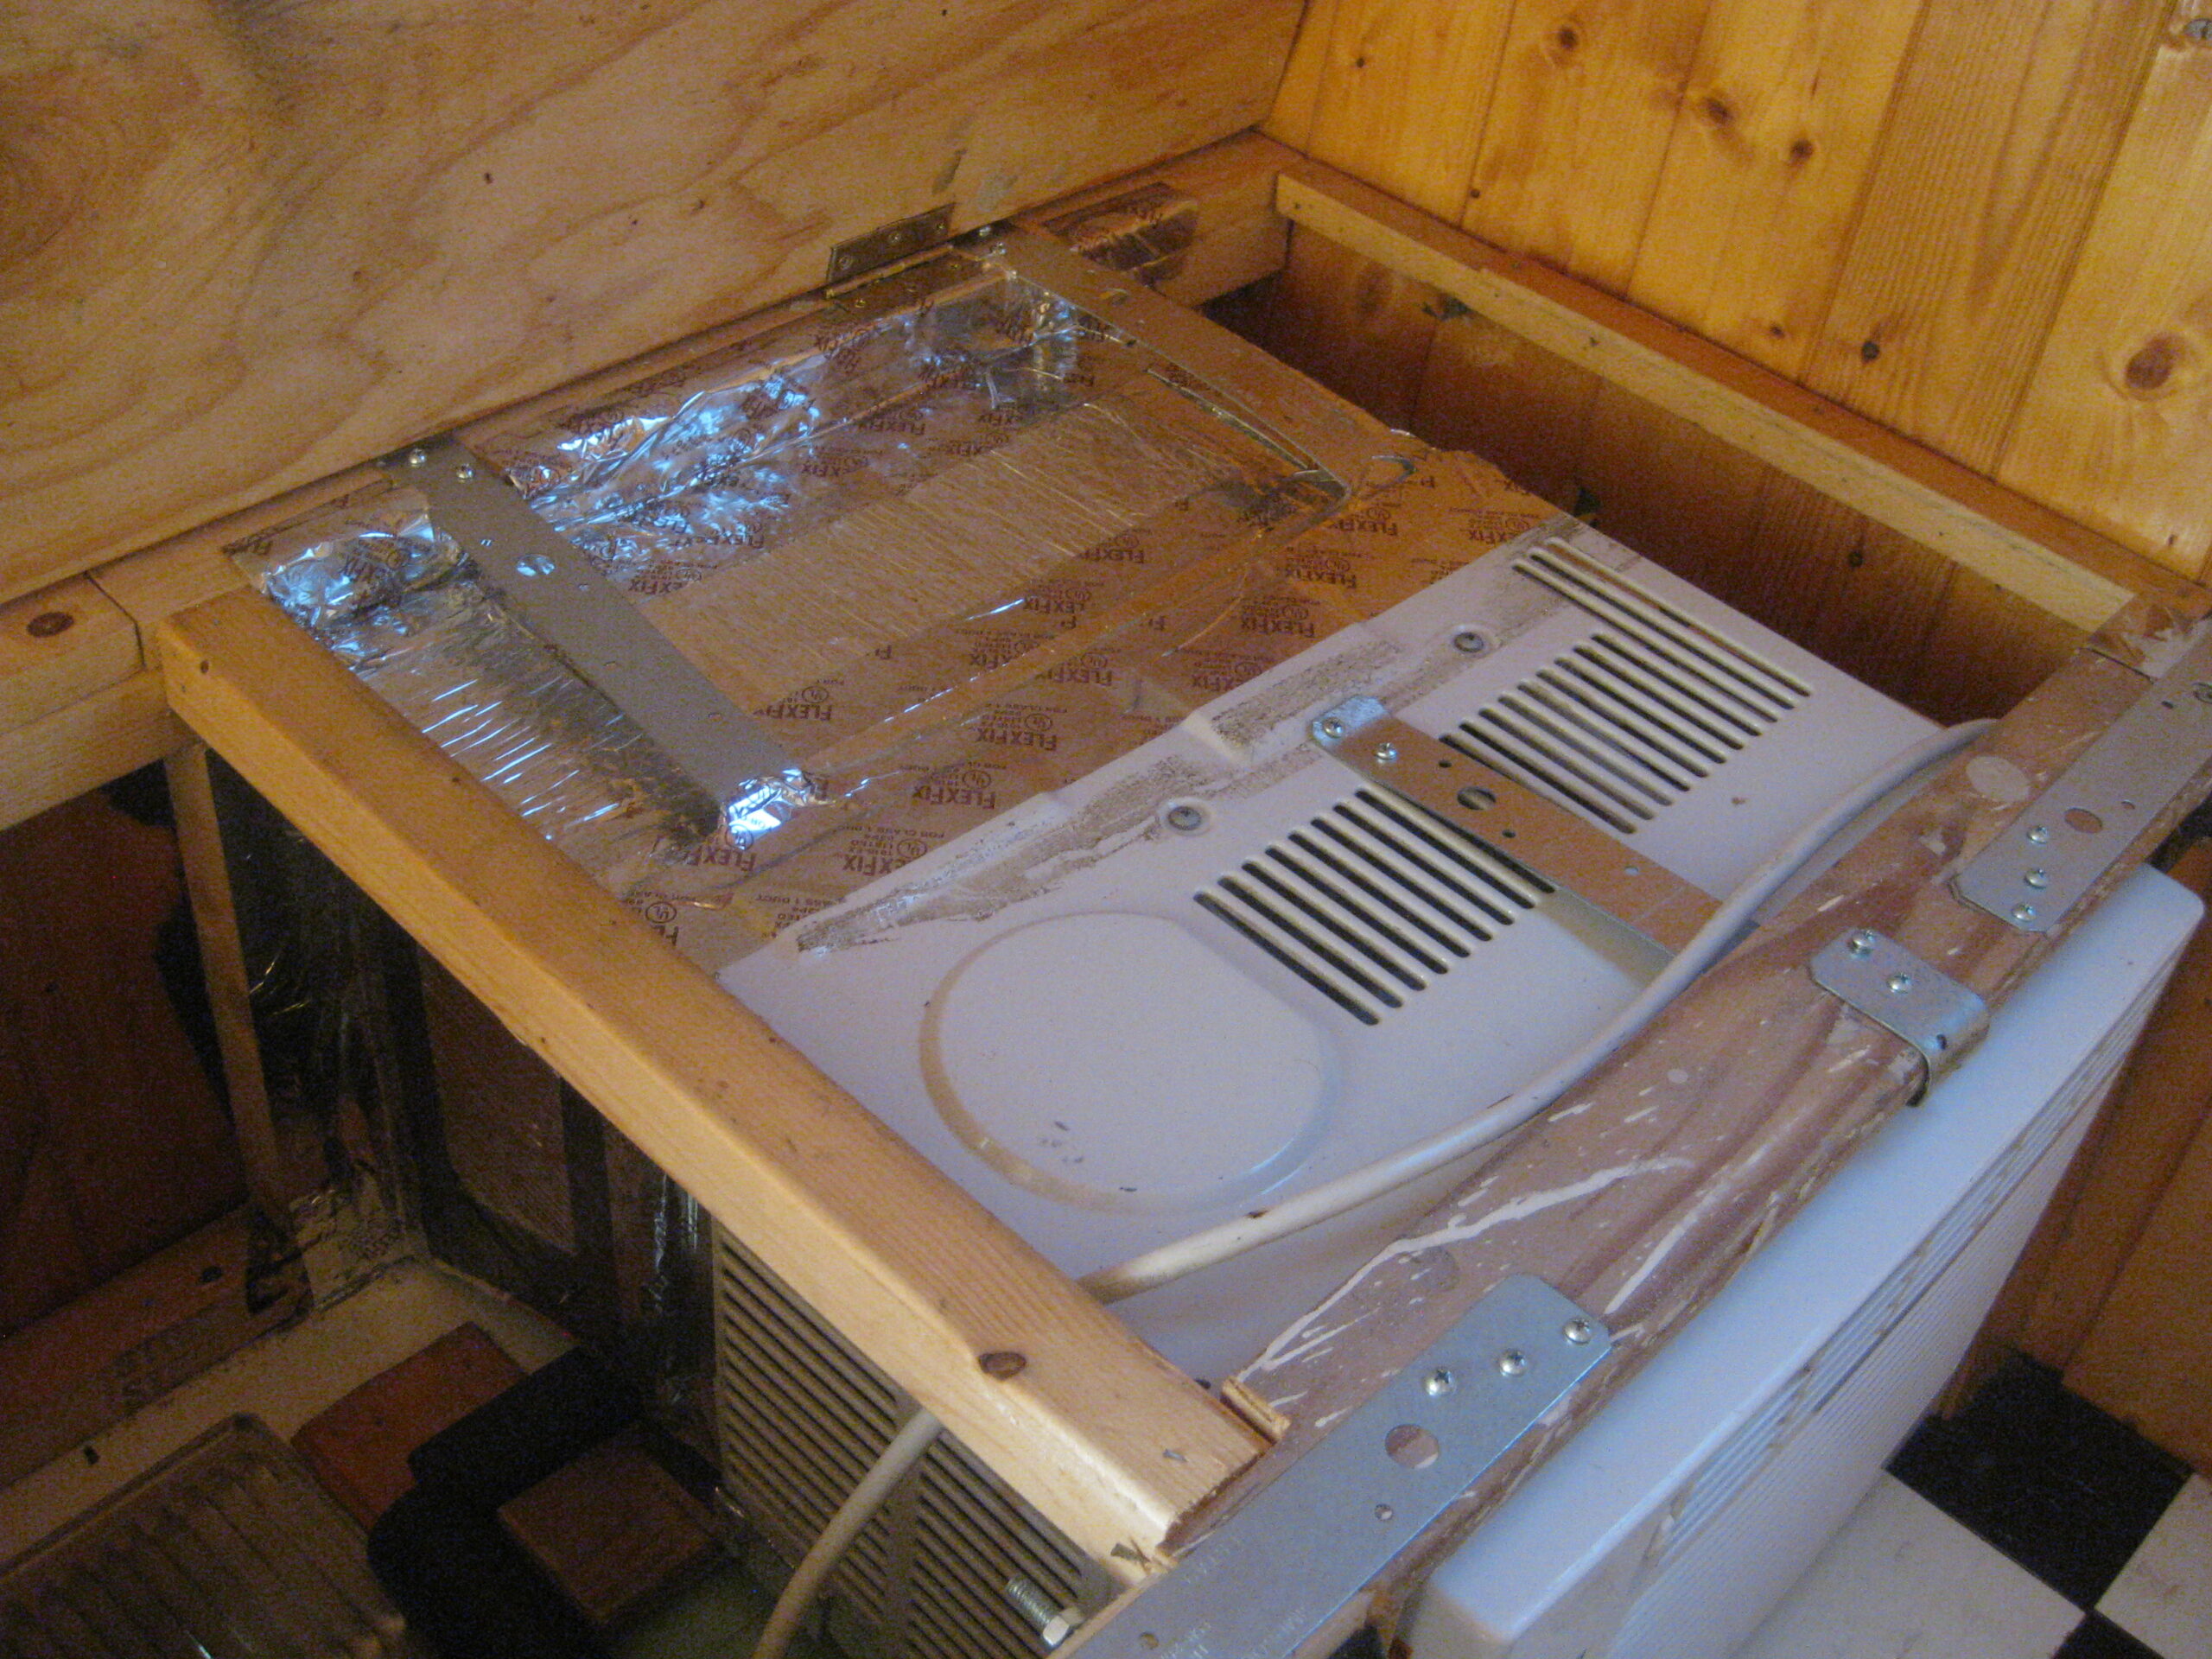
The wood framework of the dinette seat was reinforced with two additional vertical beams. In addition, the front crossbeam of the framework was made removable using two metal brackets, thus making it easier to remove the a/c unit for maintenance. After setting the air-conditioner into position on top of the drip pan, the front crossbeam was reattached. Three metal brackets were then used to attach the top of the air-conditioner to the framework (one bracket to the front crossbeam and two brackets to the back crossbeam).

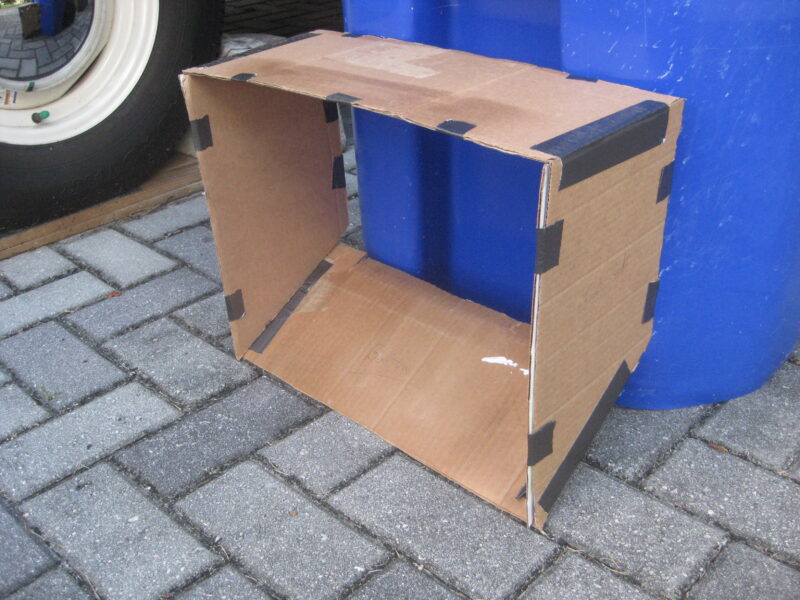
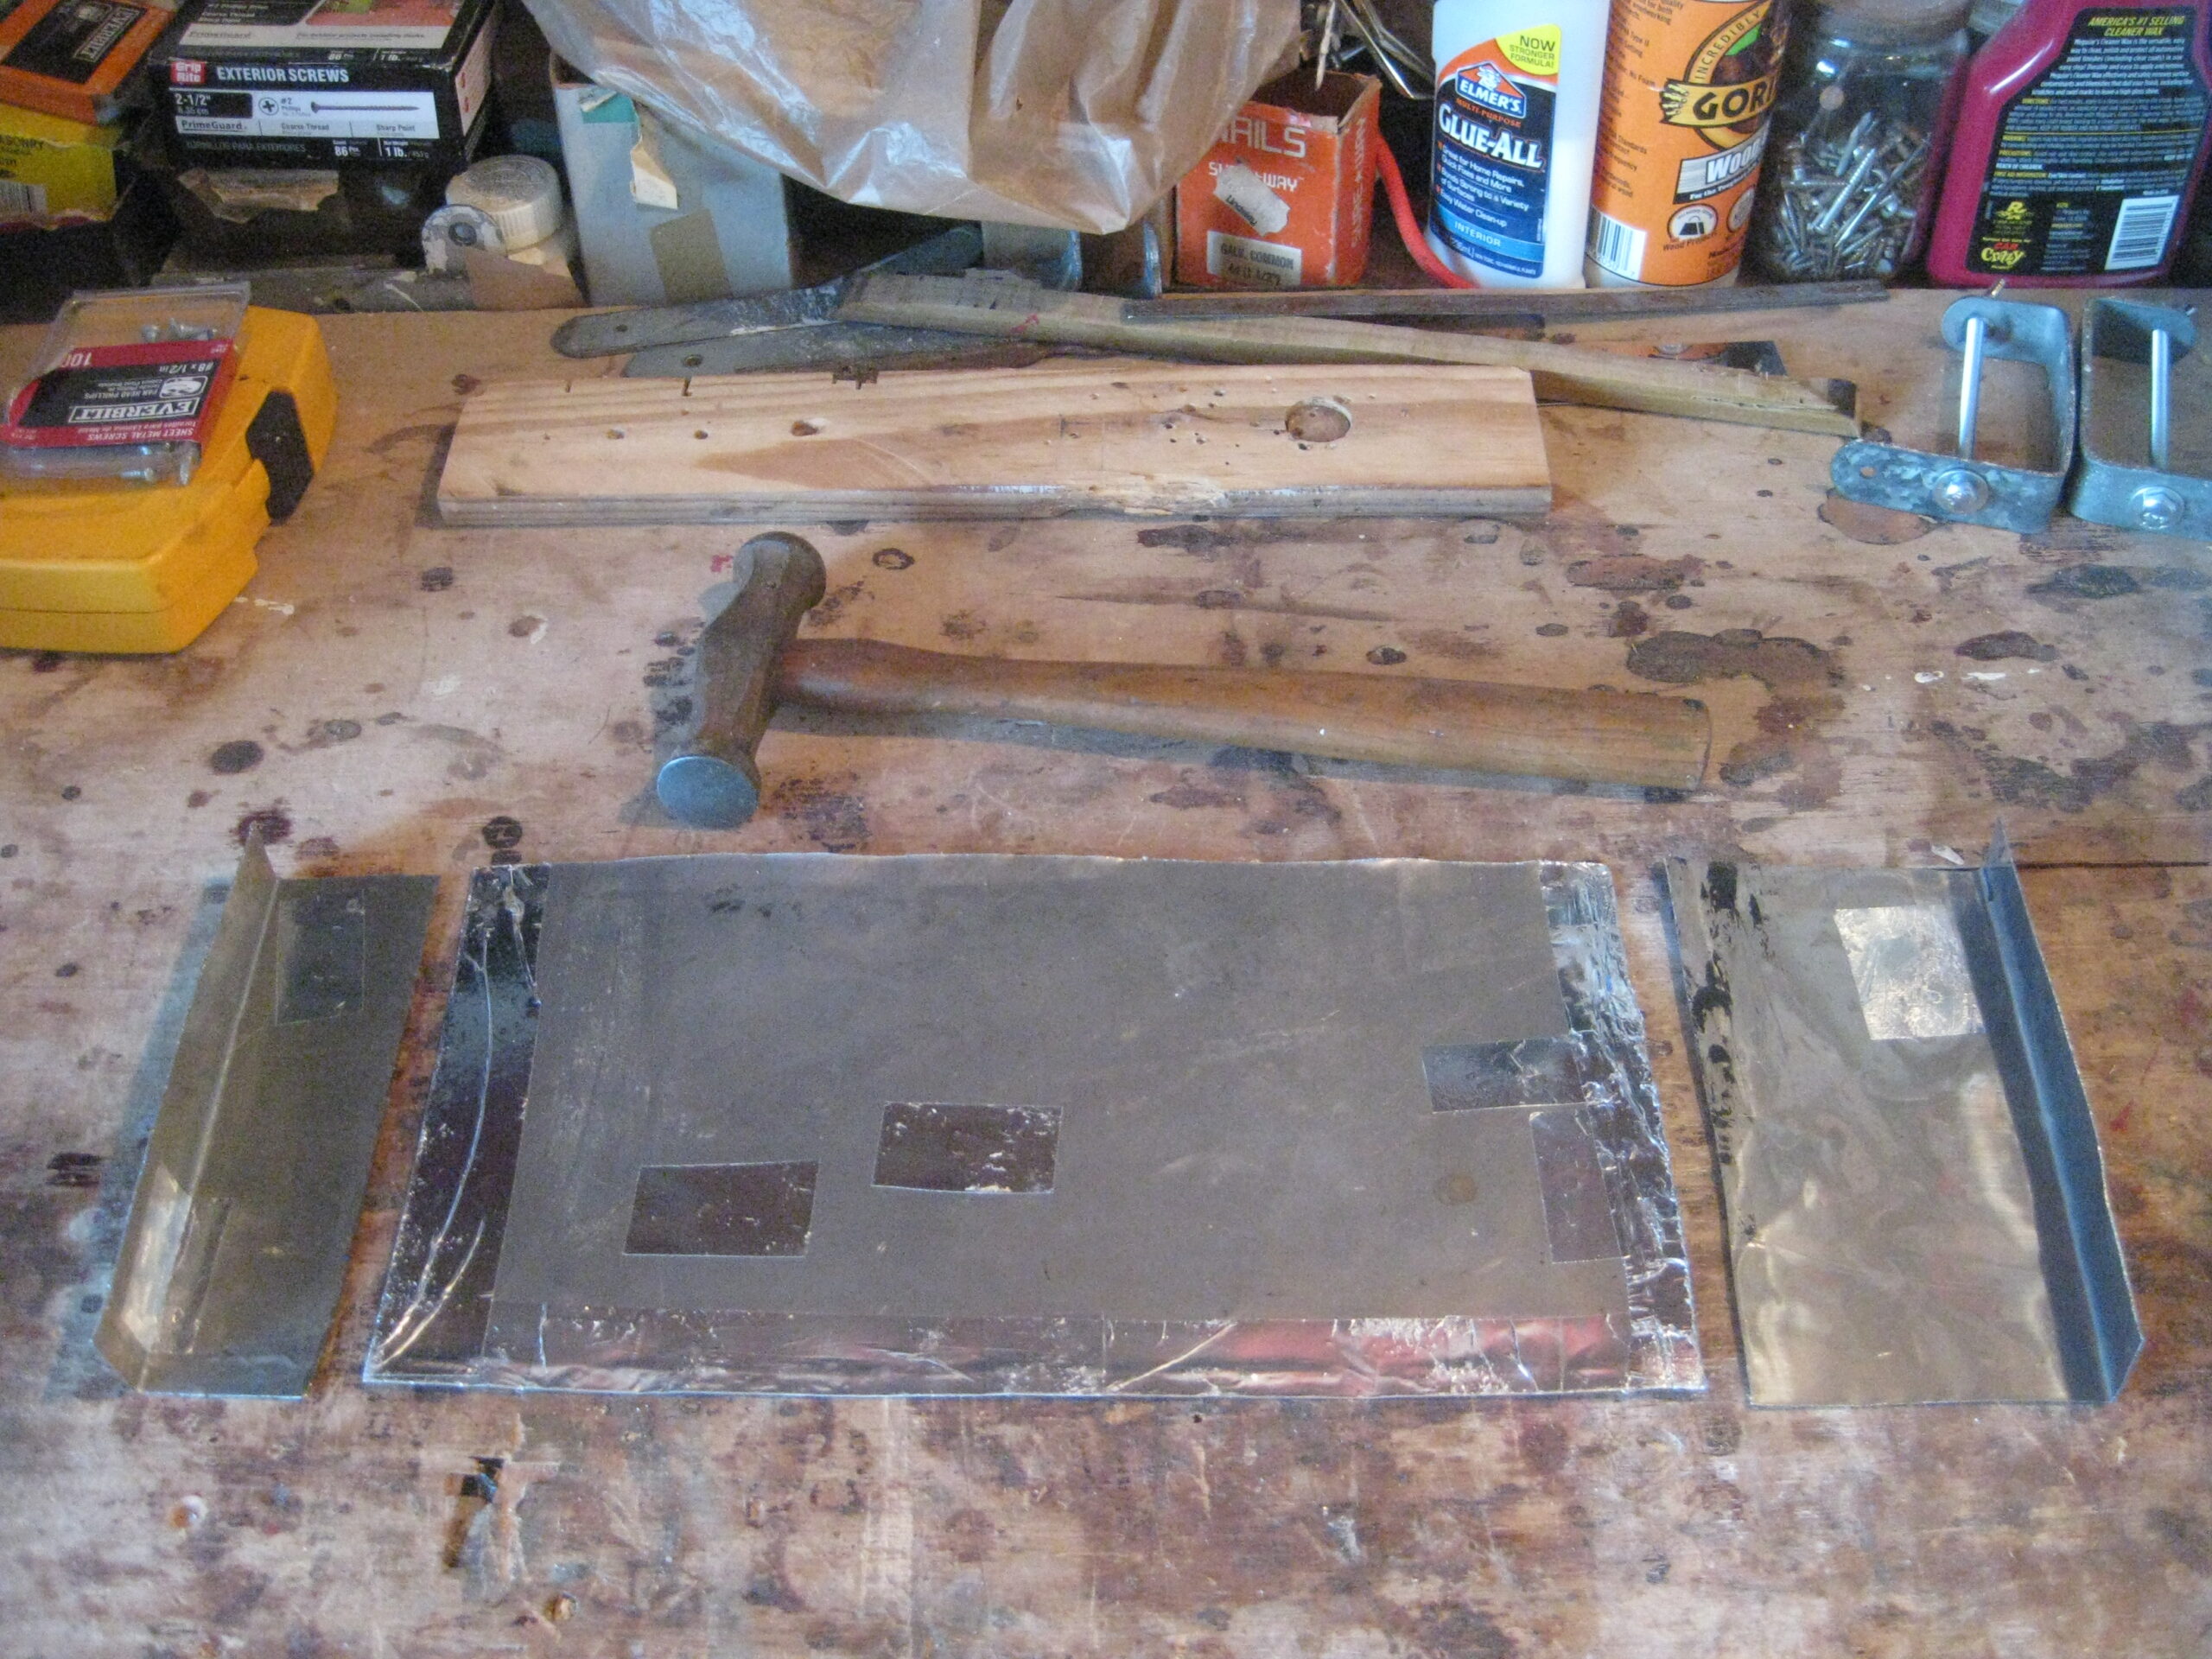
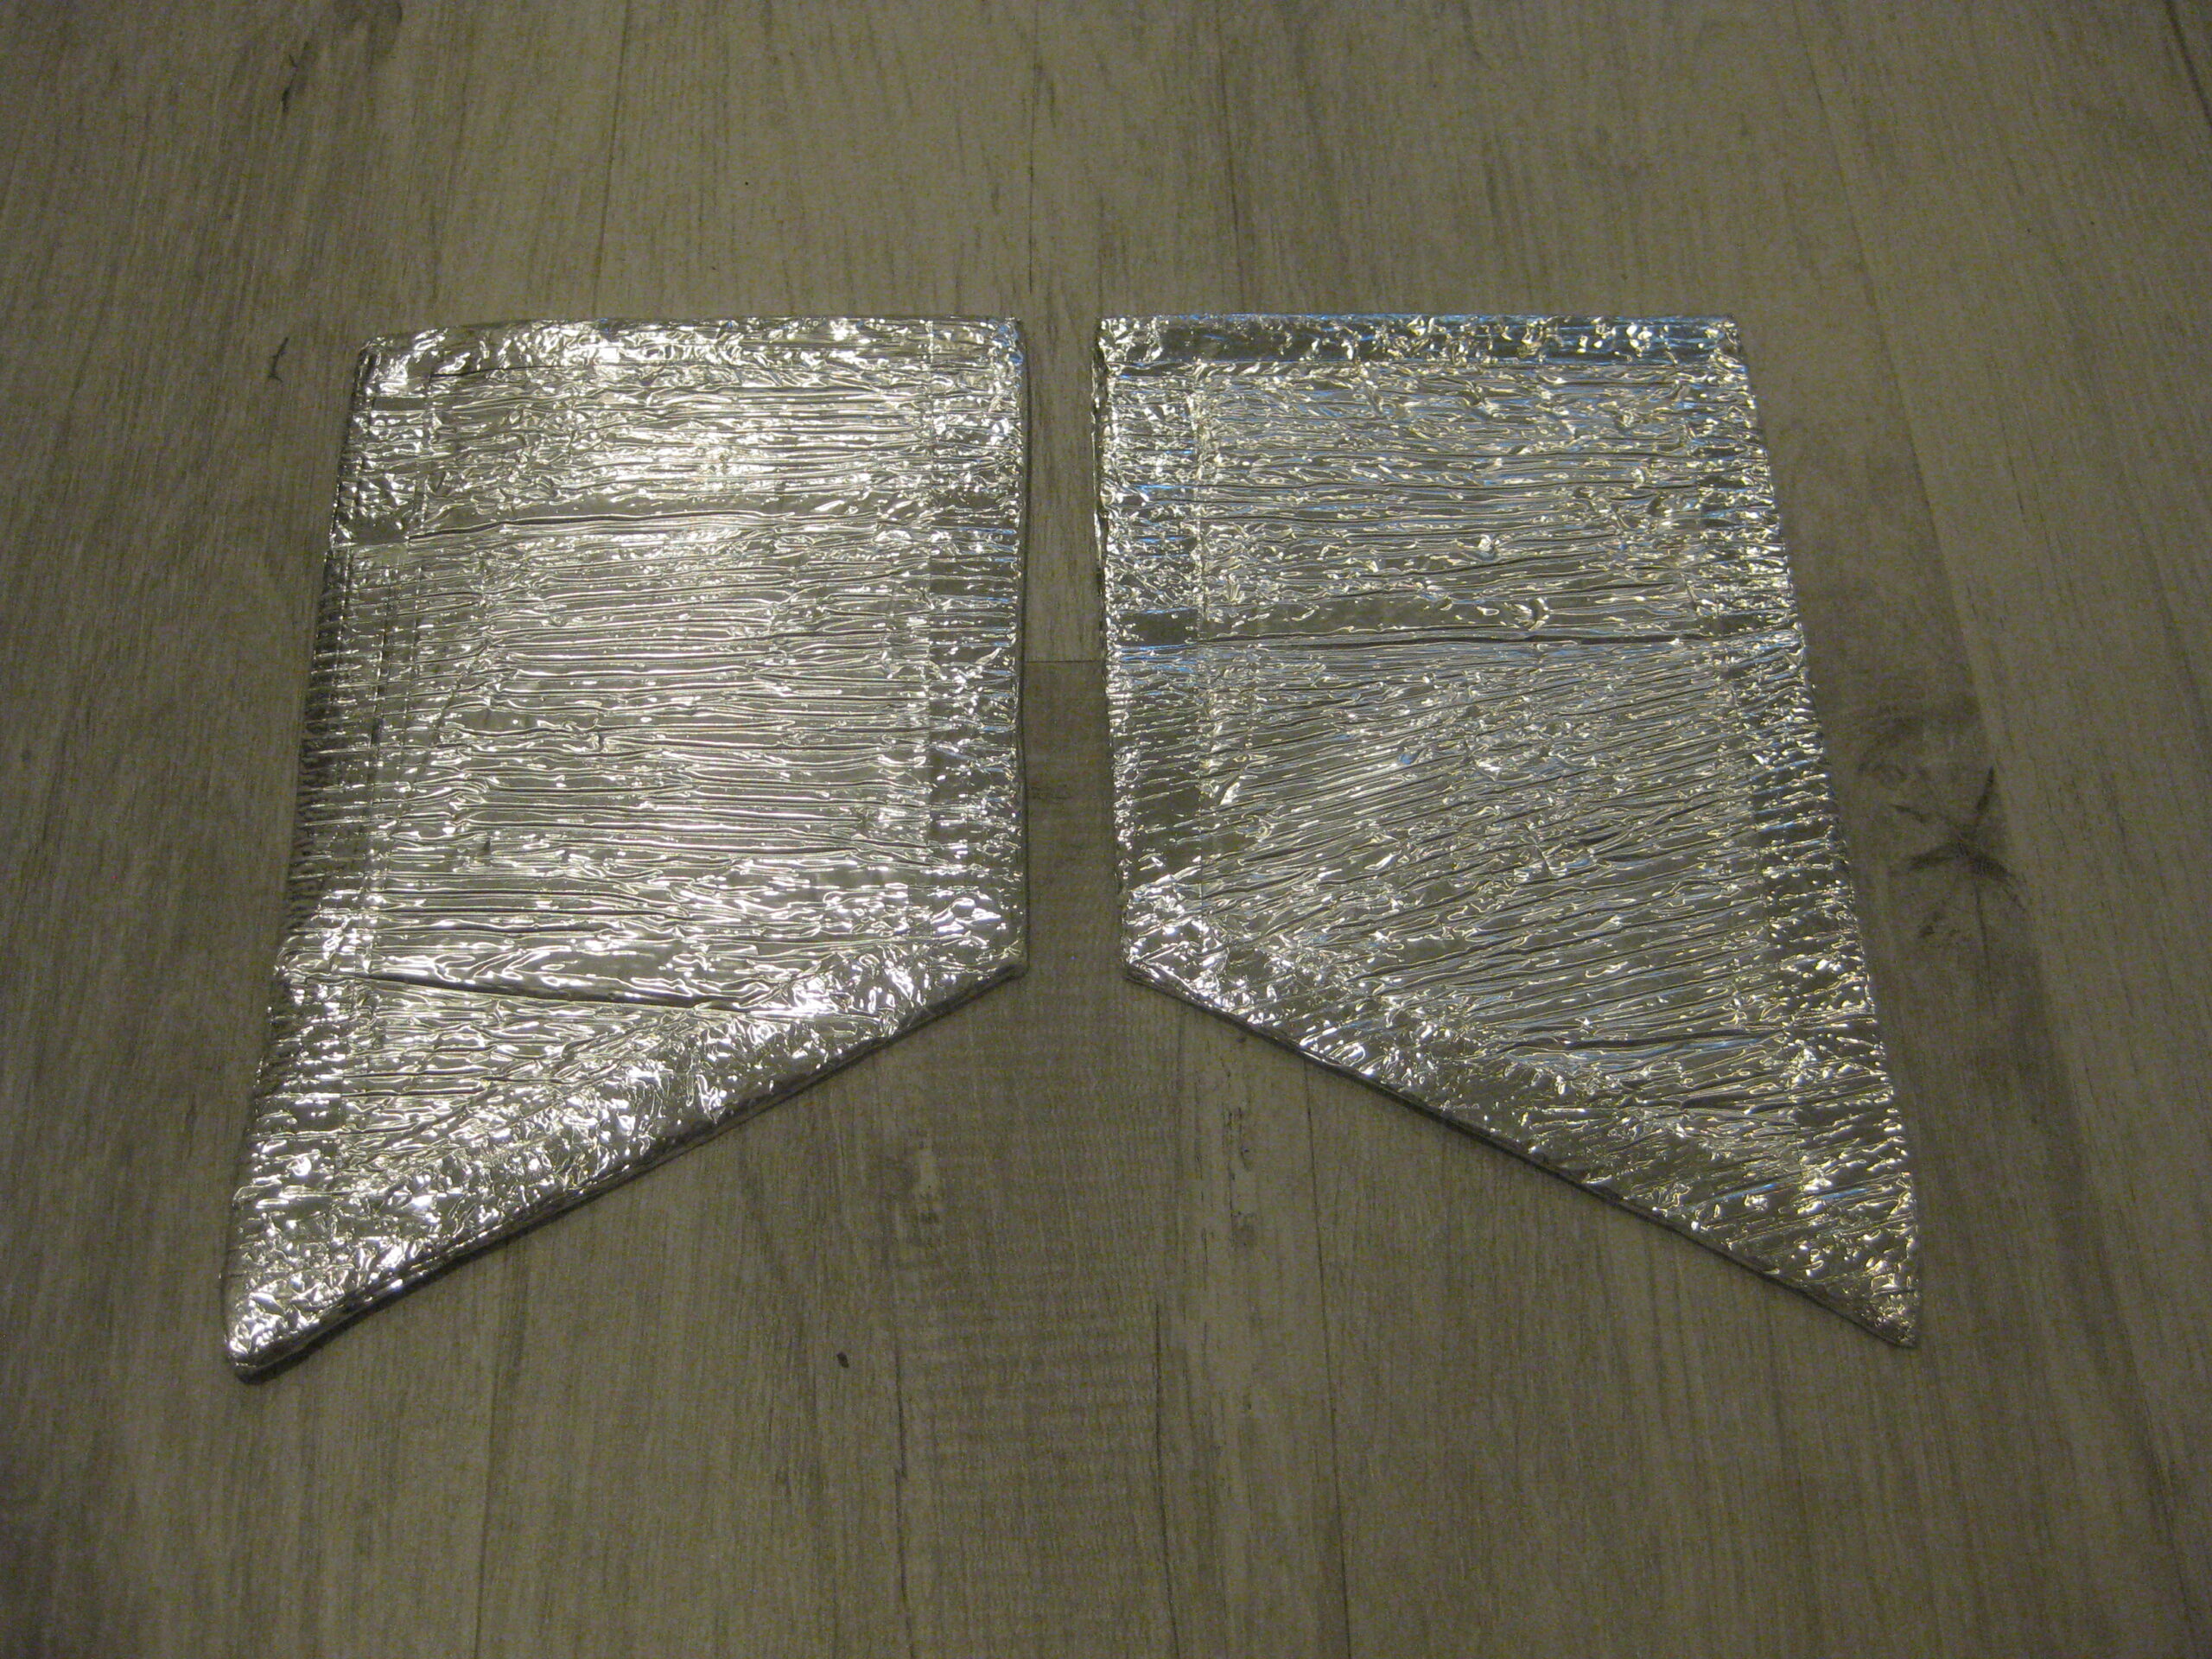
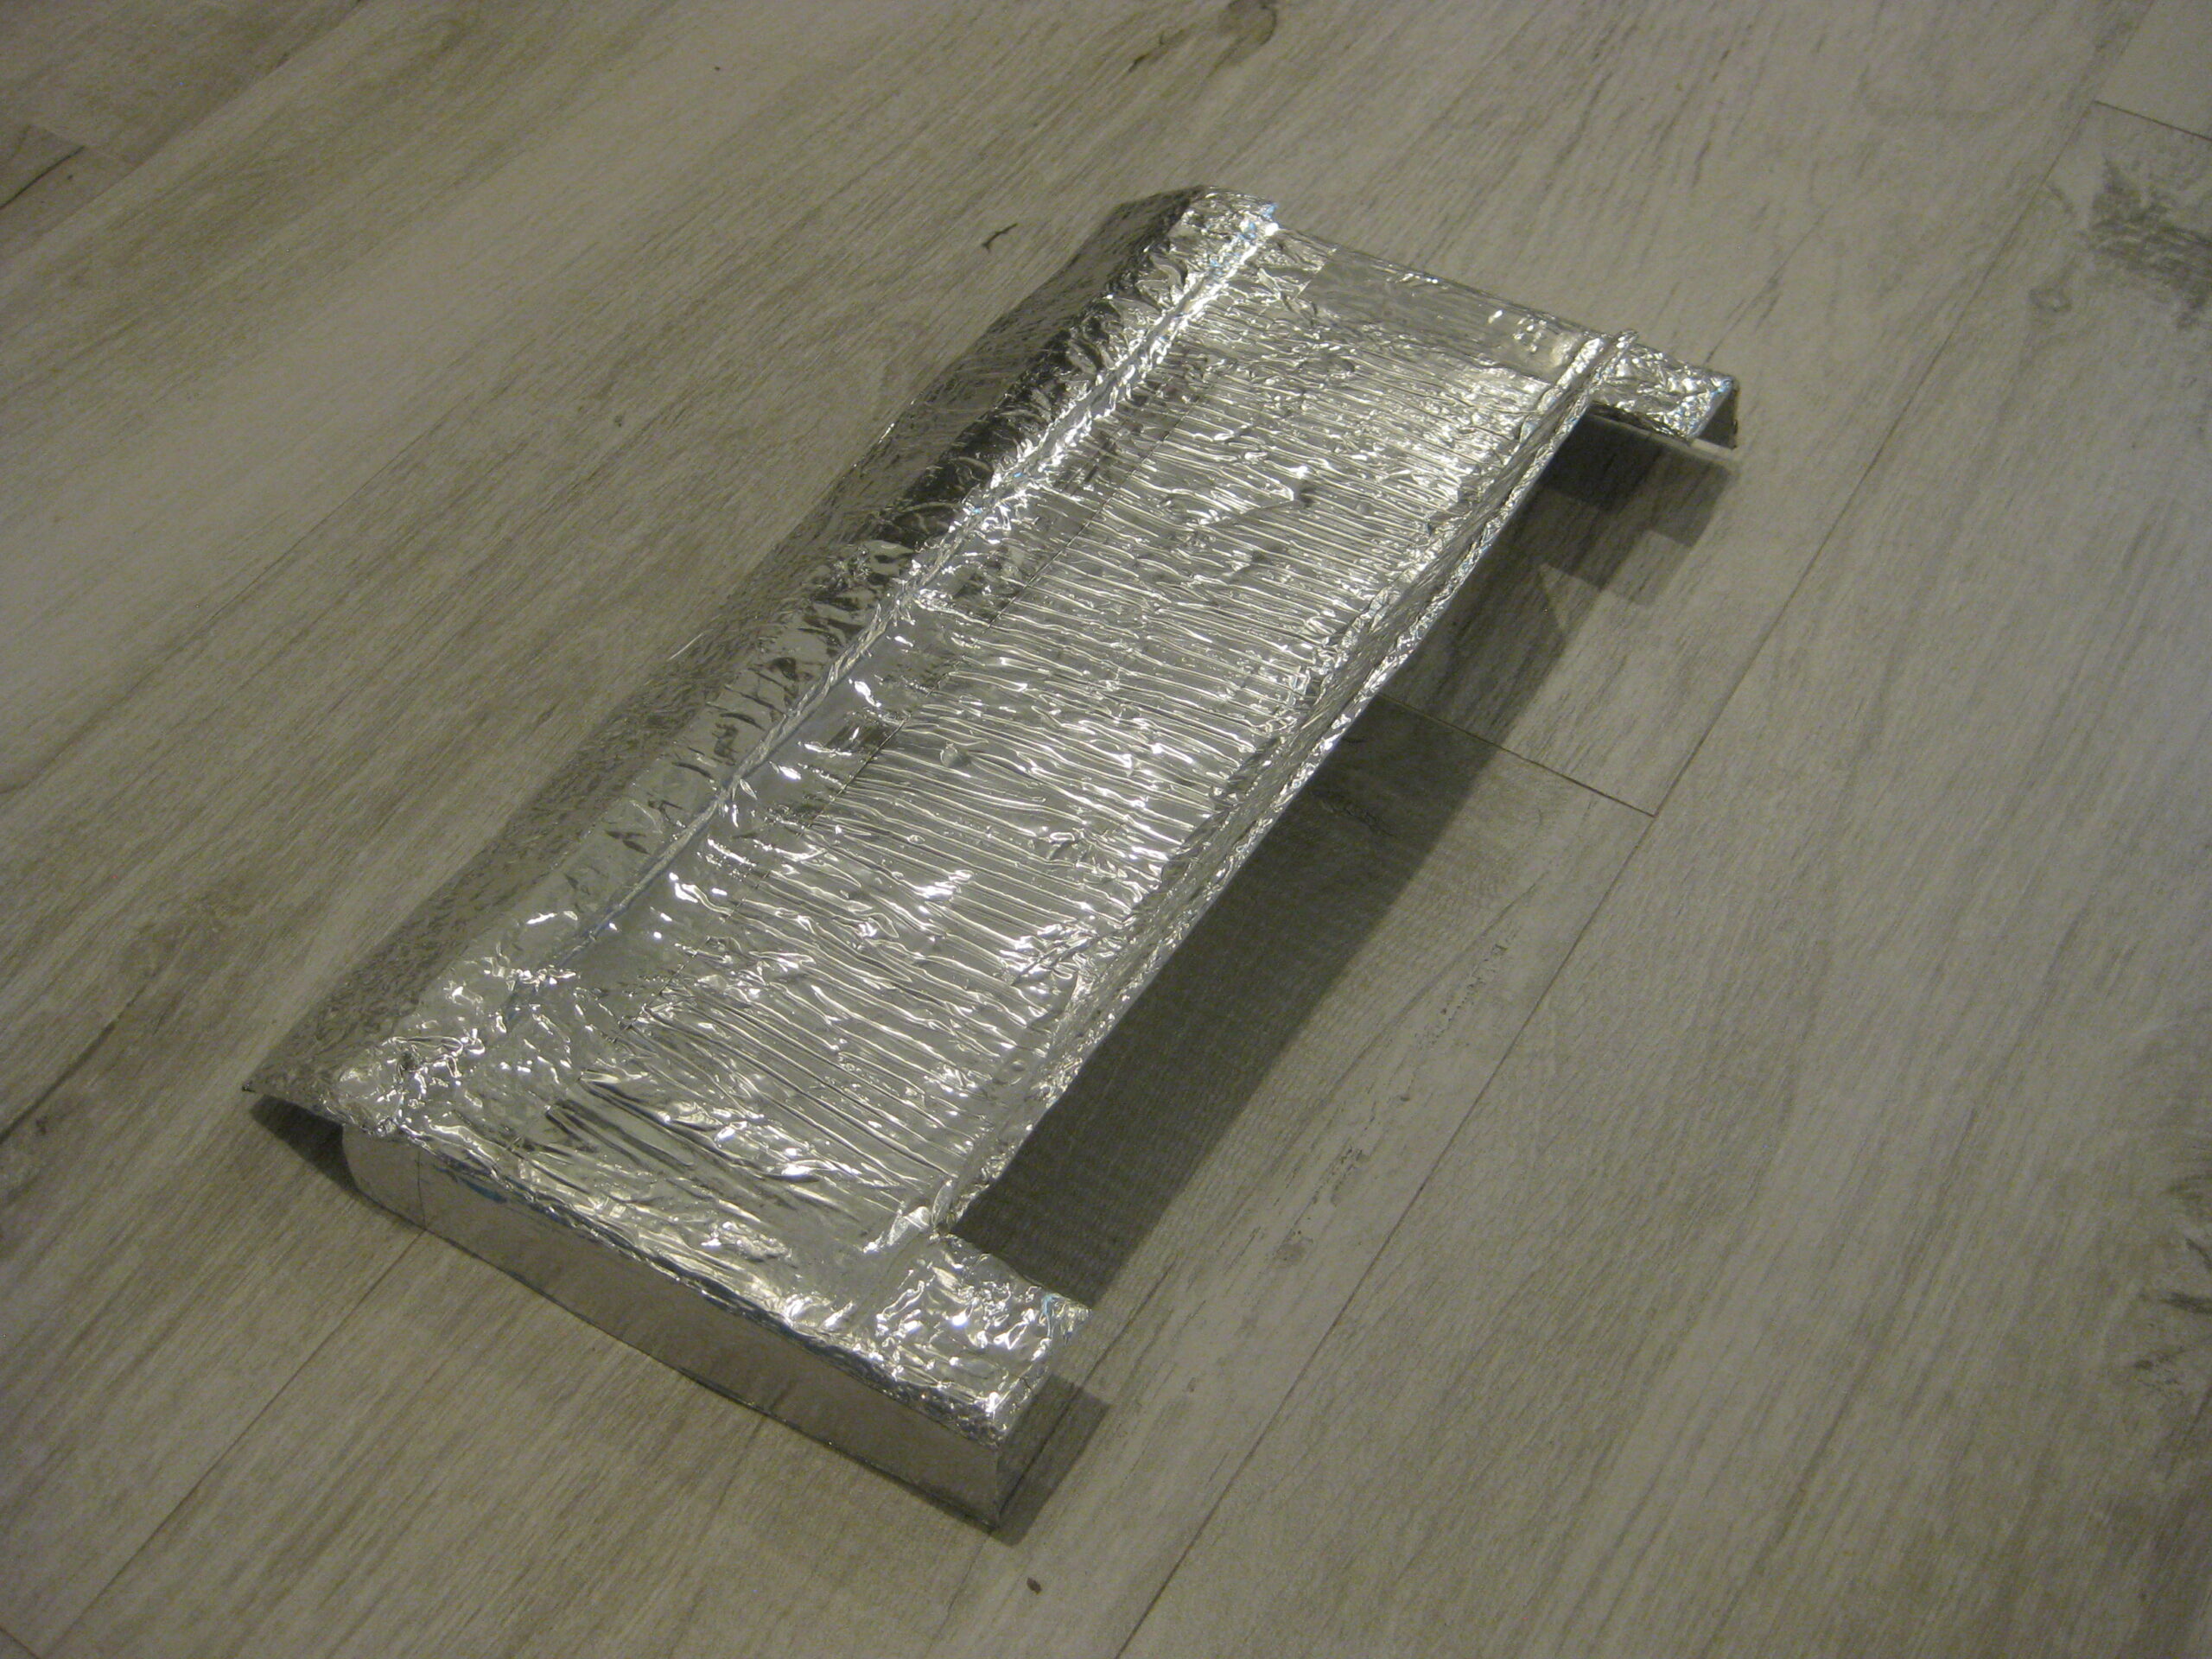
A cardboard mock-up of the new duct system was taped together and trial-fit inside the compartment. Because the new duct system was to be made from the twisted remains of the original duct system, the aluminum sheeting was hammered smooth, then screw holes and tears in the metal were covered with foil tape. The repaired aluminum sheeting was then cut to size for the six pieces (left side, right side, bottom, left top, center top, right top) of the new duct system, leaving enough extra metal on the ends of three of the pieces (bottom, left top, right top) to form 90-degree bends as attachment tabs. Self-adhesive foil insulation was applied to the outside of each piece of aluminum. The bottom piece and both side pieces were positioned in the compartment and secured to each other using sheet metal screws. Foil insulation was used to seal the gaps between the new duct system and a/c unit, as well as the gaps around the access doorway. The three top pieces weren’t installed at this time.
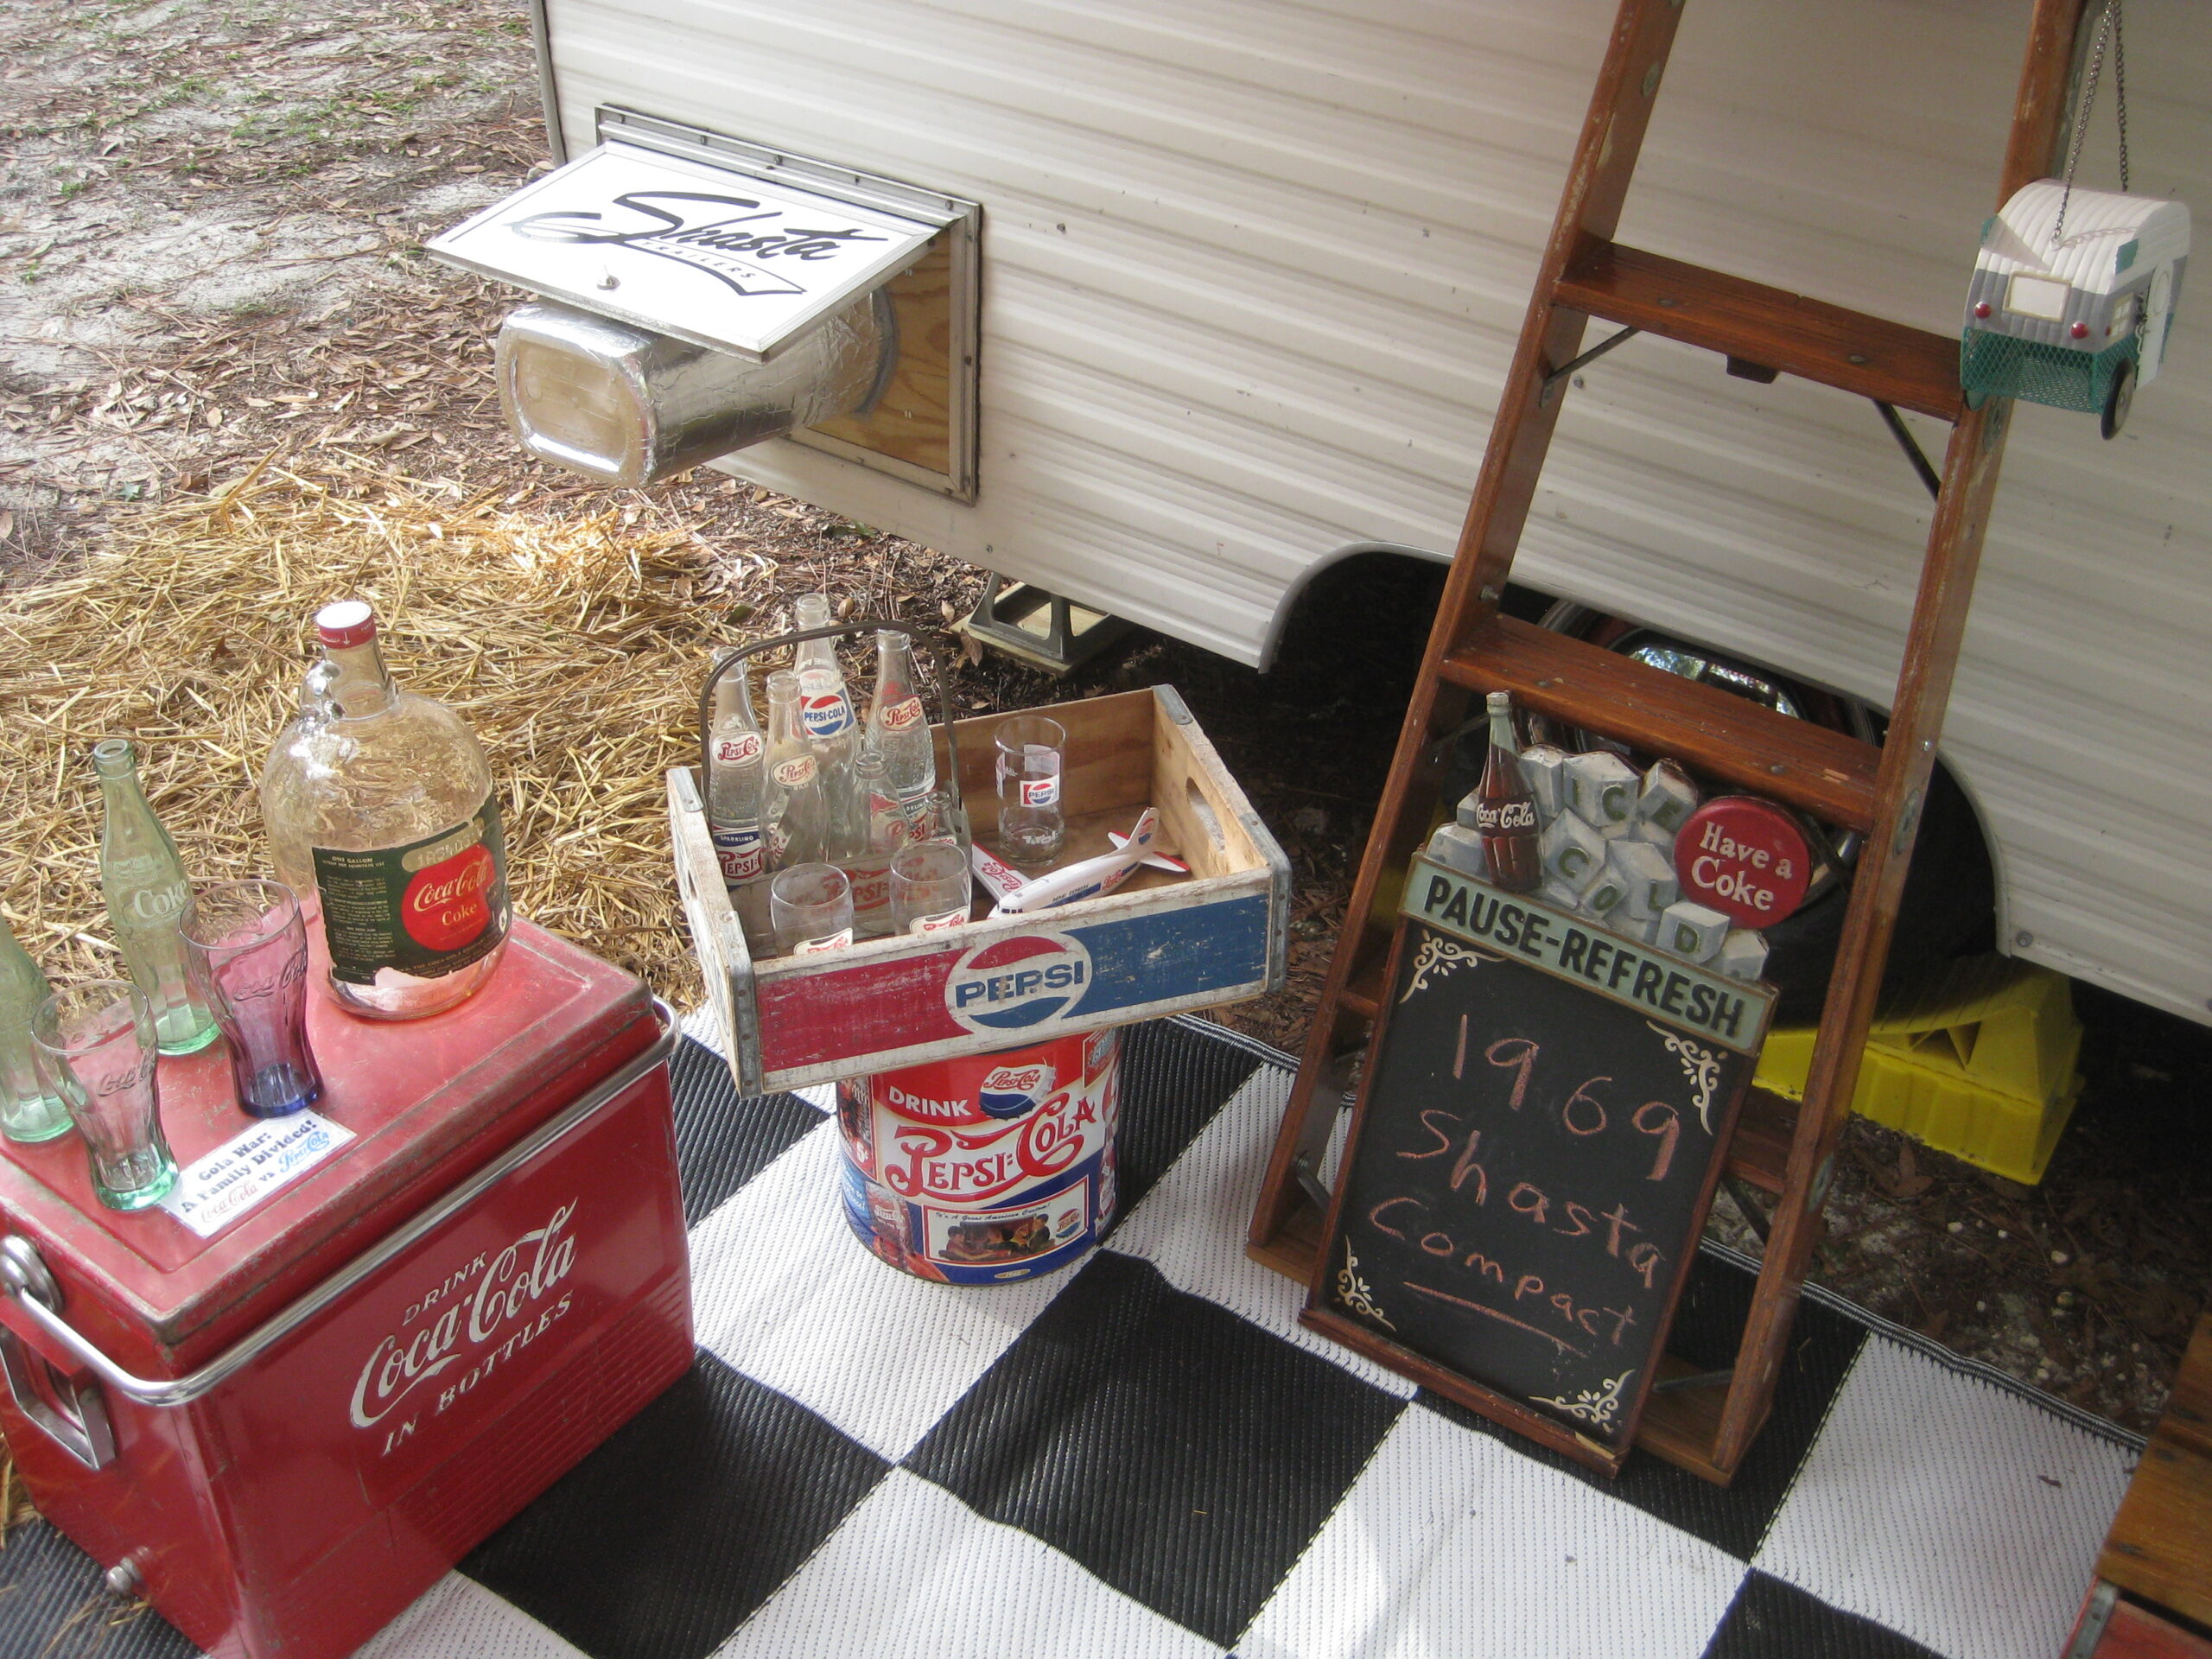
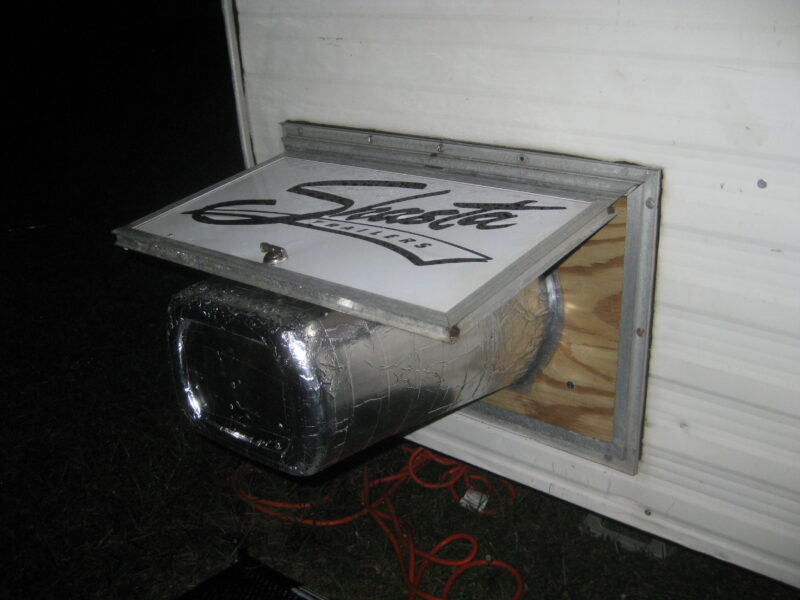
The first use of the reconfigured air-conditioning system occurred during the Annual TCT Florida Homecoming. The circulating air inside the Shasta was so cold, the a/c unit had to be switched to low. During a thunderstorm on Friday night, the plug did its job by preventing rainwater from entering the a/c compartment as the hot exhaust vented out through the bottom of the converted trash bin. During the TCT Open House the next day, the most-asked question my wife and I answered was “What is that silver-looking thing extending out of the storage compartment?” After explaining what it was and how it worked, many people took photos so they could build one themselves.
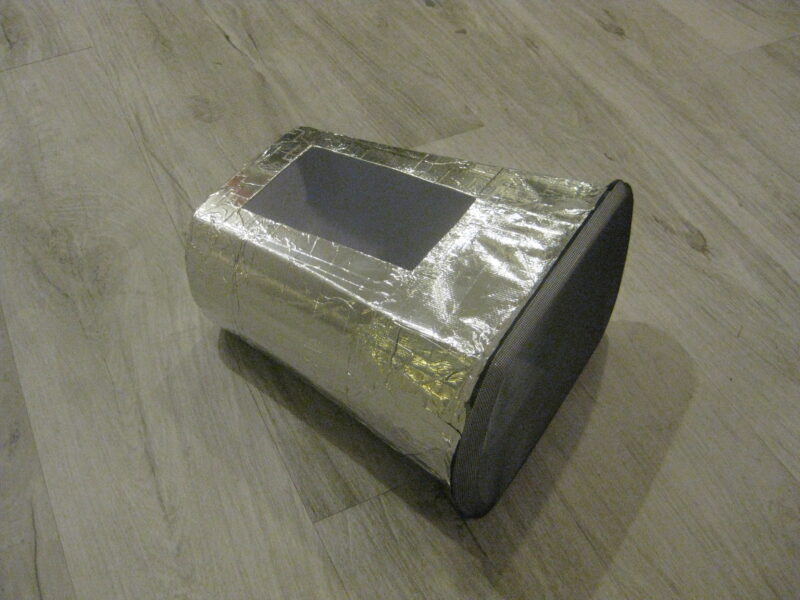
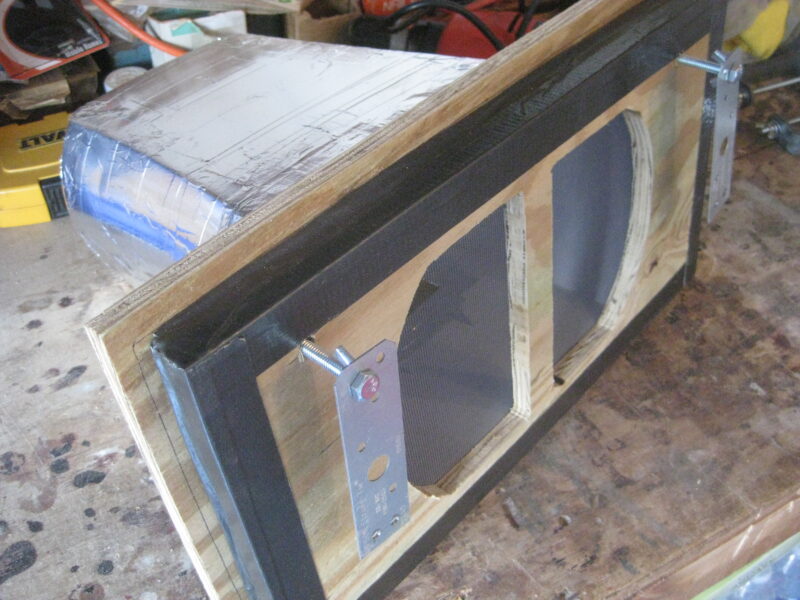
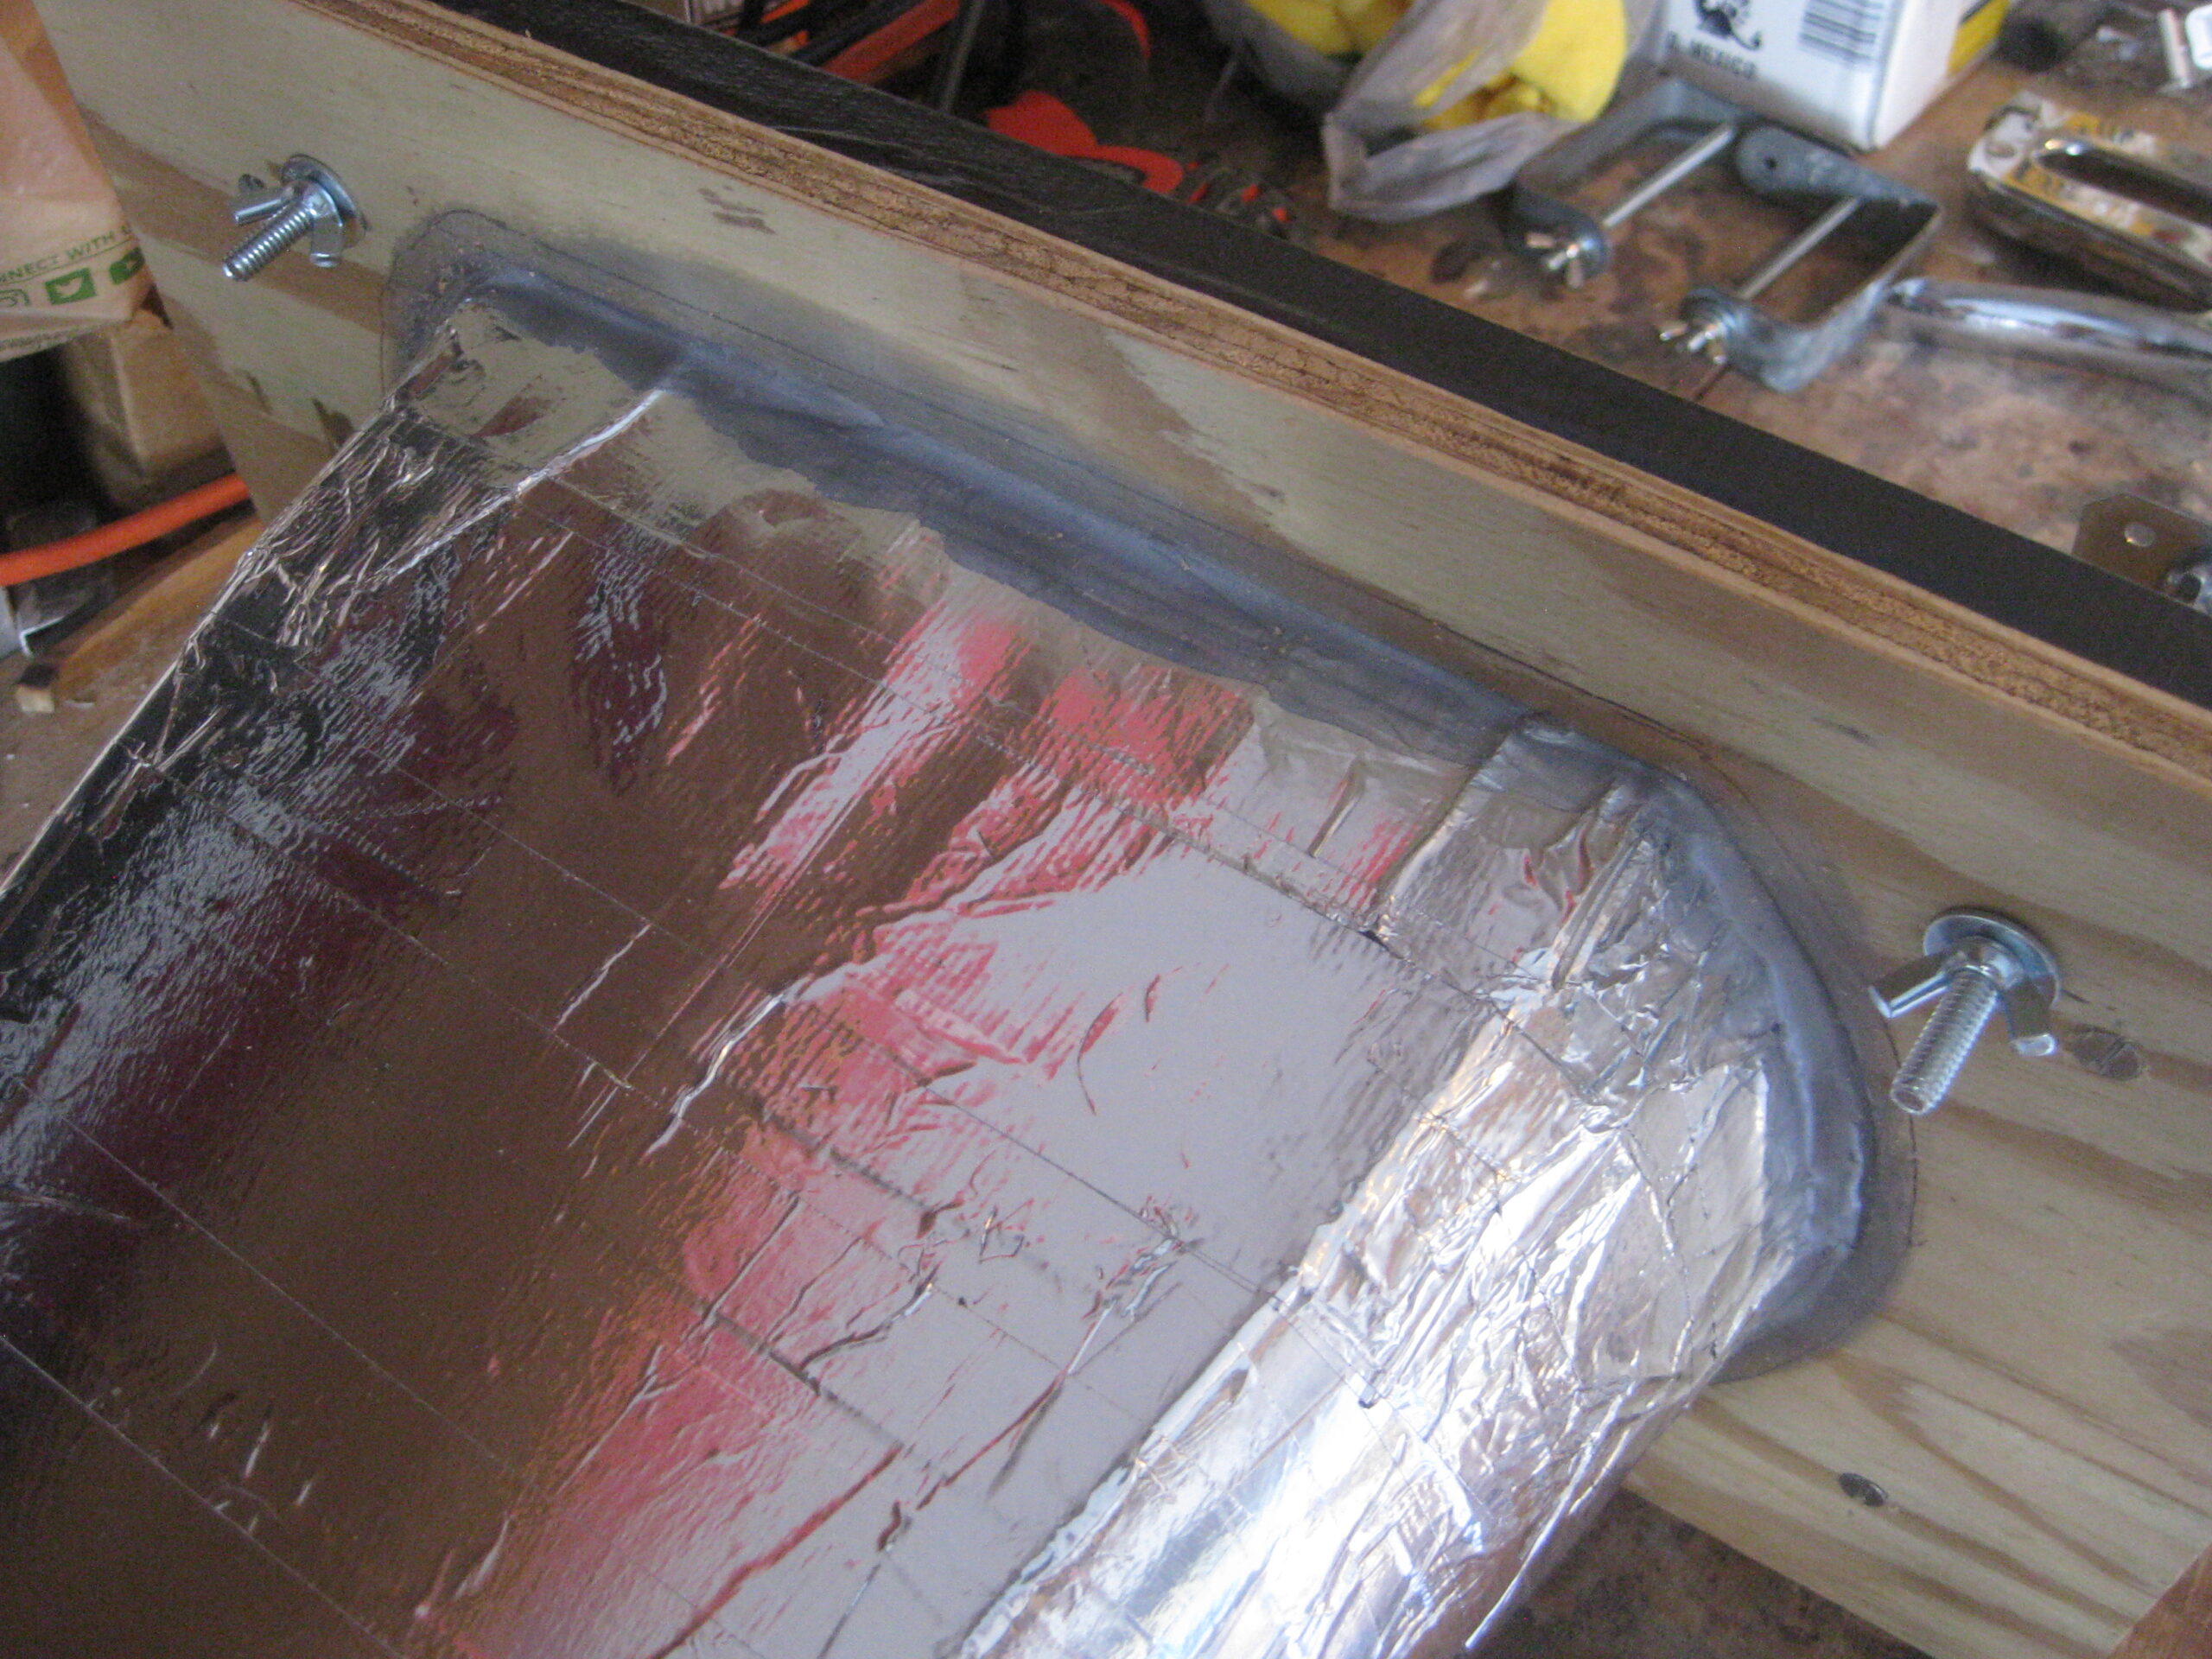
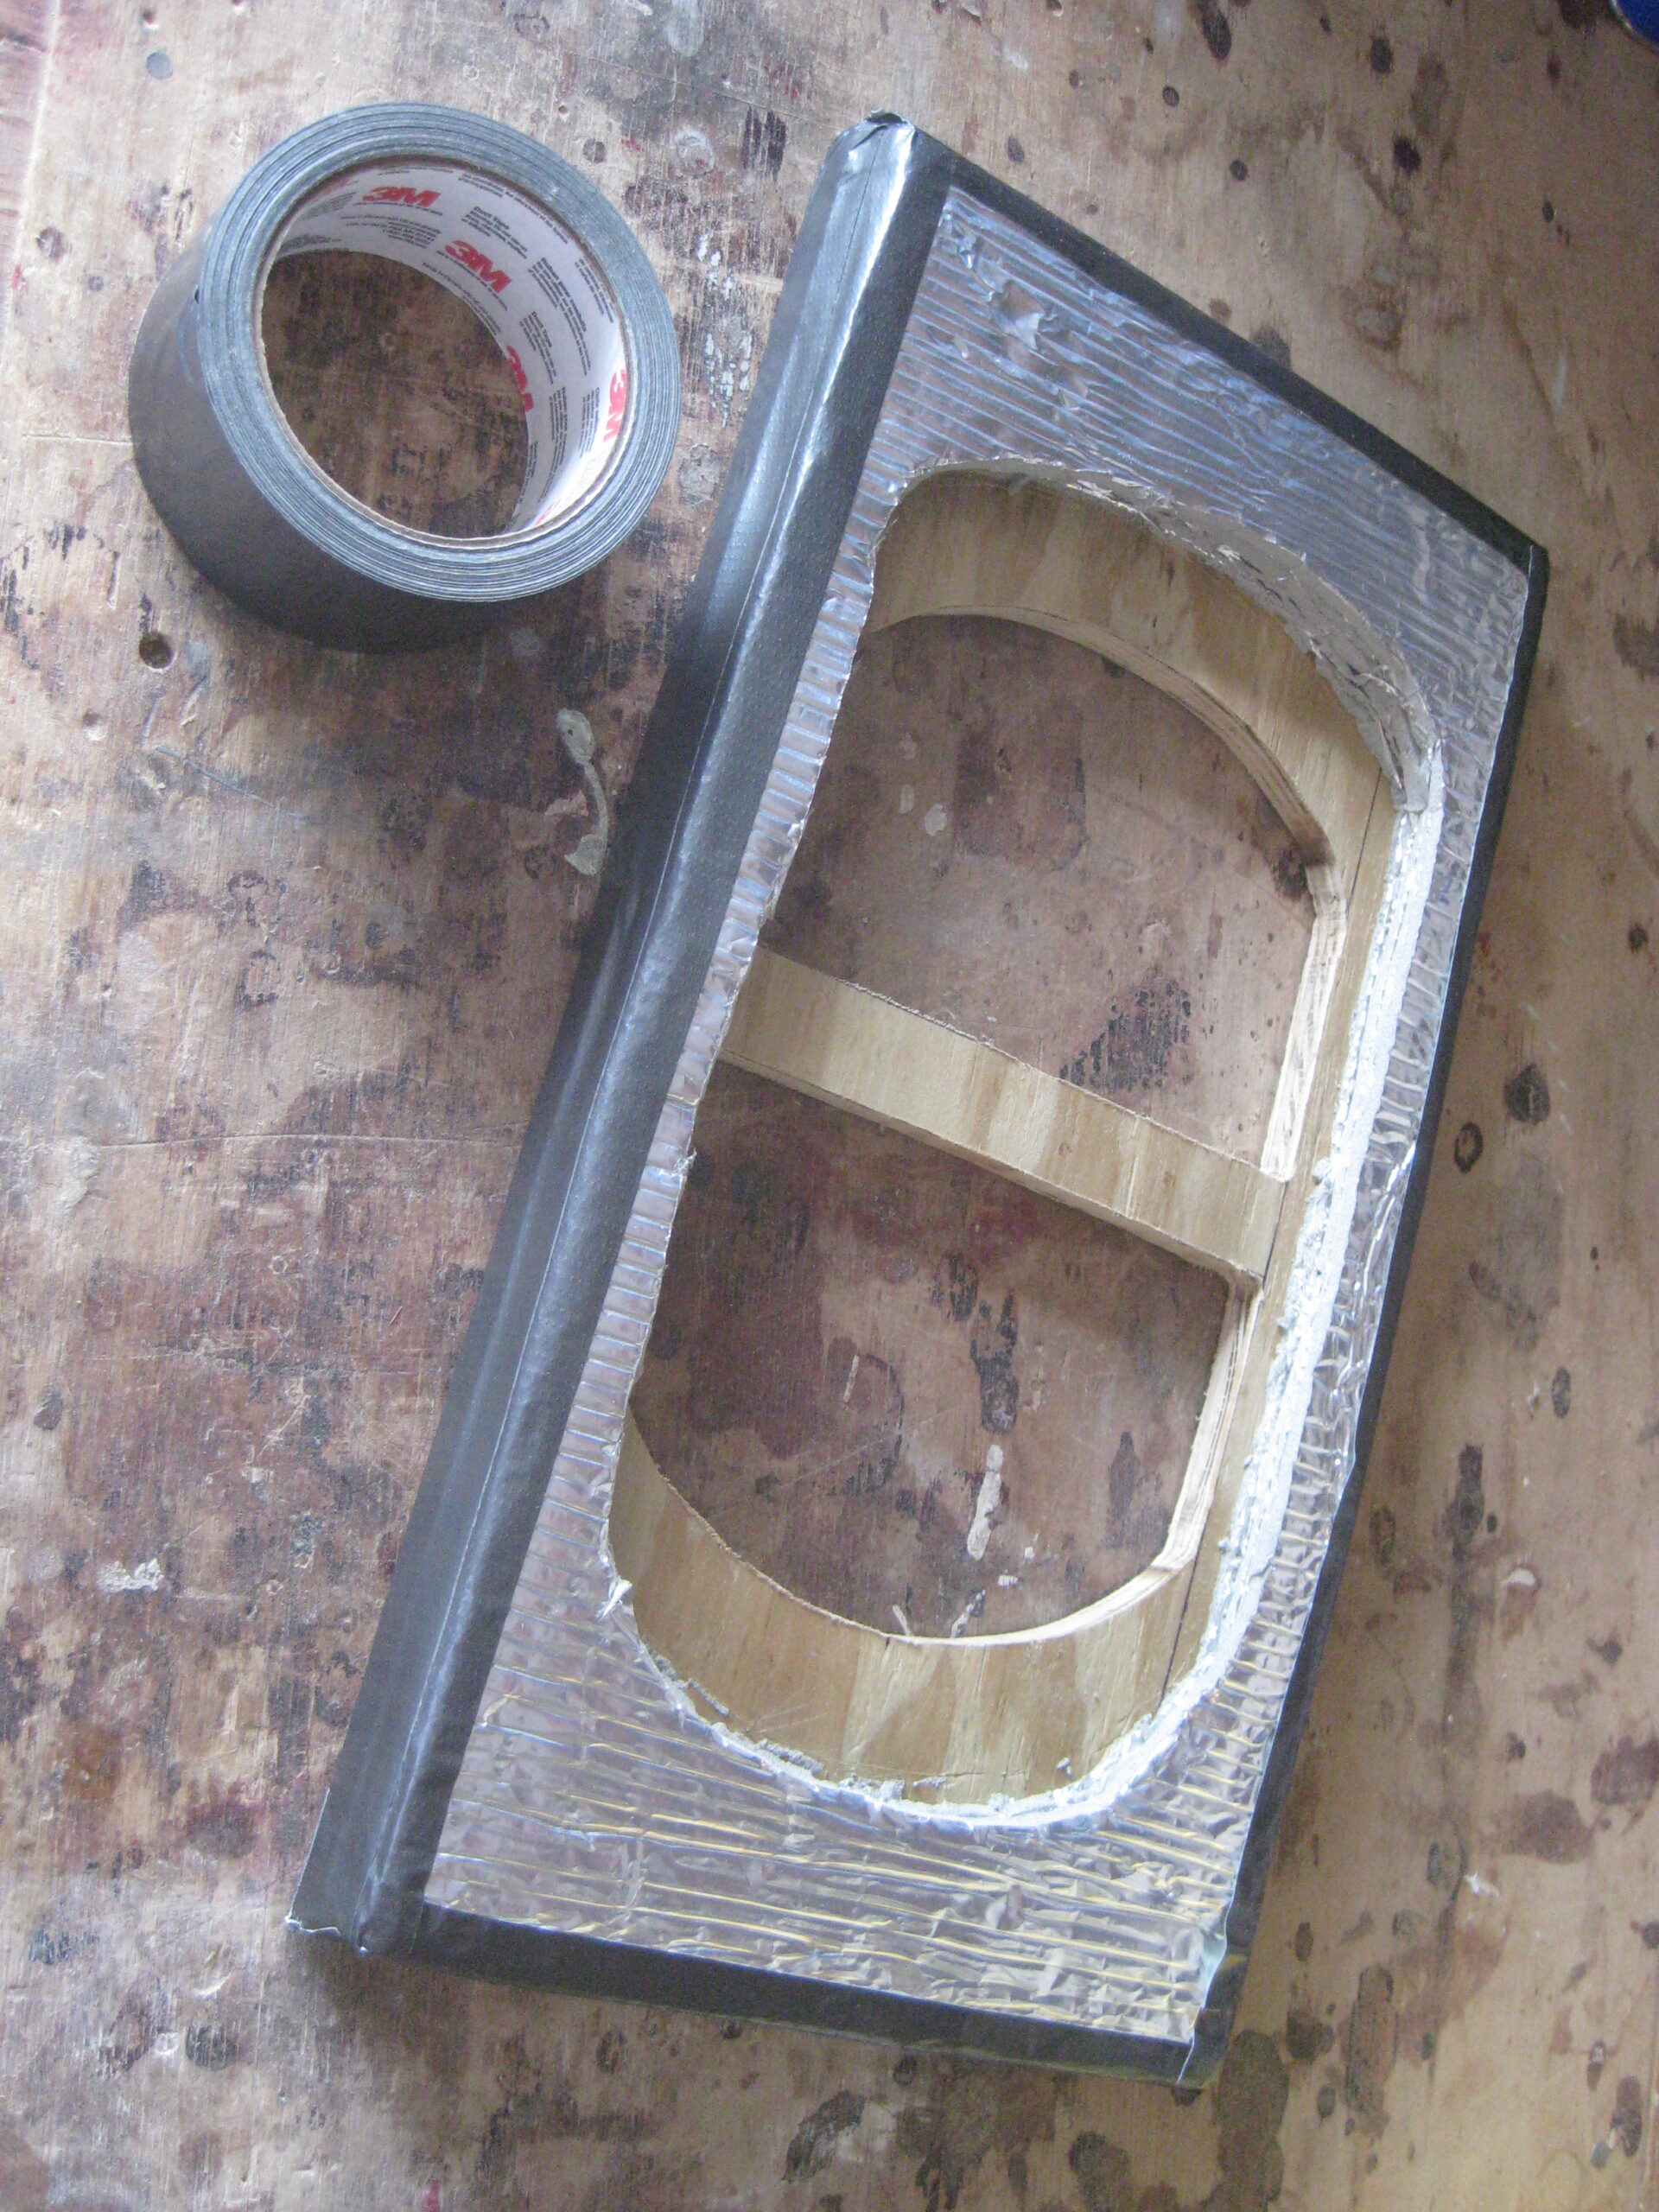
The next issue to resolve was being able to operate the air-conditioner during a rainstorm without water entering the compartment. The solution was a 3-gallon plastic trash bin purchased at Walmart for $2.99. A vent hole was cut out of one side of the trash bin, then the bin was covered with foil tape to disguise the fact that plastic was being used on a vintage trailer. Two pieces of pressure-treated plywood were cut to fit the outside and inside openings of the access doorway to build a watertight plug. The outside opening was slightly larger than the inside opening. A large oval hole a fraction smaller than the lip of the trash bin was cut out of the outer piece of wood. A piece of window screen was taped over the top of the trash bin to form an insect/critter barrier, then the bin was pushed through the hole in the outer piece of wood. Gutter sealant was used around the lip of the bin on both sides of the wood to make the outer half of the plug watertight. Two large D-shaped holes were cut out of the other piece of plywood and several layers of self-adhesive foil insulation were applied to the plywood surrounding the two holes. Duct tape was applied to the outer edges of the insulation and plywood, finishing off the inner half of the plug. To complete the plug, the two halves were screwed together, sandwiching the lip of the bin and insulation between them. The finished plug was then trial-fit in the access doorway with the bin extending outward from the plug and the vent hole facing downward. The open access door rested on top of the bin.
A simple connect/disconnect system for the plug was designed using a pair of metal brackets screwed to the back crossbeam inside the compartment. Each downward-facing bracket had a long bolt extending towards the access doorway. Two holes were then drilled through the plug to match the positions of the bolts. Wing nuts secured the plug to the bolts, making it easy to install and remove the plug without tools.

The three top pieces of the duct system were attached with sheet metal screws, the remaining gaps were sealed with insulation, and the dinette seat was attached using a pair of hinges, finishing off the project.
A few days after the TCT Florida Homecoming, we displayed our Shasta at the 2018 Gathering Of The Times Vintage Trailer Rally at The Spirit of the Suwannee Music Park & Campground, where again the most-asked question we answered was “What is that silver-looking thing extending out of the storage compartment?” So not only does the homemade trash bin vent do what it was designed to do, it’s become a curiosity piece that starts conversations with trailerites and non-trailerites alike.
The advantage of using a 5,000 BTU home-style air conditioner on a small trailer like a Shasta Compact is that it only requires a 15-amp electrical system to operate.
Additional miscellaneous photos: