Air conditioning can make vintage trailering far more comfortable, but installing an A/C unit in a 60–70-year-old trailer is not something to approach casually. There are structural, electrical, and aesthetic considerations that need to be addressed before cutting into a roof or wall.
For my builds, I primarily use roof-mounted Dometic RV A/C units, typically purchased through Amazon or your local trailer supply. They are reliable units, but there’s a lot to consider before installation.
Roof and Wall Structure
A roof-mounted A/C unit weighs over 100 pounds once installed, and that weight is constantly bouncing as the trailer travels down the highway. To date, I have not seen a vintage trailer roof that could safely support this load without additional structural reinforcement.
In every case, I add cross-beam roof supports, and often additional structural supports inside the walls to transfer the load down from the roof rafters. Whenever possible, the A/C should be located near closets, cabinets, or partition walls, which help distribute the weight more effectively.
Personally, I would not sacrifice a standard roof vent just to add an A/C unit. Roof vents are extremely effective at exhausting hot air and creating natural airflow. Since the ceiling will need to be opened anyway, it makes just as much sense to custom-locate the A/C and properly frame the opening rather than reusing an existing vent location.
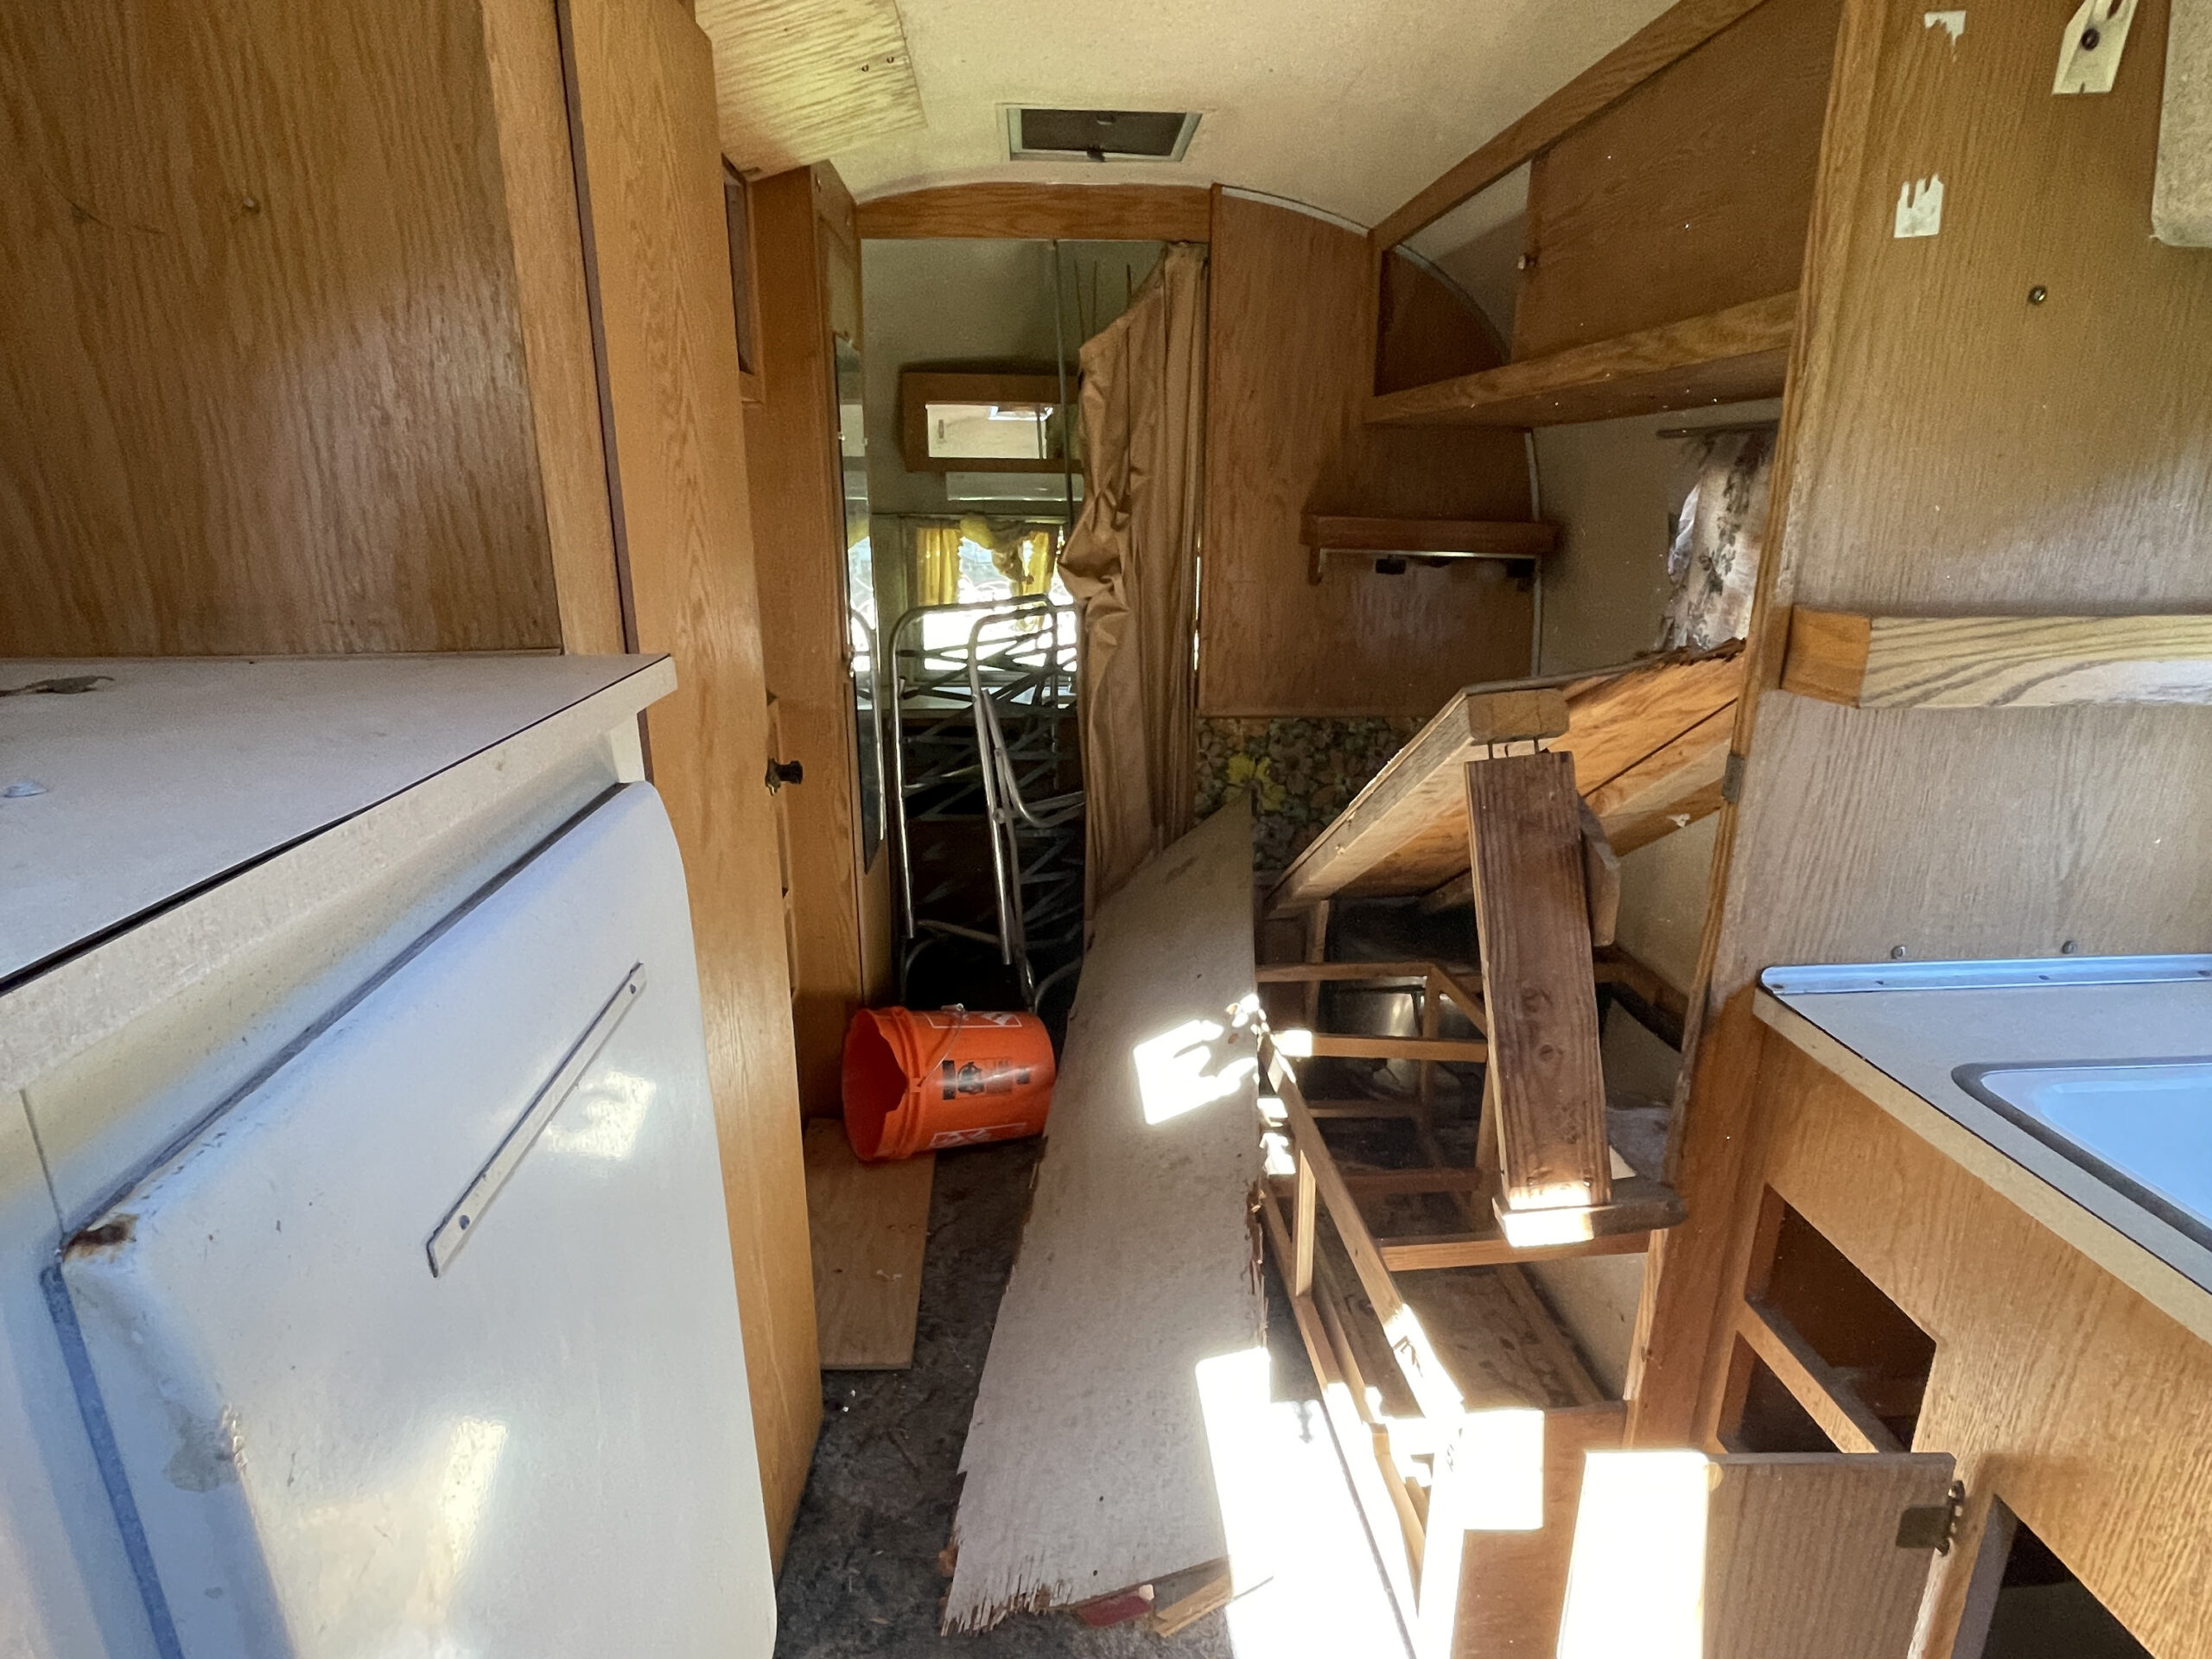
It’s also important to note that many aluminum-skinned and aluminum-framed vintage trailers suffer from internal corrosion. Once the ceiling panels are removed, a thorough inspection of the framing is critical before proceeding.
Condensation Drainage
An air conditioner removes moisture from the air, and that condensed water has to go somewhere. Many aftermarket A/C units simply allow condensation to drip down the exterior of the trailer. After spending countless hours—or thousands of dollars—polishing aluminum skins, that’s the last thing you want.
Dometic offers a low-profile 13,500 BTU unit, which is sufficient for trailers 20 feet and under when properly insulated. Larger trailers typically require two units. VTS also carries the optional condensation drain kits for these systems.
By the time you purchase the A/C unit, drain kit, interior air distribution panel, and account for freight, you’re typically at around $1,000 per unit in parts.
The condensation system requires routing a ½-inch PEX drain line that allows water to drain by gravity through the ceiling, down a wall cavity, and out through the floor. This is another reason A/C installations are best done when the trailer is fully disassembled.
Power Requirements
Roof-mounted A/C units require proper electrical planning. At a minimum, you’ll need a 30-amp shore power connection feeding the breaker panel. Each A/C unit should be on a dedicated 20-amp circuit using 12-gauge wire from the breaker to the unit.
If you plan to run the A/C while dry camping, you’ll need a generator in the 3.5 kW range. A single Honda 2000-watt generator will not reliably power an A/C unit along with the rest of the trailer systems.
Noise Considerations
These units generate a fair amount of fan noise. During the day it’s generally not an issue, but at night it can be disruptive. For that reason, I prefer A/C-only units.
Dometic also offers combination heat pump / A/C units, but in my experience they are simply too noisy for nighttime use. In aluminum-framed trailers, the structure and skin act like a sounding board, amplifying the noise. Keep in mind that the fan runs continuously, with only the compressor cycling on and off.
Custom Painting the A/C Shroud
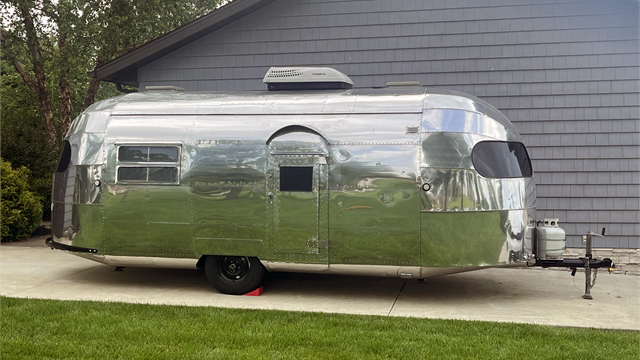
Most A/C shrouds are white plastic, which can look out of place on a polished aluminum trailer. I’ve had excellent results priming the plastic with a two-part epoxy primer, followed by a quality automotive single-stage silver paint.
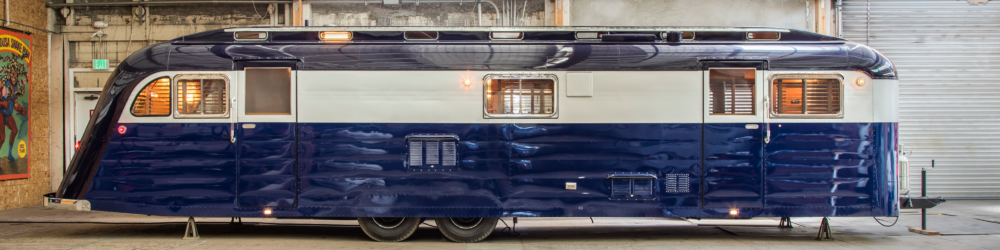
One of my trailers—and its A/C unit—lives outdoors year-round, and the finish still looks new after several years. I’ve also worked with Jeff Styles to custom-paint interior air distribution panels to match darker amber wood interiors. His work is top-notch.
Repairing a Leaking Roof-Mounted A/C
If you already have an A/C unit that’s leaking, the fix is often straightforward. Roof-mounted units are simply sandwiched between the roof and ceiling using four long ¼-inch threaded bolts at the corners of the 14″ x 14″ opening. A dense foam rubber seal provides the waterproofing.
Over time, these seals dry out and shrink. Replacement seals are generic and readily available from VTS and most RV suppliers.
To replace the seal:
- Disconnect all power to the trailer
- Remove the interior air distribution panel
- Remove the four mounting bolts and electrical connections (note wire colors)
- With a helper on a ladder outside, lift each end of the unit slightly and support it with 2×4 blocks
- Slide out the old seal and insert the new one from inside the trailer
- Lower the unit, align the bolt holes, and snug the bolts evenly
Allow the seal to settle for a day, then retighten. The entire job takes about an hour, requires minimal tools, and isn’t technically difficult.
A Note on Window-Style A/C Units
I’ve only installed a removable Home Depot-style window unit once, on a customer-requested park model build. I wasn’t satisfied with the result and would not choose that approach again.
By John Palmer