By Leon White
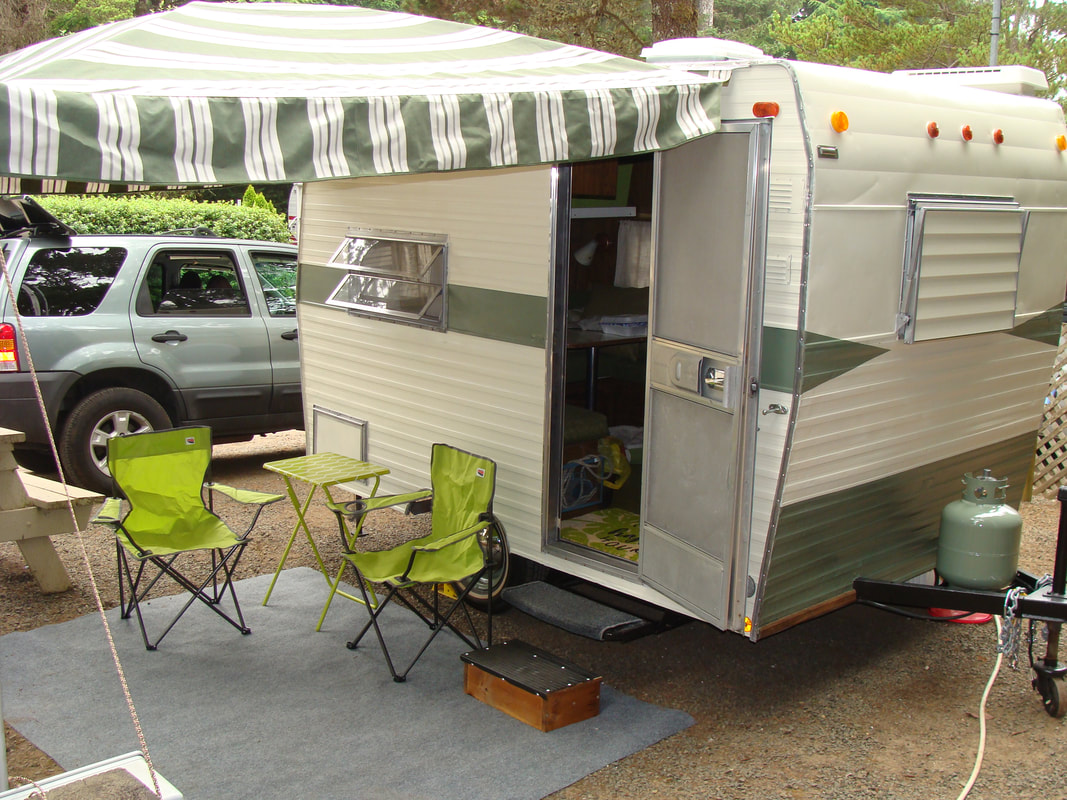
A vintage trailer restoration often brings surprises, and for me, it started with a soft, sagging ceiling over the kitchen in this 1972 Shasta Compact. What began as a future project turned into an immediate repair when the ceiling gave way, revealing wet, rotted wood and insulation. While it was a challenge, I learned a lot through the process, and I hope these tips help others tackling similar projects.
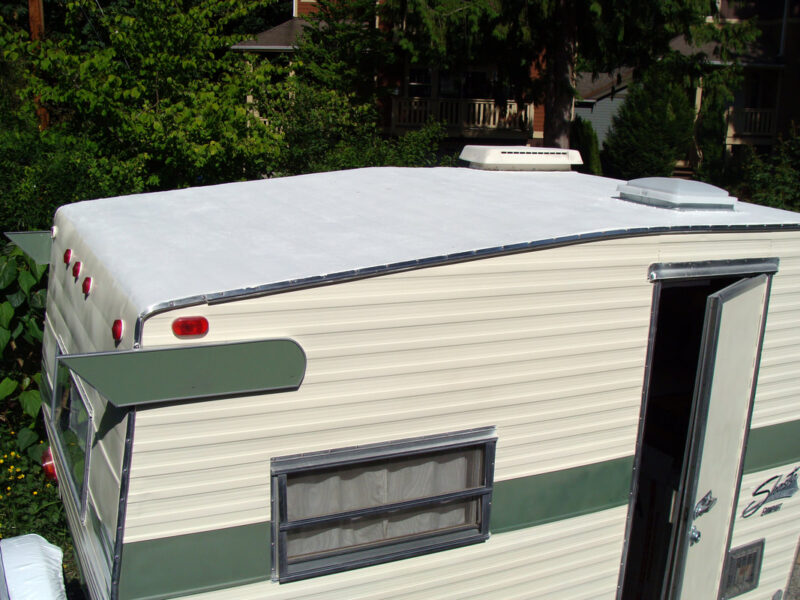
Sealing the Roof: A Solid Start
Before addressing the interior, I needed to make the roof watertight. After removing old caulking and cleaning the surface, I applied fresh caulking and coated the roof with a gallon of “Kool Seal” White Reflective Roof Coating. Three cross-directional coats provided solid protection.
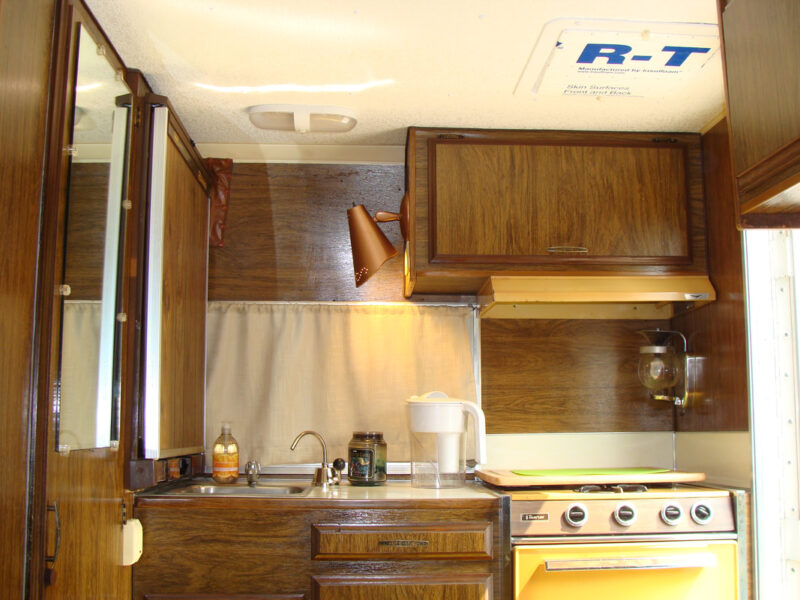
Replacing the Ceiling: Vinyl for a Fresh Look
With the roof sealed, I replaced the rotted ceiling supports and insulation. Instead of reinstalling paneling, I opted for patterned vinyl. It was flexible enough to fit without removing the cupboards, and with a partner, we carefully slid it into place using plastic grooves and secured it with upholstery tacks. The result? A brighter, more spacious look.
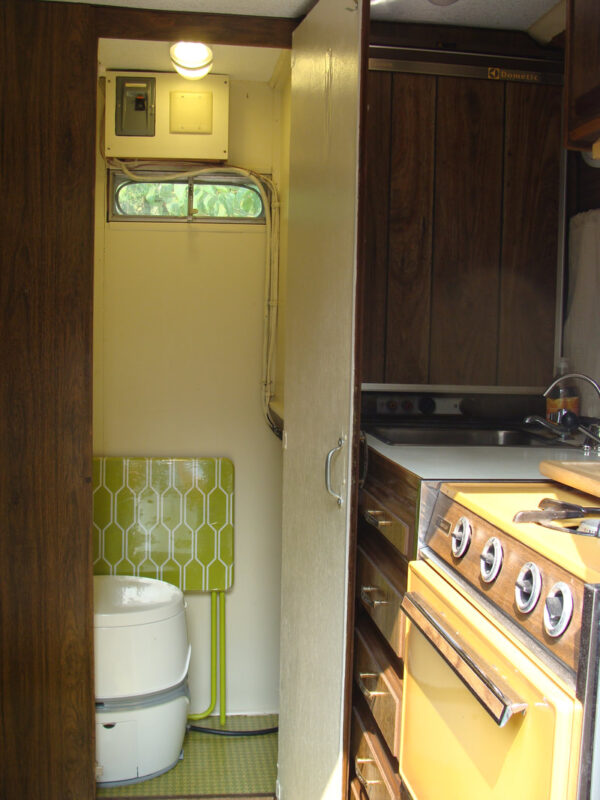
Creating a Functional Bathroom
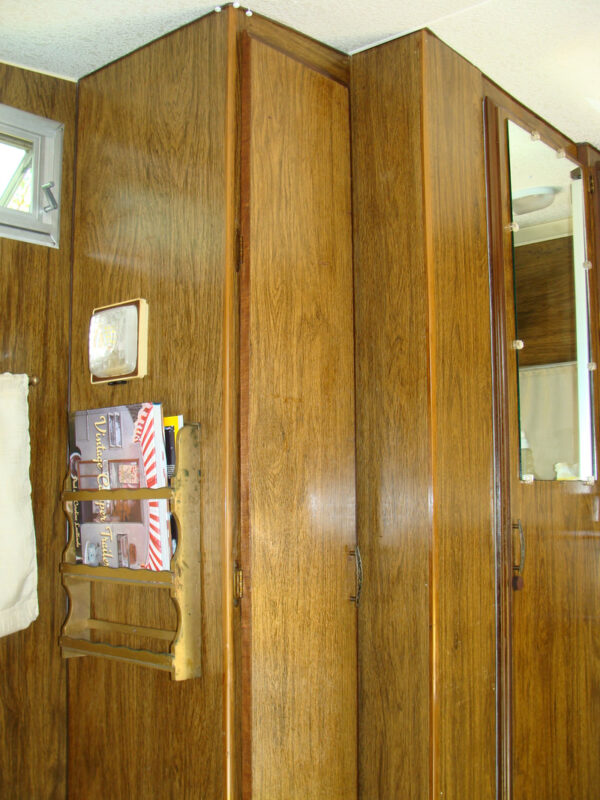
We wanted a toilet for added convenience. By narrowing a storage closet, I created space for a Thetford Curve Porta Potti. This adult-friendly model features a battery-powered flush and fits perfectly in the updated bathroom. Painting the dark brown paneling off-white brightened the space and made it feel larger.
Modernizing Lighting and Hardware
Replacing old light fixtures with energy-efficient 12-volt LEDs was a straightforward upgrade. I also replaced dull, rusted bolts and screws with shiny stainless steel ones, giving the trailer a polished appearance.
A DIY Paint Job
Professional painting quotes were out of my budget, so I painted the trailer myself. Using 12 cans of “Gloss White Canvas” spray paint and light, even layers, I achieved a smooth finish. Green accents matched my SUV, and custom arrow designs on the trim and hubs added pizzazz. The total cost is far less than automotive paint.
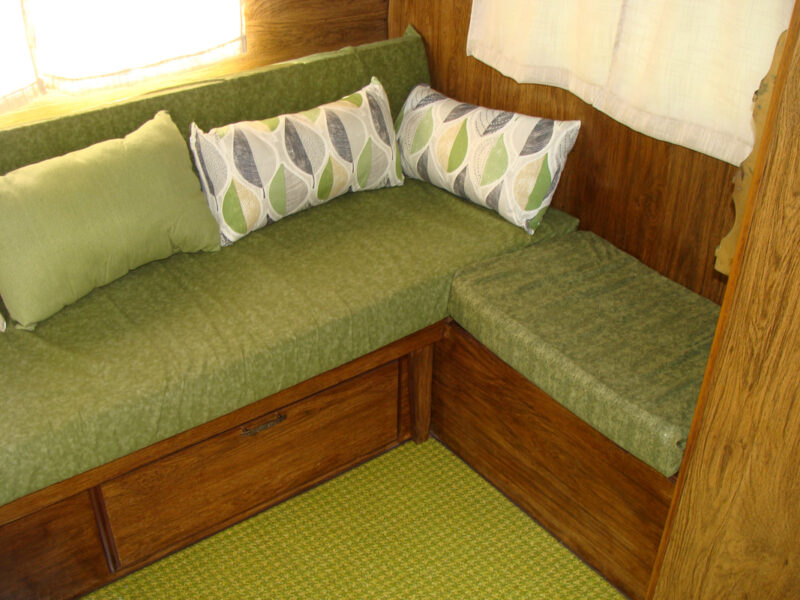
Preserving Vintage Charm
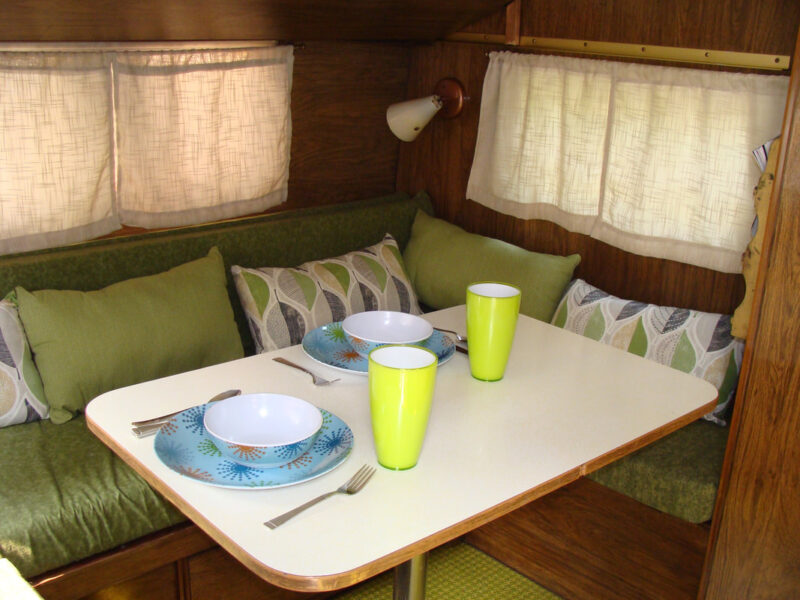
The original lime-green speckled linoleum was in excellent condition and complemented the darker paneling. I coordinated green fabrics for cushion covers, curtains, and pillows for a cohesive look. While bold patterns can be fun, we kept it simple to avoid overwhelming the small space.
Improving Ventilation and Light
Replacing the solid aluminum ceiling vent with a white plastic one allowed natural light to brighten the interior. To keep the trailer cool on hot days, I cut a Styrofoam insert with a foil side to reflect heat.
Practical Adjustments for Comfort
The raised axle made off-road travel easier but created a higher step into the trailer. Adding a fold-out step solved that issue. Inside, I modified the unused bunk platform to create more headroom and storage flexibility.
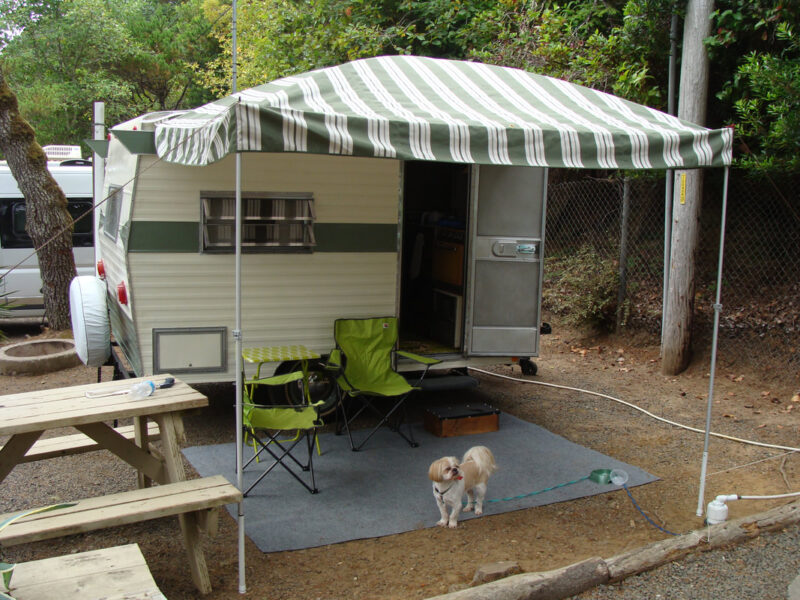
Enhancing the Canopy
At a rally, I admired a canopy with a curved crown for extra height and rain runoff. Inspired, I adapted my custom 8’x8’ canopy by sewing corner pockets for flexible rods. Chimney cleaning poles worked perfectly, and securing the rods with Velcro kept them in place.
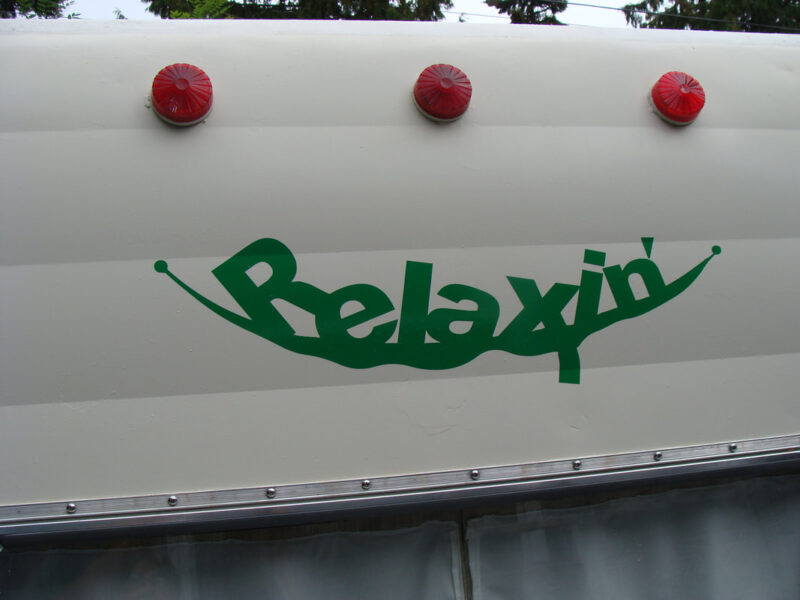
Finishing Touches: Personalization and Style
New Baby Moon hubcaps added a retro flair, while a custom “Relaxin” logo by my brother-in-law gave the trailer its finishing touch. This project was a labor of love, and we look forward to christening our Shasta on a camping trip to celebrate our 30th anniversary.
This restoration was challenging but rewarding. With some creativity and elbow grease, our vintage Shasta is now a functional, stylish retreat ready for many adventures ahead. (Original article in issue #41 of the Vintage Camper Trailers Magazine.