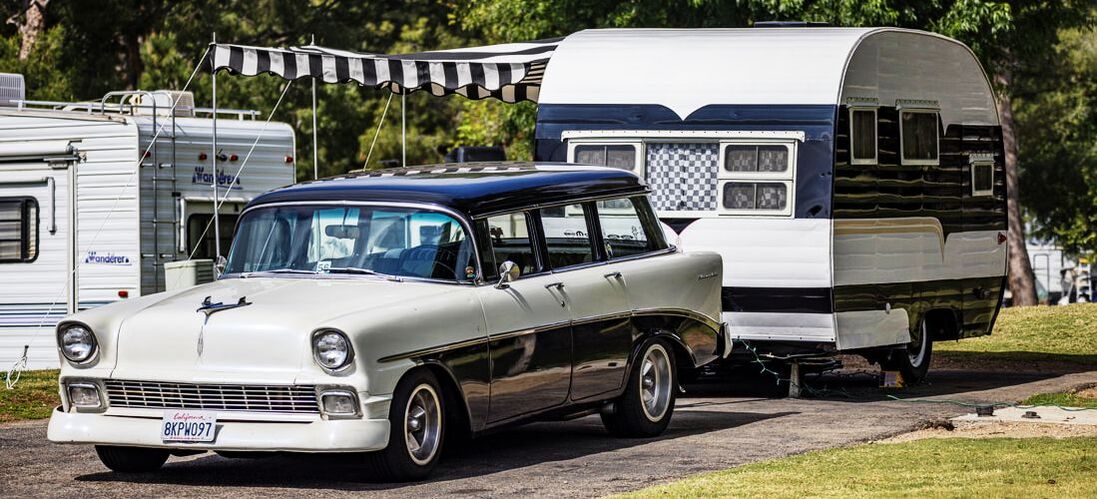
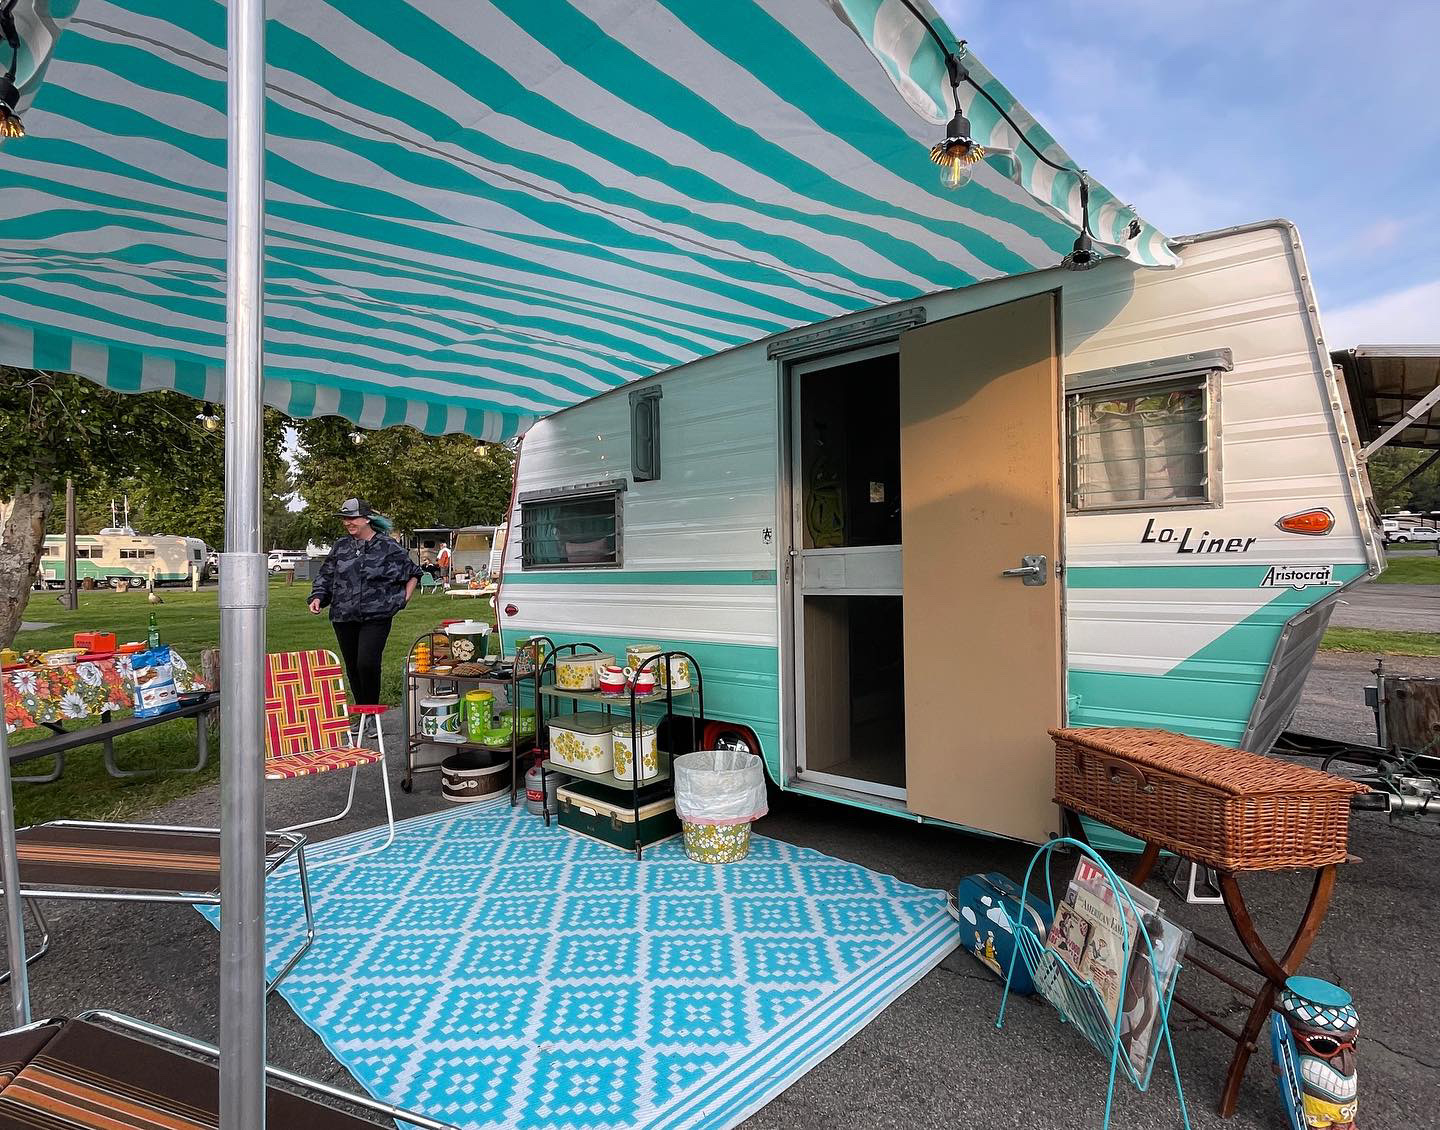
Vintage awnings can significantly enhance the aesthetic of a vintage trailer at rallies. Some trailers come with their own vintage awnings or even tent rooms. If your trailer lacks an awning, don’t worry—Marti’s Awnings offers awnings to match your trailer.
Most vintage trailer awnings utilize an awning rail attached to the trailer, with the awning itself featuring a sewn-in cord along its edge. This cord, whether rope in older awnings or plastic in newer ones, slides through the awning rail to attach the awning to the trailer. This process can sometimes be challenging, but after years of experience, we’ve developed a few tips to simplify it.
Upon arriving at the campground and parking, take a moment to greet fellow campers. It’s always enjoyable to reconnect with friends. Otherwise, they might approach just as you’re setting up your awning!
For smooth sliding of your awning into the rail, ensure the rail is clean and free of dents. Clean the rail channel with soap, water, and a brush when washing your trailer. Dents can be corrected using a tool designed to spread and remove them, although these tools are becoming rare. You may need to fabricate one or find it on eBay. If painting your trailer, insert a cord into the awning rail to mask the inside of the channel. Paint buildup can hinder smooth movement, so consider using a dry spray lubricant along the rail.
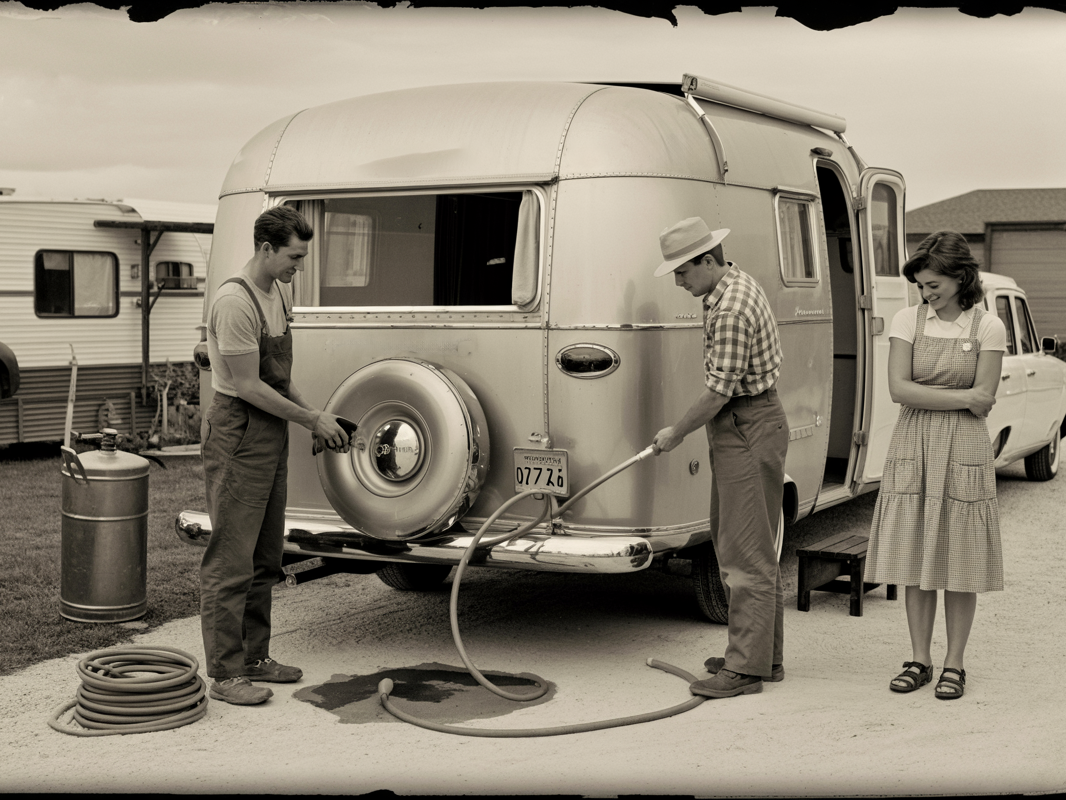
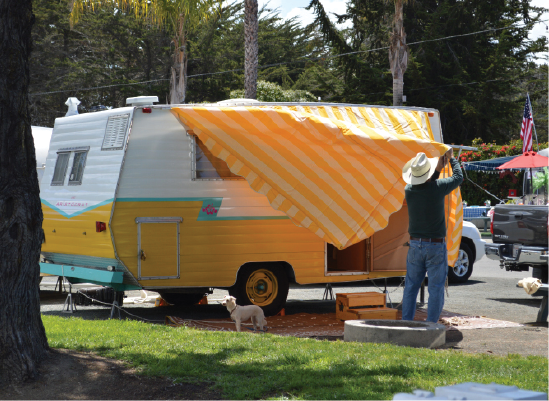
Two essential aids for this process are a footstool and an extra set of hands. If you forget either, don’t hesitate to ask fellow Trailerites for help—they’re friendly! Some use “broom sticks” with hooks to extend reach and help pull the awning through the rail without a footstool.
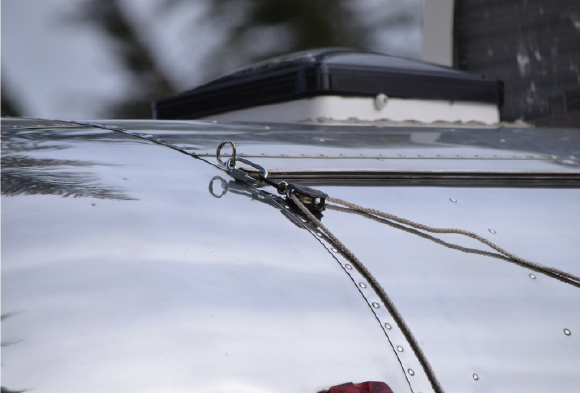
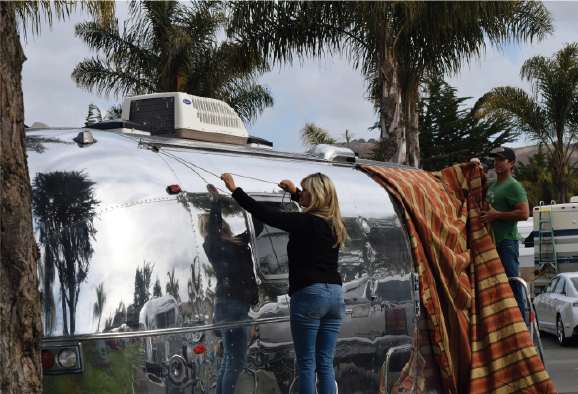
Another effective method involves creating a pulley system. Install an eye bolt (approximately 3/8 size) into your awning rail, attaching a small pulley to it. Feed a rope through the pulley, which can be tied to a grommet on your awning or secured with a Homax Tarp Clip. This system allows one or two people to feed the awning into the rail while pulling on the rope through the pulley at the other end.
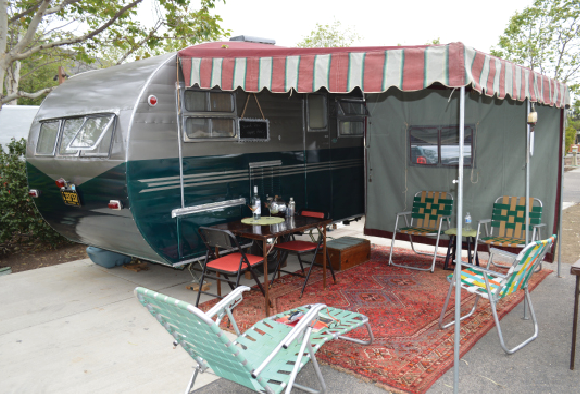
Once the awning is in place, set up your poles and use rope tighteners (available at Marti’s Awnings or camping supply stores) and springs to secure the awning to the ground. Springs provide flexibility in windy conditions, while tighteners allow you to adjust rope tension as needed. With everything set up, it’s time to enjoy the weekend!