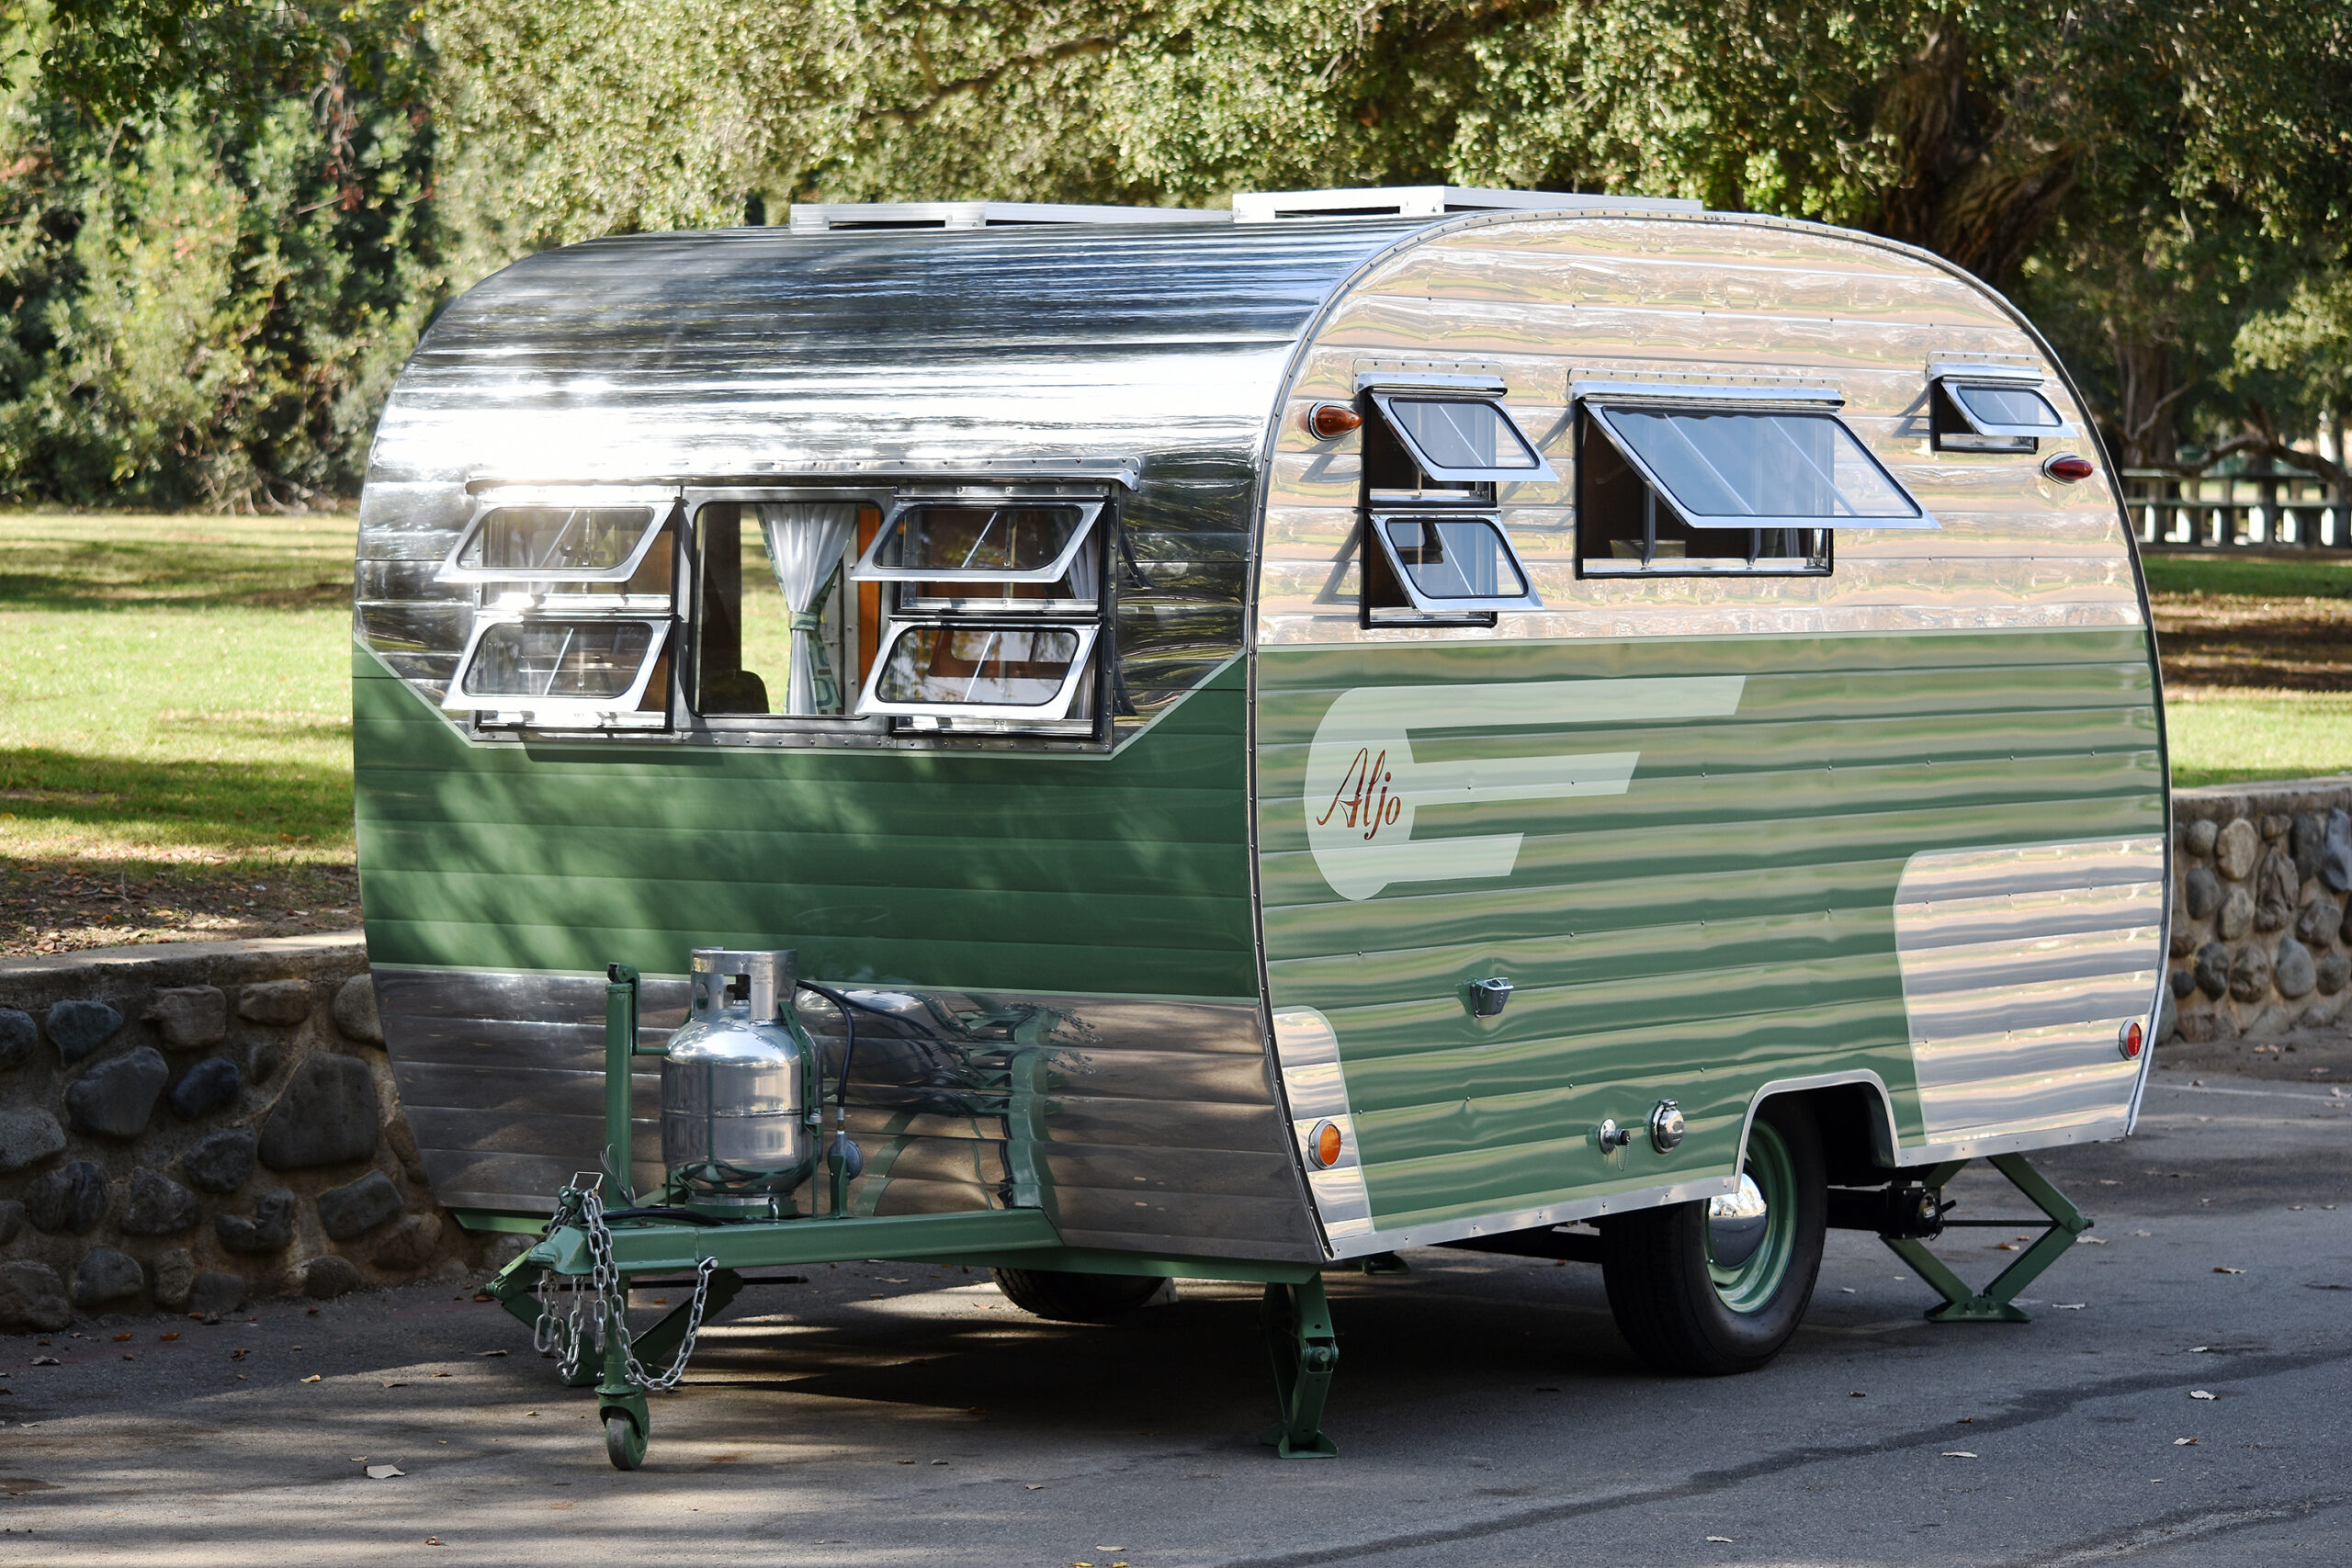

Touching on Seamed and One-Piece Aluminum Options
The roof of your vintage trailer plays a critical role in protecting its structure and preserving its charm. Most vintage trailers feature aluminum roofs, offering durability and a classic look. For restorers, the choice often comes down to installing a one-piece aluminum or sealed-seam roof. This guide will walk you through replacing your aluminum roof and include essential tips for sealing and maintaining seams.
Step 1: Understanding Your Roof Options
When restoring a vintage trailer, you have two main aluminum roof styles to consider:
- One-Piece Aluminum Roof: This option provides a smooth, seamless look, reducing the risk of leaks. However, it can lack the rigidity offered by a seamed design.
- Sealed Seam Roof: Built with multiple aluminum panels joined by roof seams, this design mimics the original factory look (of some trailers) and adds structural rigidity to the roof.
Companies like Hemet Valley RV produce sealed seam roofs and aluminum siding, offering a range of options for DIYers, including color and siding patterns.
Step 2: Removing the Old Roof
- Detach Trim and Components: Unscrew and remove trim, vents, and any rooftop accessories.
- Carefully Remove the Roof Panels: Start at one edge and work your way around, removing each panel.
- Inspect for Damage: Examine the wooden frame for rot or other issues and replace damaged sections with marine-grade or treated plywood and/or solid wood. This is critical to a roof repair. It is also an excellent time to replace any interior wood panels (from the inside out.)
- One trick is to create a slight “rise” in the framing around your vent to shed water away. This area often sags and creates a leak-prone puddling. A ¾ firring around the vent area will help preserve your interior paneling.
Step 3: Installing a New Aluminum Roof
- Measure and cut the aluminum sheet to size, leaving extra material for folding over the edges.
- Lay the sheet over the frame, ensuring it’s centered and wrinkle-free. Keeping the wrinkles out is the hard part. Secure one end. Trim the sides to within ¾ inch. (We line up one side, so we only have to trim one side.)
- Fold the edges over the trailer sides and secure them with butyl tape and ¾ U-shaped staples. Work your way day, with each side alternating, and pay attention to keep it even and avoid wrinkles.
- Finish with J-molding and optionally a sealer like TremPro 635 to provide additional protection.
- Replace roof components with new sealants to ensure a watertight repair. These will also help smooth out any wrinkles you may have gotten.
Tips for Success
- Consult Experts: Hemet Valley RV stocks high-quality aluminum roofing materials and offers guidance for DIYers. Don’t hesitate to reach out for advice or supplies.
- Plan for Flexibility: Seamed roofs provide additional rigidity, which may be beneficial for larger trailers or in regions with snow or heavy rainfall.
- Inspect Regularly: Periodically check the seals and seams for signs of wear and reapply sealant as needed to maintain waterproofing.
- Skip Coatings: Aluminum roofs do not require additional coatings. Focus on proper installation and sealing for long-lasting protection.
Replacing the aluminum roof on your vintage trailer may seem daunting, but with the right materials and techniques, you can restore your trailer to its original glory. Whether you choose a sleek one-piece roof or an authentic seamed design, proper sealing and maintenance are key to keeping your trailer dry and road-ready for years to come.