Choosing the right flooring for your vintage trailer is more than just a practical decision—it’s an opportunity to enhance its charm, durability, and overall aesthetic. With so many options available, it’s important to find a material that not only suits your style but also holds up to the unique demands of trailer life. While every flooring type comes with its own installation guidelines, this guide focuses on key considerations and techniques specific to vintage trailer restoration, helping you achieve a professional and period-correct finish.
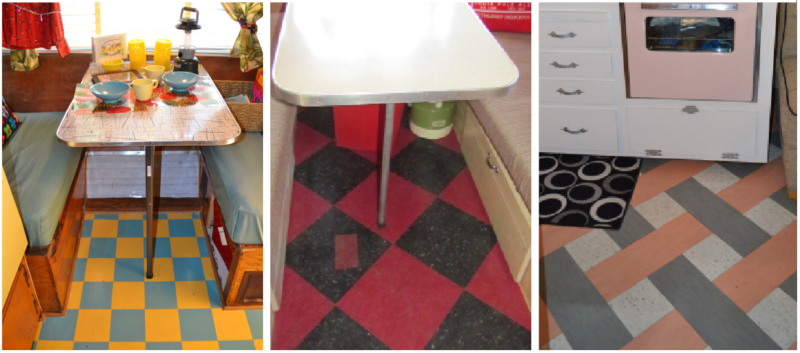
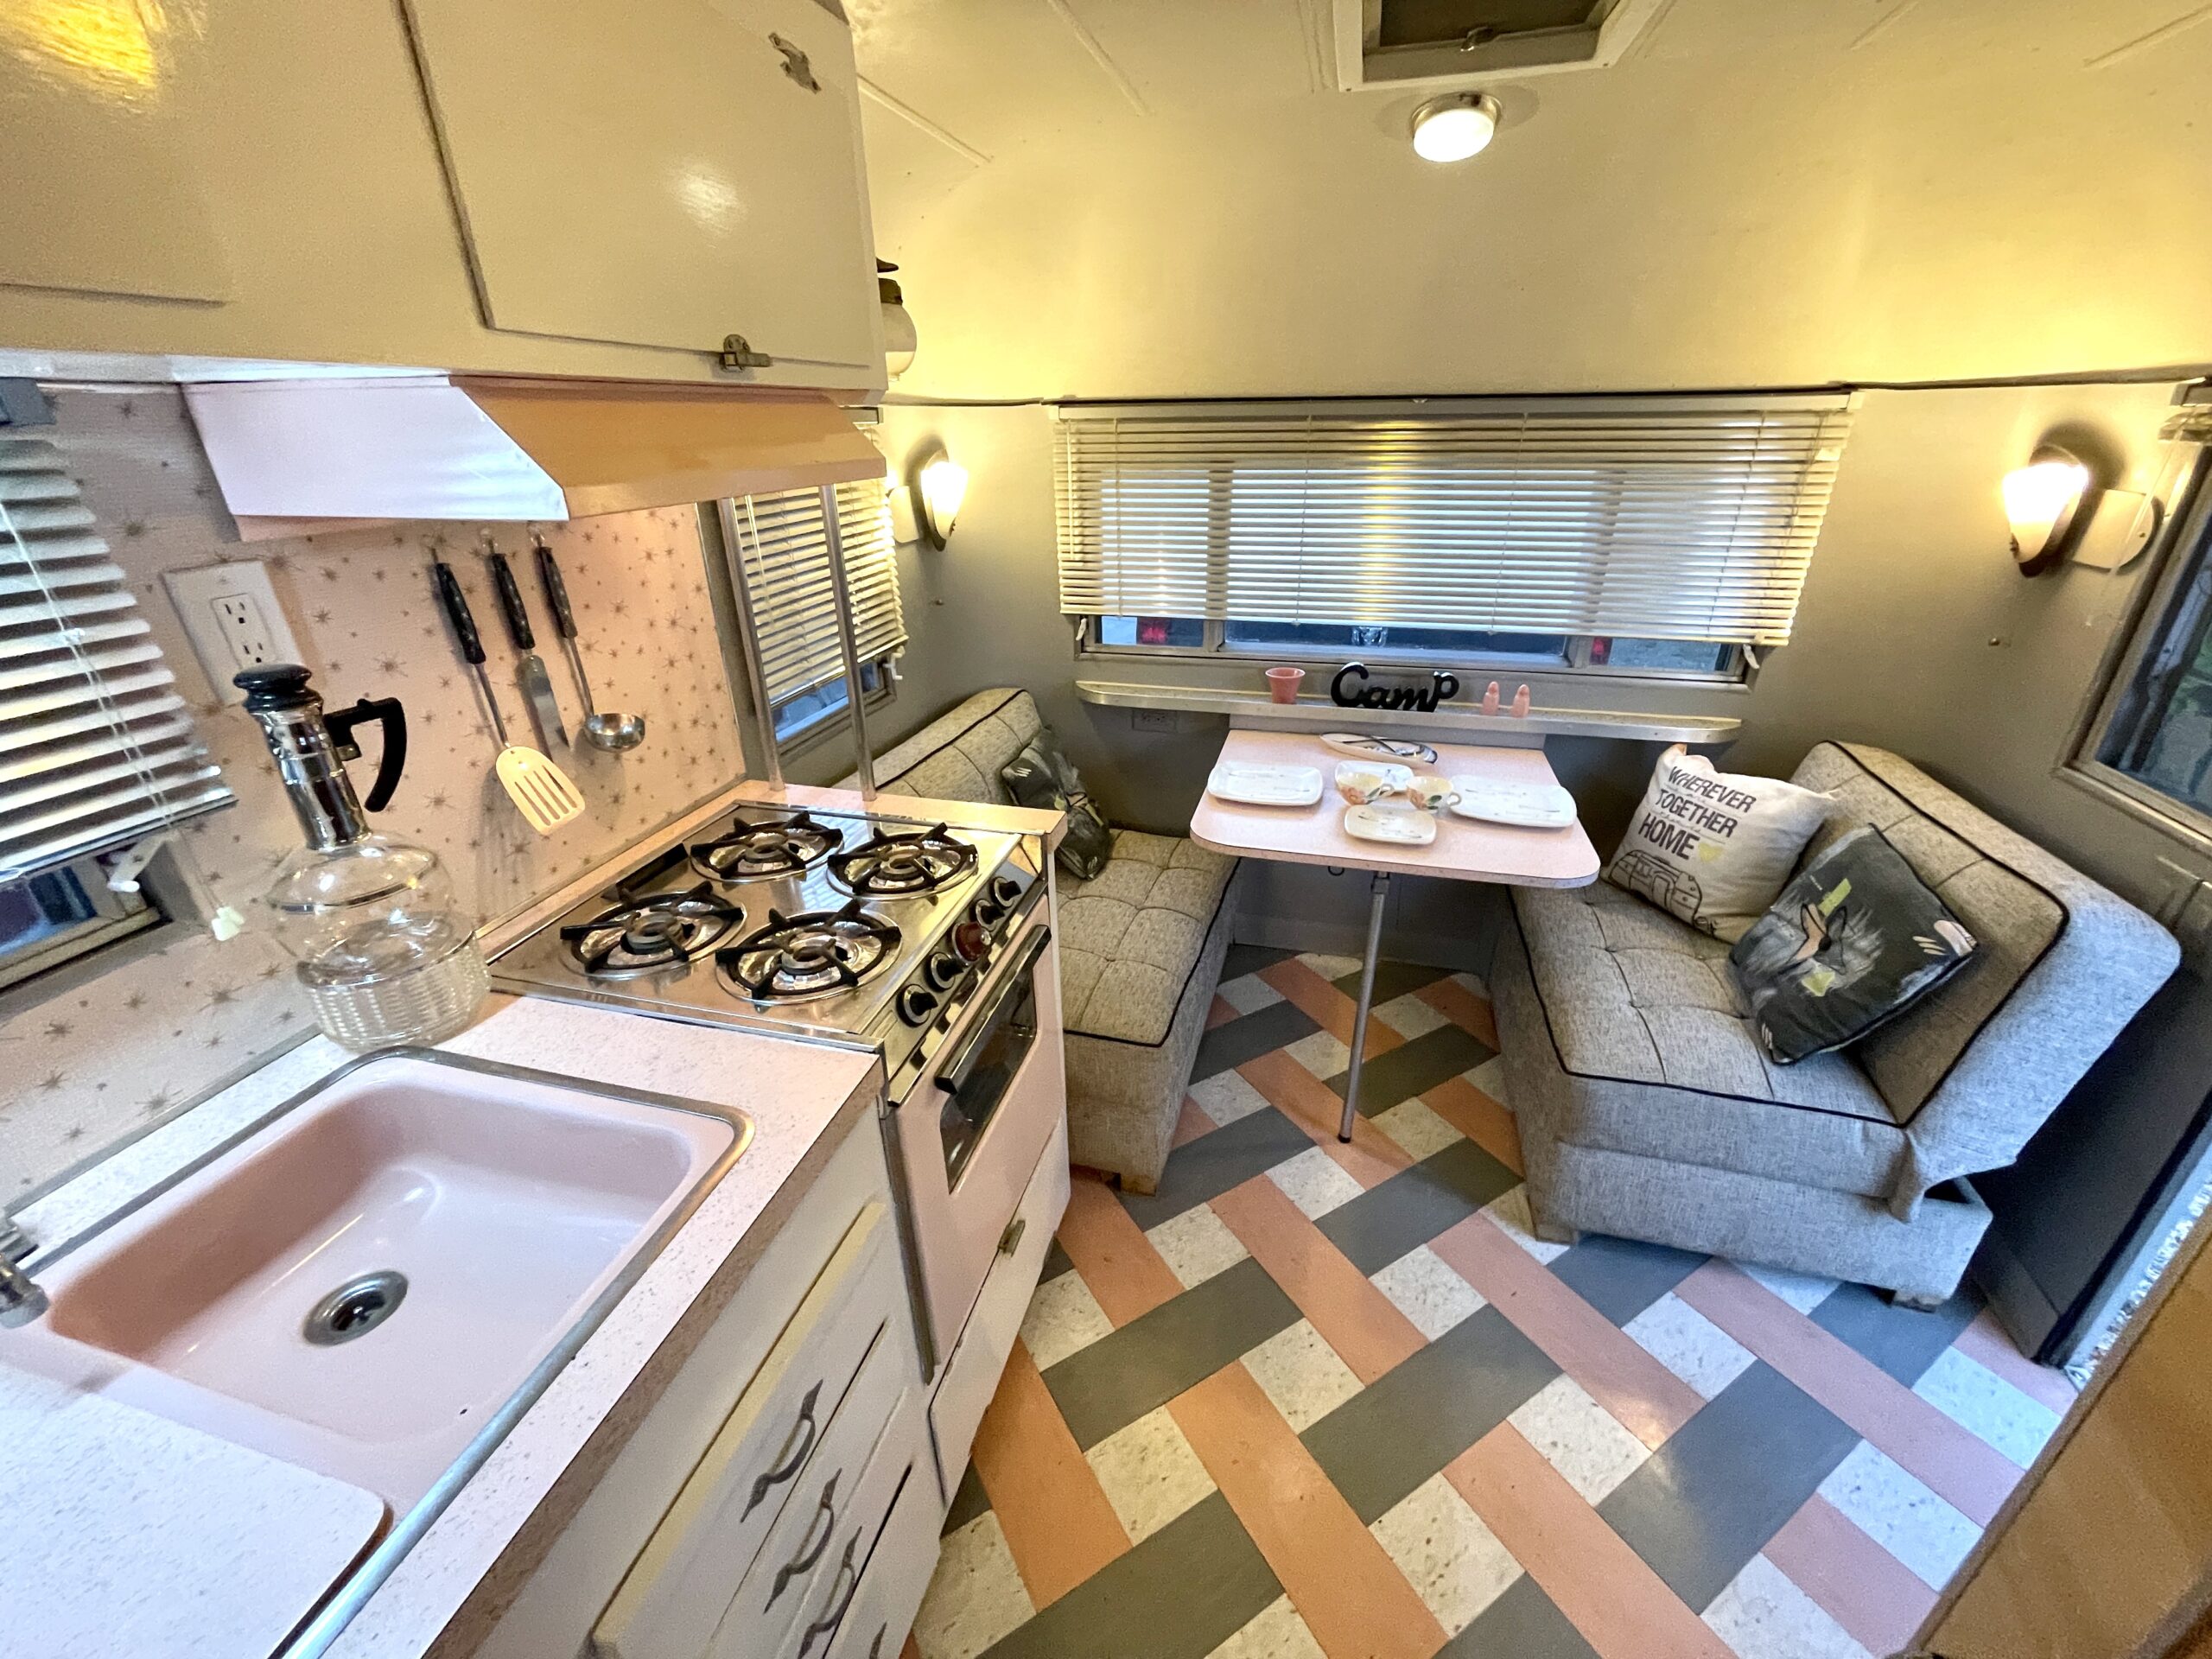
There are many flooring choices, with ceramic tile and carpet being less suitable due to weight and maintenance issues (unless it’s indoor/outdoor carpet). Other options include various vinyl, cork, and wood flooring types. Many trailer enthusiasts opt for a checkerboard look created by tile squares. For a durable vintage aesthetic, Marmoleum—a natural linoleum flooring in sheets, tiles, or floating click planks—is a more costly but effective choice.
If you want a checkerboard or other patterned floor, VCT or Vinyl Composition Tile is cost-effective. It is commercial grade and can be special ordered in various colors at any home improvement store. (Don’t waste your time with peel and place, pre-glued squares.) VCT squares can be cut to create unique patterns or to “scale” them to fit the look of a vintage trailer better. (Vintage tiles were often 9”x9”.) Tiles can be cut with a fine-toothed plywood blade on a table saw for clean edges.
Consider the look and type of restoration you are doing. The flooring can blend in or give the trailer a blast of color. It should match the décor and lend to the overall feel. Invest in good material, and you won’t be disappointed. Track-house kitchen vinyl just isn’t right in an otherwise vintage restoration.
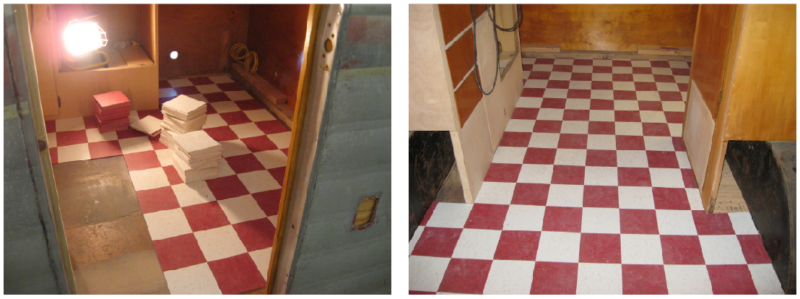
It all starts with careful floor prep. Start by removing any baseboard molding and cabinets. Covering the entire floor with fewer cuts around obstacles is far more manageable. You will have a cleaner finished job (and it probably doesn’t take any more time) to remove things like the dinette pedestals and run the flooring underneath them. Think of the nice clean edges you will have.
A perfectly smooth surface is essential for a great-looking floor installation, and the easiest and most foolproof method of accomplishing this on damaged, wood-framed floors is to install a layer of 1/4-in. plywood underlayment over the existing floor. It’s better to pay a little more than to be disappointed by ugly seams or surface defects appearing through the flooring.
Once the old floor is prepped and clean, you’re ready to make a template.
One Template Method:
Any heavy paper will work for this template. We use red rosin paper, available at most home centers. Tape pieces of heavy paper together to cover the floor. (To keep the template from shifting, tape it to the floor.) Leave about 1 in. of the old floor showing around the perimeter. Then transfer the shape of the floor onto the paper template by holding a straightedge (ruler) against the baseboard while you draw a line along the inside edge (on the paper.) Remove the pattern from the trailer and tape it to your new flooring material. Use the same straightedge (that you used to draw the line on the paper), to transfer the “cut” line you want to cut on to your flooring material. Hold one edge of the straightedge against the line on the paper and draw the “cut” line on the other side of the straight edge.
Another method:
Use 2”-3” strips of 1/16th inch door skin or poster board material. Place the strips around the perimeter of where you want the flooring to fit. Overlap the ends of the strips, gluing them together with a hot glue gun. Once the glue dries, you have an exact outline of the perimeter of your flooring and you can use this template to trace the shape of your floor on to the new material.
Fitting Square Tiles:
After laying all of the uncut “field” squares, lay a full square on top of the last full tile square that is already laid in the field (the one nearest the edge). Using another whole tile square as a straightedge, place one edge of it against the wall and put this full square on top of the full square lying on top of the laid field. Draw a line (along the straightedge) on the tile (in the middle). After cutting, this tile should fit exactly.
Be safe. Follow all manufacturers’ directions, and if you get in over your head, any flooring company should be able to help you install flooring in your vintage camper trailer.